The first week in September 2025 saw a massive initial release of the Veeam Software Appliance. Since the inception of Veeam and the ability to protect Virtual Machines on VMware vSphere Veeam has been a Windows Server based product, until now.
I have also skipped over how “Virtualisation was just the start” and it was, now the Veeam Data Platform protects workloads and data across many different platforms, VMware vSphere, Microsoft Hyper-V, Proxmox, Oracle Linux Virtualisation and lots more hypervisors, as well as protecting public cloud workloads on AWS, Microsoft Azure and Google Cloud. The protection of Kubernetes came almost five years ago with the acquisition of Kasten now known as Veeam Kasten or Veeam Kasten for Kubernetes. We have M365, Salesforce backup, EntraID, Agents for Windows, Linux, Solaris, AIX and then we also protect unstructured data by way of NAS devices and Object Storage locations.
As of this week the management layer of Veeam is no longer just an option on Windows, Linux entered the room.
Home Lab Setup Plan
My morning of the 3rd September was sat waiting for the downloadable, public release of the Veeam Software Appliance (VSA) We as Veeam have made big splashes about this at our event earlier in the year and showed off a lot of the features and functionality, I am not going to get into too much of that here.
When the downloads became available it was time to start the engines, but not without a solid plan. I have documented my home lab setup in previous posts. As much as this is a home lab I still want to treat things with some real life accountability. However, what I am about to show you is that my repository will be living on the same virtual environment I am likely going to be protecting… for now and this will be resolved down the line with the Veeam Data Cloud Vault option where I can store those backups offsite in the Veeam first party solution.
OK, back to the plan.
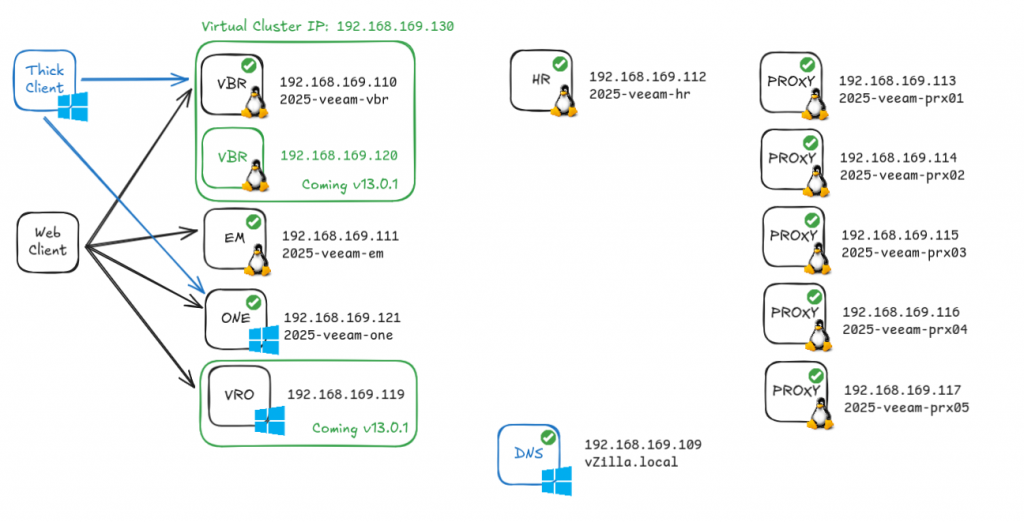
As you can see from the above image we had some virtual machines to create, 10 if we include that DNS server down there. We also have some futures that are documented from Veeam as coming in the not too distant future.
The VSA is available in an OVA and ISO format. There is then a smaller ISO for the Veeam Components such as the Hardened Repository and Proxies. You can see we have 5 proxies planned and a Hardened Repository (again bad practice to store a backup repository on the infrastructure you are going to protect, don’t be like me)
For the VBR (Veeam Backup & Replication) server we will use the OVA and import this into our vSphere environment and create a new VM.
For the EM (Enterprise Manager) server we will use the ISO and create a VM and run through the configuration steps to get this setup.
The proxies and hardened repository will use the smaller ISO
Veeam ONE is a powerhouse with this release, still Windows but massively important. We will provision a Windows 2025 Server for this.
I will mention for this plan, I also provisioned a Windows 2025 Server Core for the DNS server and created a new forest called “vzilla.local”
Hopefully that makes everything in the picture a little clearer, the web client can be any OS and any mainstream browser (I have tried with Chrome, Edge and Firefox) The thick client aspect is used to access some of the Veeam ONE and the VBR server. I have installed the VBR thick client on the Veeam ONE Windows Server.
VBR Deployment Process
As mentioned I am going to be using vSphere here to deploy my virtual machines for this plan, clearly anything can be used including physical systems. Anything that supports the OVA but equally this is why there is an ISO for those physical systems or where OVA is not supported.

Select the OVA
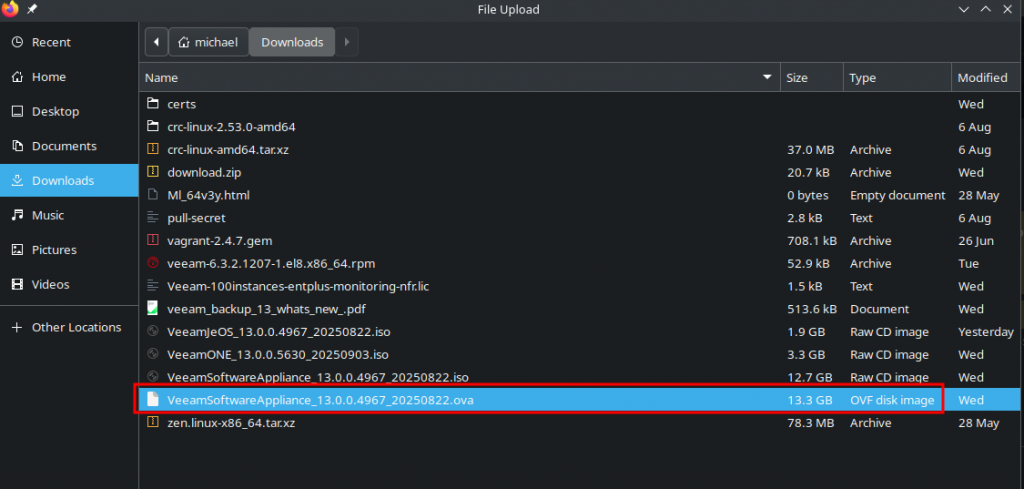
I am not going to go through step by step here, basically select the OVA, give the machine a relevant name for your environment choose the DC, Cluster or Host you wish to deploy to, select some shared storage and finish.
When that import is complete, you will have a powered off virtual machine ready to be powered on. (I created another import to capture the process here and it is named 2025-veeam-vbr1)
Powering on the VM
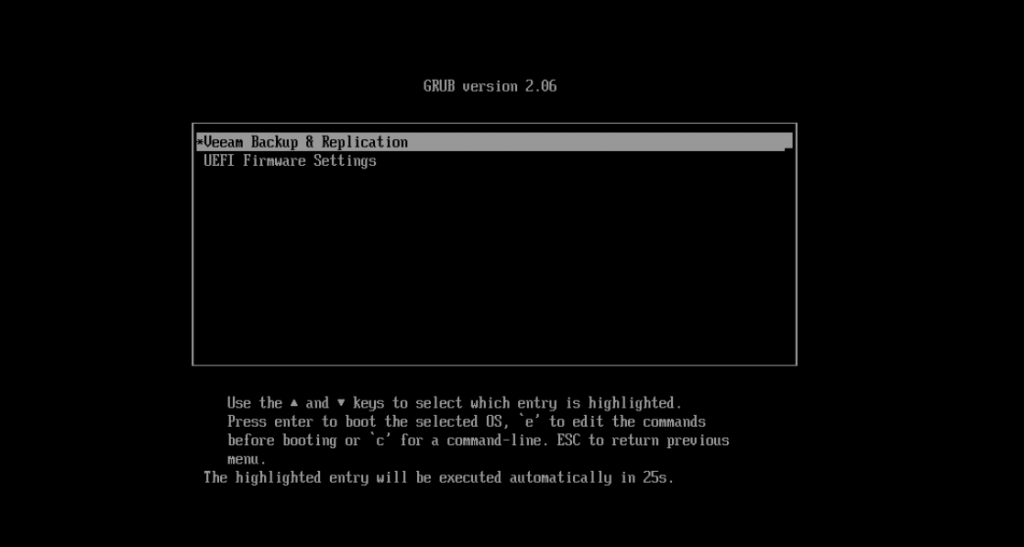
Next we will see a booting ‘Veeam Backup & Replication” followed by the initial configuration wizard, starting with the license agreements.

Accept this then we can give the box a name.

Next we can configure our network, I have used the static option to set a standard static ip4 but ipv6 is also available to set here.

Then we need to change the time, I am based in the UK so I selected change and searched for London to update the timezone but left the available NTP servers as is.

Then we are onto setting a host administrator, this process is the same for any managed Veeam machine, proxies, repositories and enterprise manager.

The next screen is configuring the multi factor authentication (MFA), I am using the Microsoft Authenticator for all of my MFA needs so I hit show QR code, scan that within the app and then type the number provided from the app to proceed to the next step.

Following that step you are then asked if you would like to create a Security Officer,
At the Security Officer step of the Initial Configuration wizard, configure the default security officer account to perform specific operations in the Host Management console — veeamso. This account type provides an additional security layer to protect your infrastructure against malicious system administration.
The above was taken from the documentation pages – https://helpcenter.veeam.com/docs/vbr/em/deployment_linux_iso_install_security_officer.html?ver=13

if you choose to skip this step, you are prompted with a very red warning. It will not be possible to enable this role later on after this step. For the purposes of this demo walk through I have said OK but in my lab environment I have created that veeamso account on all hosts, when you set a password in this wizard, you will be required to change that when your security officer first logs into the management console to approve tasks.

The final page is a summary of what you have configured

Select finish and then wait for the state configuration to be saved and then for the services to come up. When they are up you will be able to access.
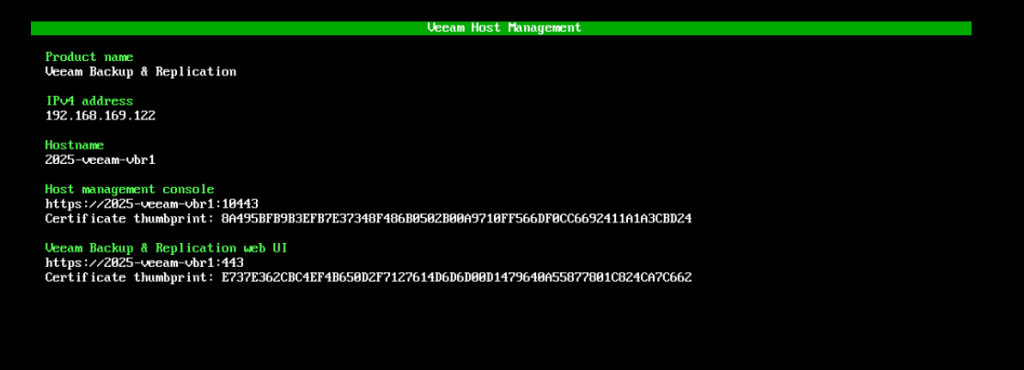
Host Management Console
The Host Management Console allows administrators to perform configuration and maintenance tasks, including managing network settings, server time, host users and roles, backup infrastructure, OS and Enterprise Manager updates, maintenance operations, and security settings.
This can be accessed via https://192.168.169.122:10443/
obviously changing to your set IP address, you will then be able to login here with the veeamadmin account.
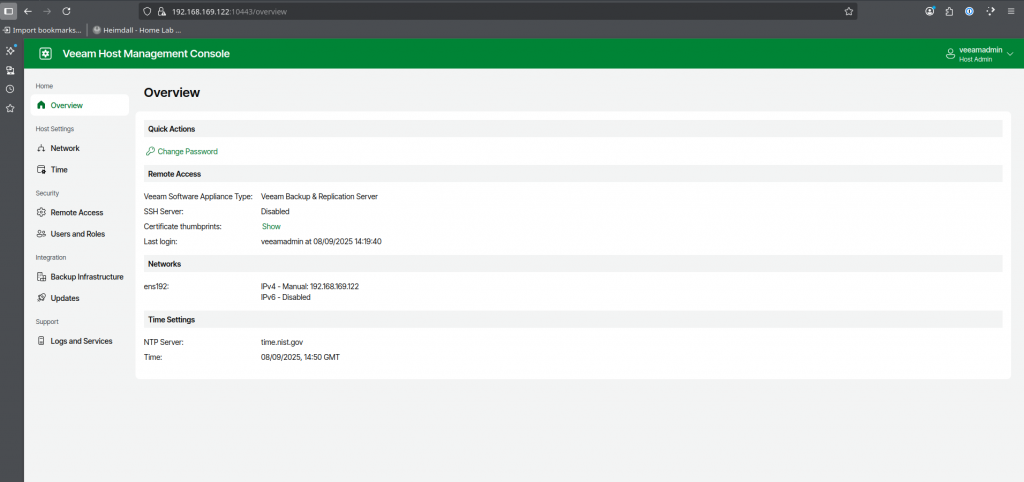
Web UI Preview
The Veeam Backup & Replication web UI is a browser-based interface that enables you to manage backup and recovery operations, monitor your backup infrastructure, and configure system settings from any supported device. The web UI provides a modern, streamlined experience designed to simplify daily administration and deliver at-a-glance visibility into your data protection environment.
Please note that this is a preview and not all capabilities within Veeam Data Platform are available here today in this release, you will be able to manage some of your environment from here but you will need the thick client access for all tasks.
This can be accessed via https://192.168.169.122/
again changing your IP address above.
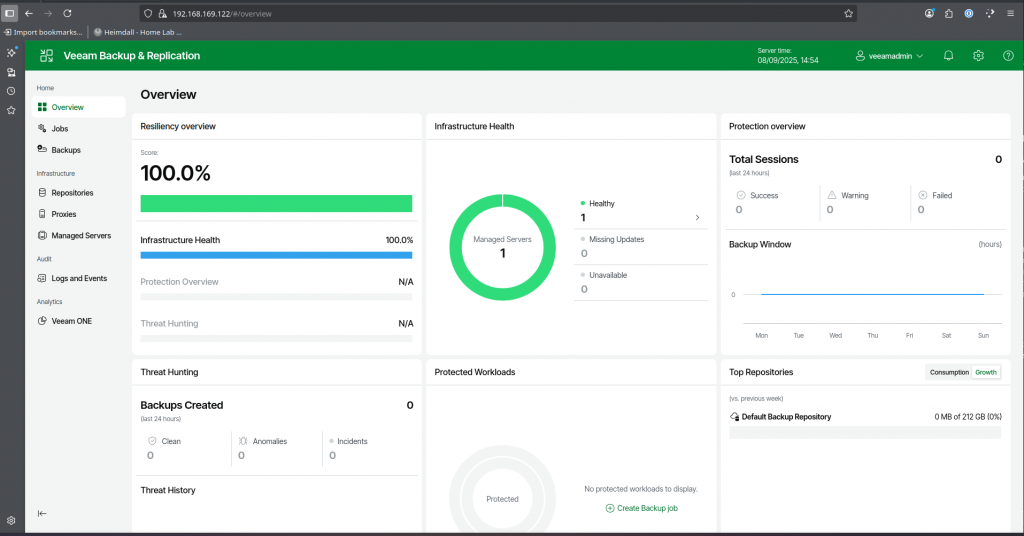
Thick Client Access
For those of you familiar with the thick client approach, it has been enhanced and looks much better, its faster and is used and designed to let you quickly find commands that you need and perform data protection and disaster recovery tasks.
As stated in my diagram above, you will need a Windows based machine to install and use the thick client. Point the client to your address above.
Next Steps
To complete the home lab setup, I went and created 6 further virtual machines using the smaller JeOS ISO and this is what was used to create the hardened Linux repository (bad practice to run this on a VM, the security score in threat center will also warn you against this, don’t be like me) and then the five proxies, the process is very much the same as the initial configuration wizard we went through above and then you add them into your VBR thick client.
With the proxies, I created one proxy per vSphere host, when I added them in you have the choice of what proxies they are going to be.

I then repeated the steps for VMware and VMware CDP as I want these to be the data movers for all tasks.
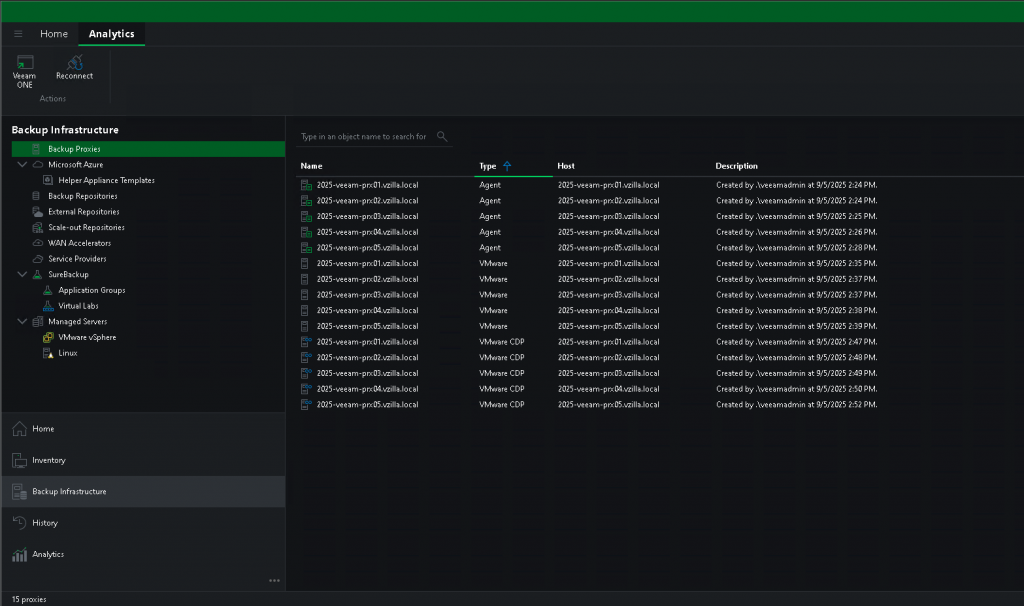
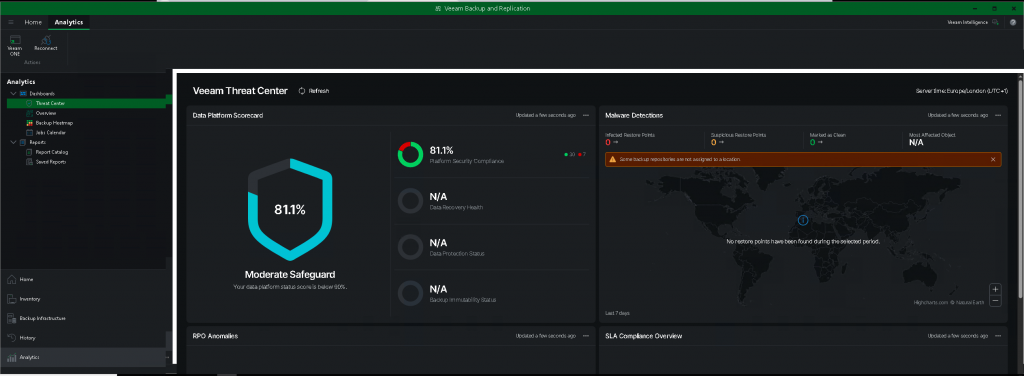
I had also deployed a Windows Server, downloaded the new Veeam ONE ISO and got things up and running there, maybe another post on those steps to come. Adding Veeam ONE is important as this gives you some great insight into the security posture of your backup environment. The threat center element is pulling data from Veeam ONE to display within the thick client and the web UI.
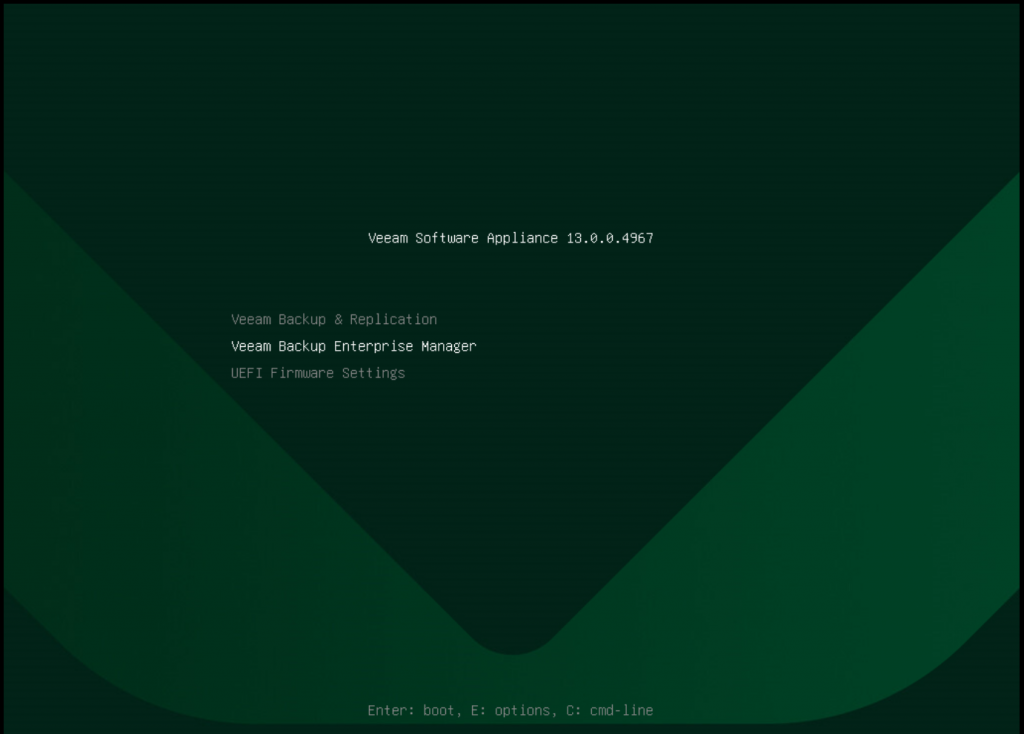
Next, I wanted to get my Enterprise Manager VM up and running and to do this I used the Veeam Software Appliance ISO and this runs again through a similar configuration wizard as shown but on first boot you will get a choice of Enterprise Manager or Veeam Backup and Replication to install on this, process was to create a VM with the required CPU, Memory and disks and then run through that process.
The final steps was to add some infrastructure to protect and then create some backup jobs. If you are familiar with Veeam this should be the same process as before.
To caveat once again here, this is a lab environment where I can show demos of Veeam Software, I am using virtualization for components that in production should be on physical hardware and not virtual machines, but for home lab environments what I have built will cover elements of what I need to cover in demonstrations. I will also be adding cloud based protection workloads and Veeam Kasten instances later on down the line that I have running to extend the lab into different platforms.
