
Veeam just released a new plug-in for Red Hat OpenShift Virtualisation, this plug-in brings the ability to use Veeam Backup & Replication to protect your VMs on Red Hat OpenShift Virtualisation.
Some people might be familiar with Veeam Kasten, Veeam Kasten provides the Kubernetes native way to protect containerised workloads and Red Hat OpenShift Virtualisation as well as SUSE Harvester (Virtualisation) as well. Between you and I, it does also work with Kubevirt but from a support perspective it is just the ones listed above for now.
So what does this mean?
It means if you have a blend of containerisation and VMs on one cluster then you can continue to use Kasten to protect these workloads, if you only have containerised workloads that require protection you can also continue to use Kasten. If you are only running VMs on Kubernetes and you are familiar with the Veeam Backup & Replication console and workflow then you now have another option. We will get into some of the benefits and features in this post.
Veeam Universal Licensing
Portability: Move licenses between different workloads (such as cloud, virtual, and physical servers) without buying new SKUs.
Flexibility: Adapt coverage dynamically as your IT infrastructure scales or shifts to hybrid/multi-cloud environments.
Zero Lock-In: Freely reassign or relocate workloads across platforms without administrative penalties
This then spans multiple workloads:
- Virtual hypervisors (e.g., VMware, Nutanix AHV, Red Hat OpenShift Virtualisation)
- Hyperscaler clouds (AWS, Azure, Google Cloud)
- Physical servers, workstations, and endpoints (Windows, Linux, macOS, Unix)
- Unstructured data (NAS, object storage, file shares)
- Enterprise applications (Oracle, SAP)
Portability – Restore to / from
Not only is the license portable, but for many years now the Veeam backup file format for image based backups has had the ability to restore to any supported hypervisor or public cloud location. This might be when bad things are happening but it could also be useful for seeing how a workload looks and runs in a new target location, it could be used for test and development vs affecting the production VM.
Installation
As mentioned this is a Plug-In that can be downloaded from the veeam.com site. Get yourself logged in and then navigate down to the additional downloads section, select Virtualization Plug-Ins.
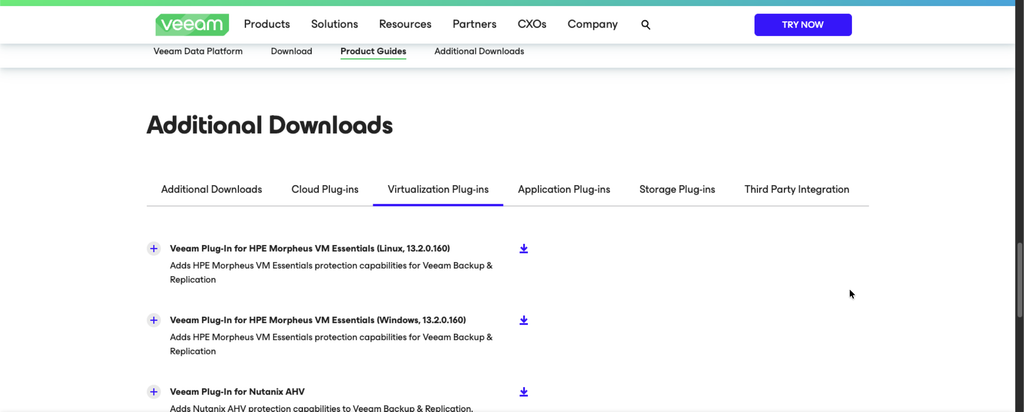
You will see a long list of all the supported Plug-Ins available, scroll down until you find “Veeam Plug-In for Red Hat OpenShift Virtualization” You will see two options, one for Linux and another for Windows, this choice will depend on your Veeam Backup & Replication server deployed Operating System.
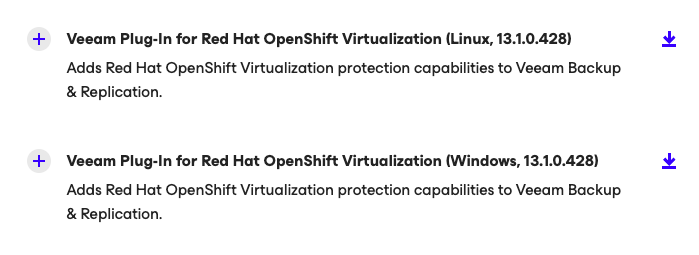
My VBR server is using the Linux variant so I have downloaded this file.

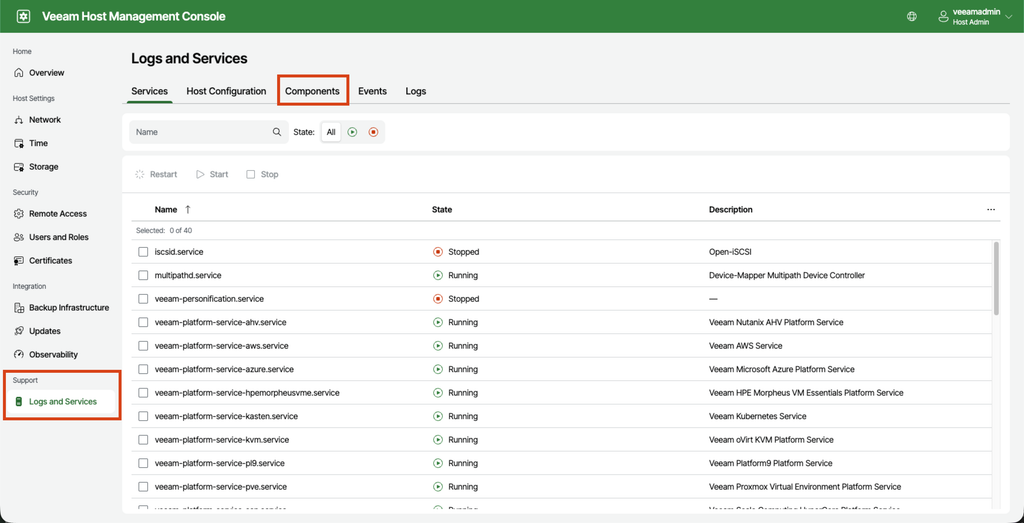
Our next step is to login to the Veeam Host Management Console, this will be at https://192.168.169.220:10443/ when you get logged in head down to Logs and Services and then over to Components. Official Documentation here
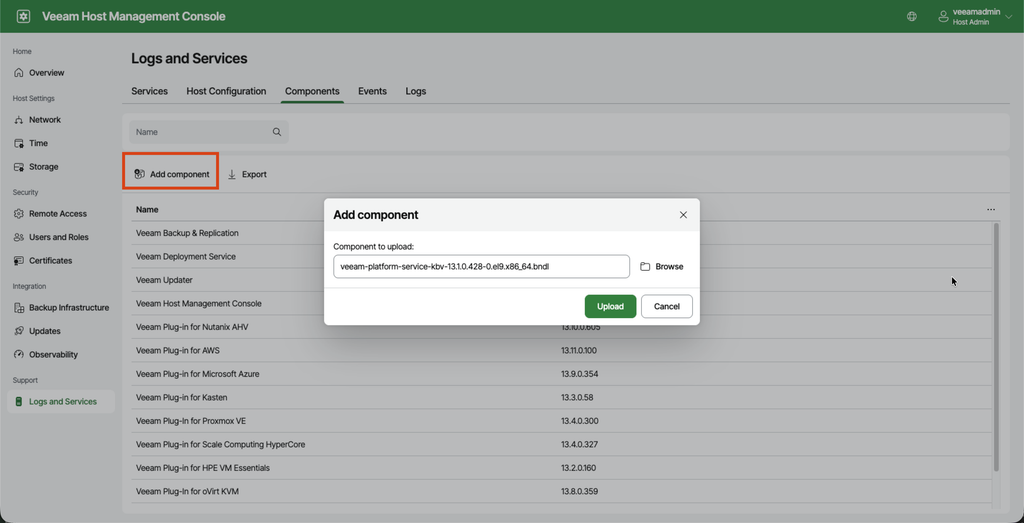
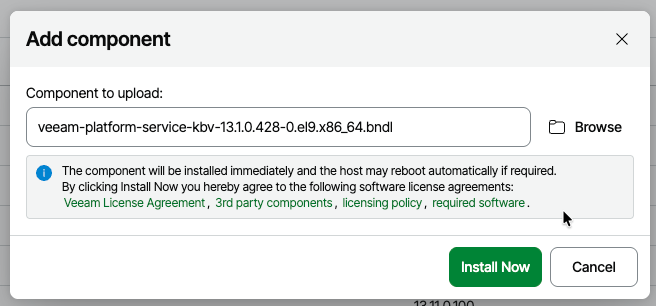
Now you want to select “Add component” and then browse to your bndl file and click upload
When you hit upload, it will then provide you with this message saying about possible reboots, and give you the option to install now.
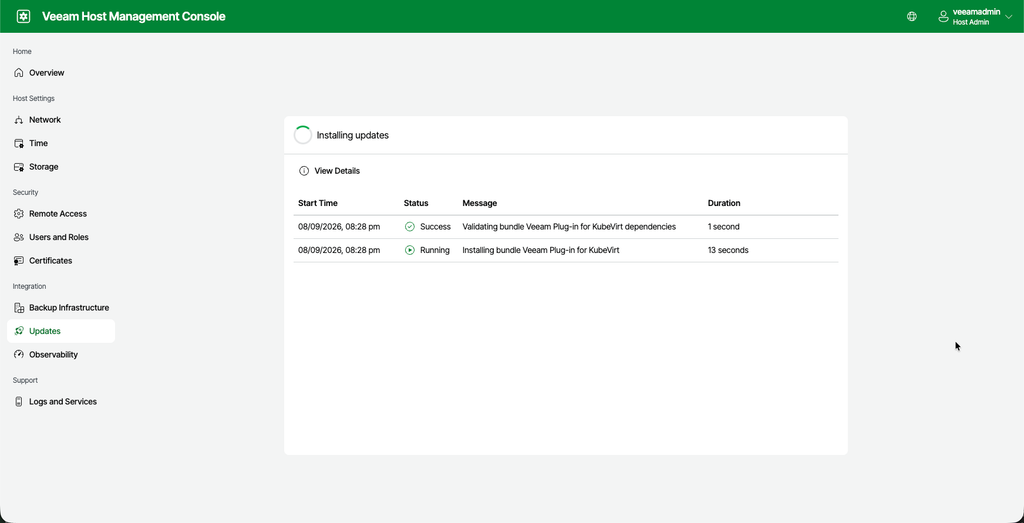
You will then see some running commentary on the installation / update process
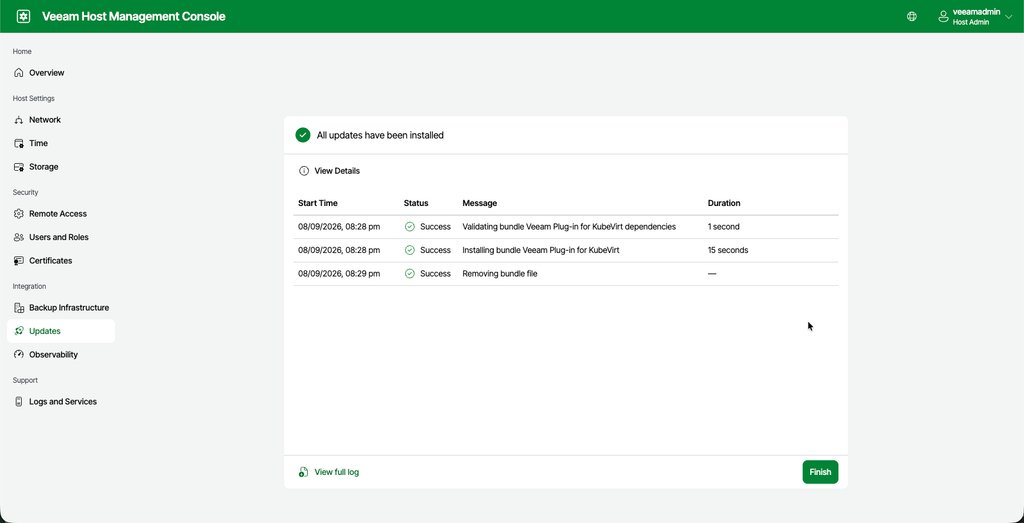
Hopefully in about 16 seconds you too will have a successful installation.
In order to use the plug-in we need to use the thick client on a windows machine, the first time I ran the thick client i got this update requirement.
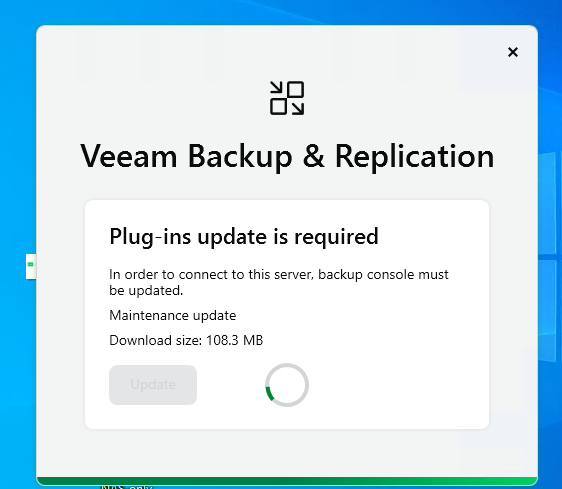
Once that update is complete you can connect and navigate to managed servers, hit add server > virtualization platforms and you should now see Red Hat OpenShift Virtualization, if you checked this before you would have noticed you did not have this… trust me.
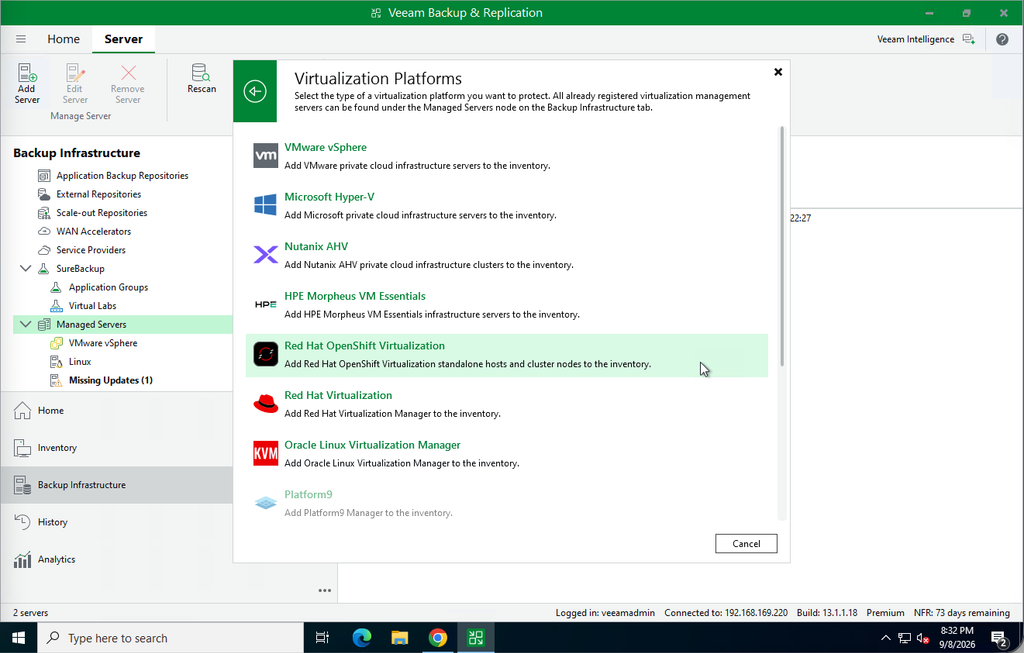
Before we add this server though we need to run through the deployment into our Kubernetes cluster, this will be done via a helm chart.
First thing we need to do is add the helm repository.
helm repo add vkp https://charts.veeam.com
then we update our repositories
helm repo update
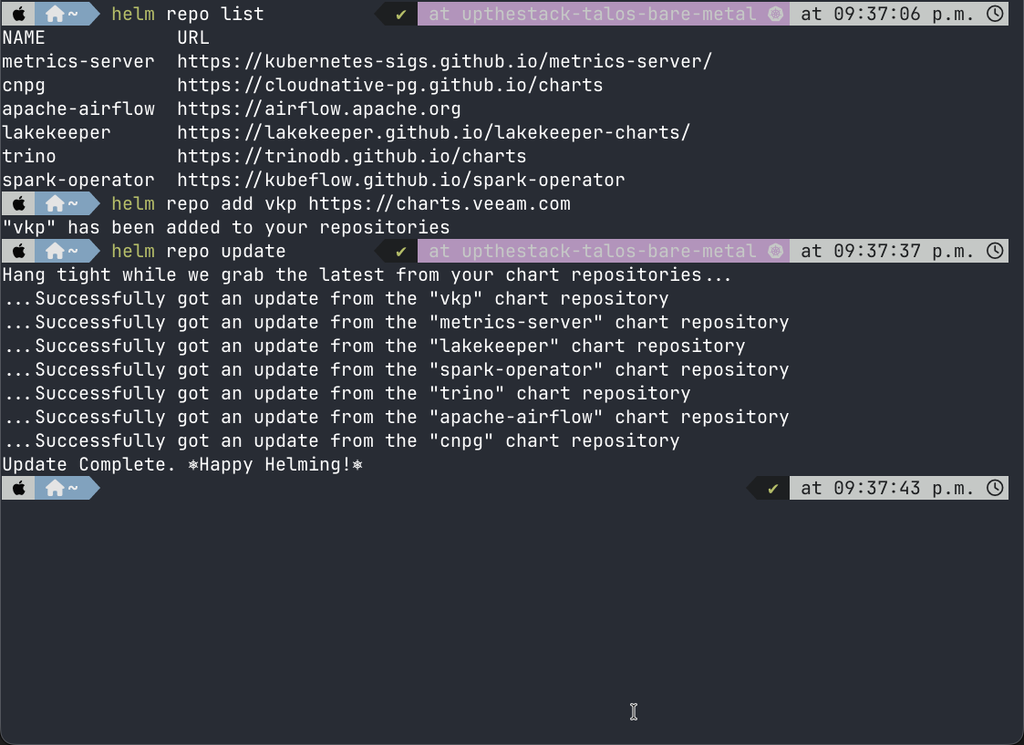
Now we can install from the helm chart. I am going to link to the docs for some additional talk track
helm install vkp vkp/vkp --namespace=vkp --set eula.accept=true --create-namespace
I will let you run through the docs but to get to an end game here ready to protect some VMs we run through and add our vkp to our vbr… we do seem to love an acronym here.
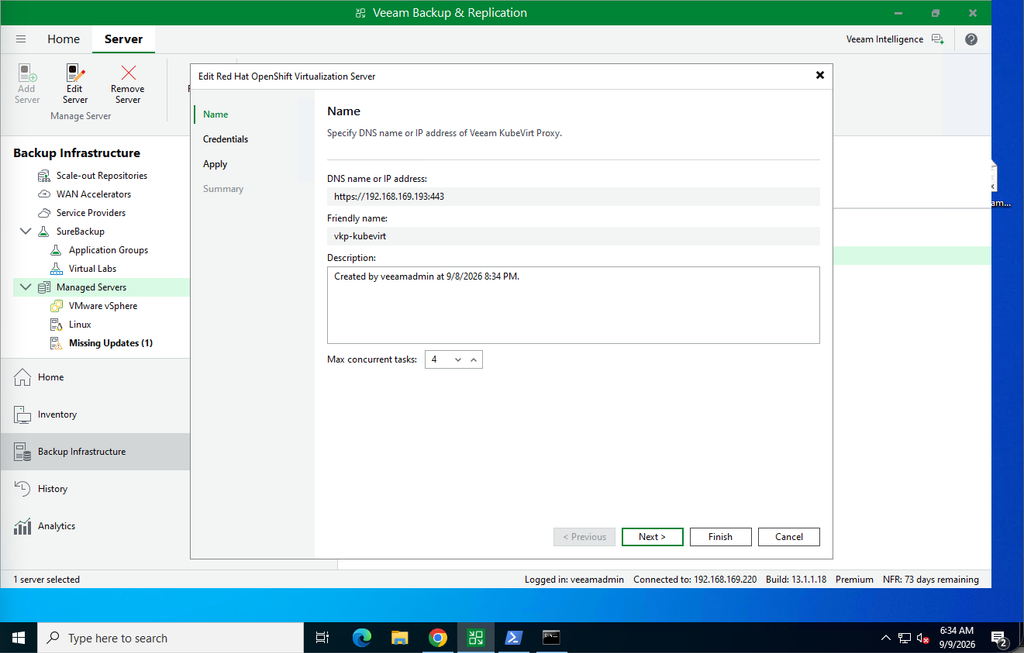
On the next step we are going to need a secret from our cluster.
kubectl get secret vkp-token -n vkp -o jsonpath='{.data.token}' | base64 -d
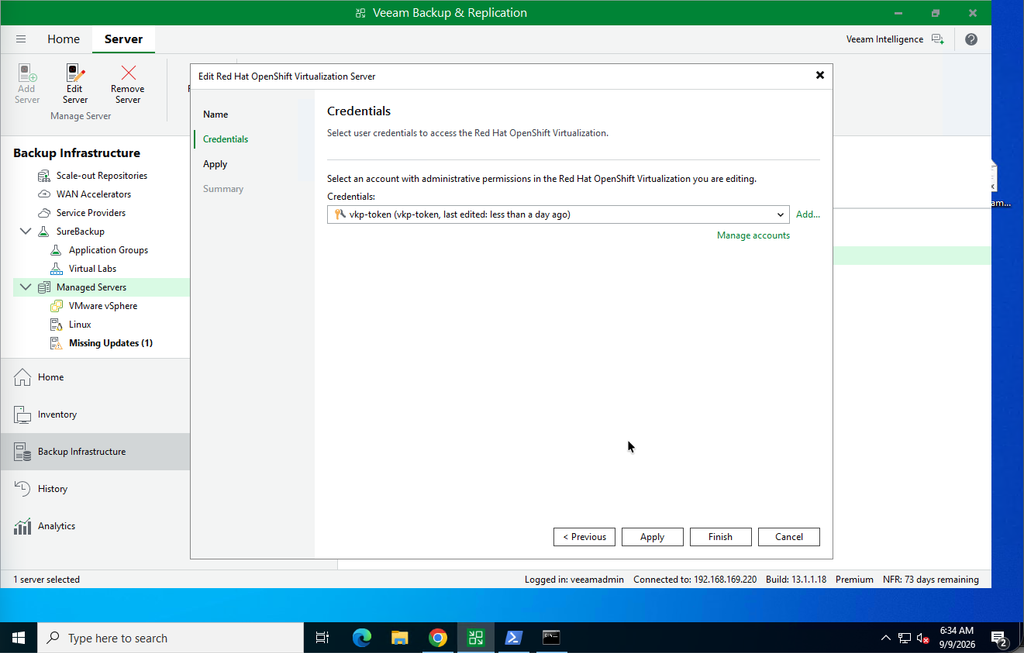
Click apply and you might have a certificate trust pop up, hit ok and finish.
Now when you go into your inventory, if you have VMs you will see something like this
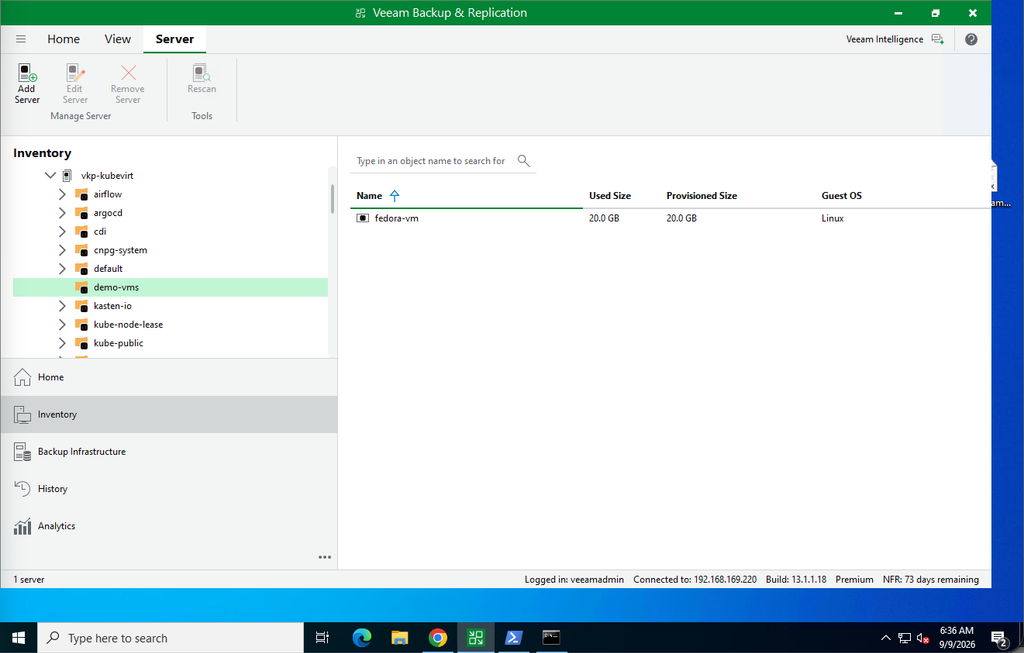
There are then lots of options when you get this first backup completed, we can perform granular recoveries of files and folders, we can restore these VM backups to other locations, be it other hypervisors or public cloud. As well as the reverse of this.