

The last post covered how to implement a load balancer such as MetalLB if you are running your learning environment outside the public cloud, the public cloud generally brings this capability natively. This post is going to focus a little more on applications but not so much between the stateful and stateless types of applications but in the shape of application deployment. We also covered in a previous post about Helm and Helm Charts and how they can help when you want to build out an application or deployment.
This post will focus on KubeApps. Your Application Dashboard for Kubernetes.
Getting KubeApps installed
It is super simple to get started and we are going to start by adding the helm chart for KubeApps, again we already covered Helm and the benefits and ease this package manager brings well it makes life really easy when deploying KubeApps which will then act as the UI it seems at least to me to some of those Helm Charts. Lets start with the following command:
helm repo add bitnami https://charts.bitnami.com/bitnami

kubectl create namespace kubeapps

helm install kubeapps --namespace kubeapps bitnami/kubeapps
the above command is going to add the helm repository and charts to your local machine, create a kubeapps namespace and then install that chart to your Kubernetes cluster and into that newly created namespace.
After running the above if we go and run kubectl get all -n kubeapps you will get the following output for all the components we have to build up KubeApps.
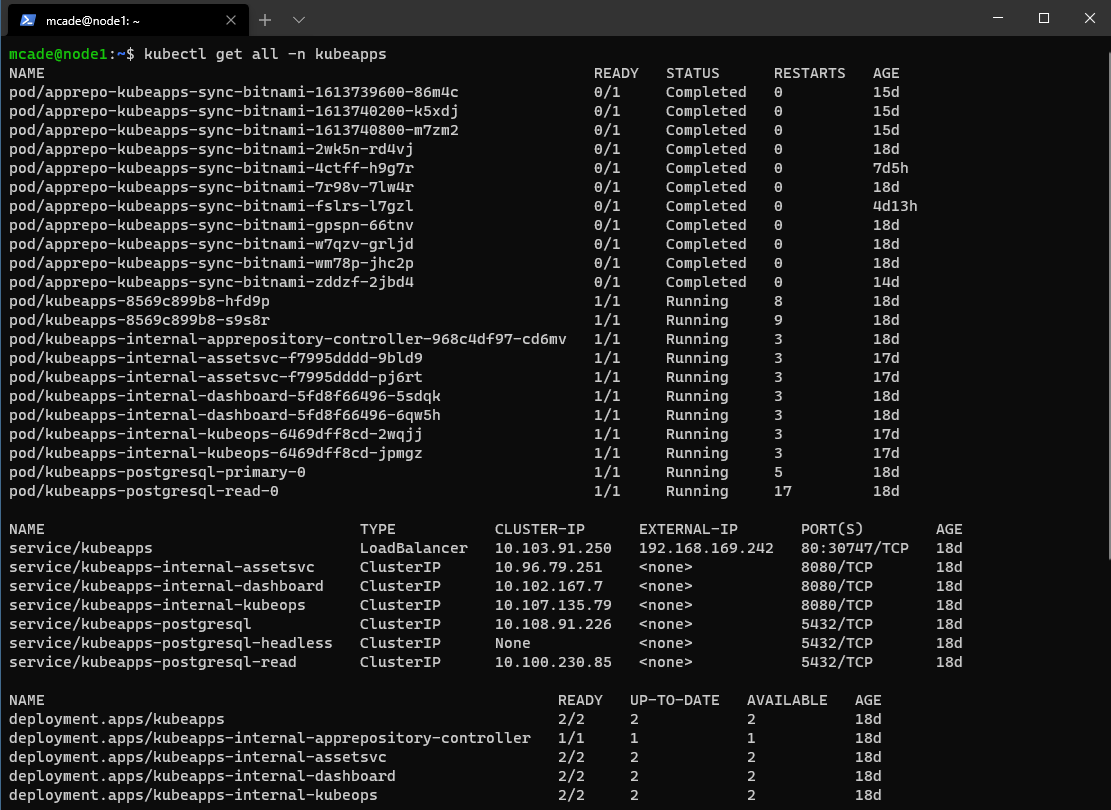
Continued
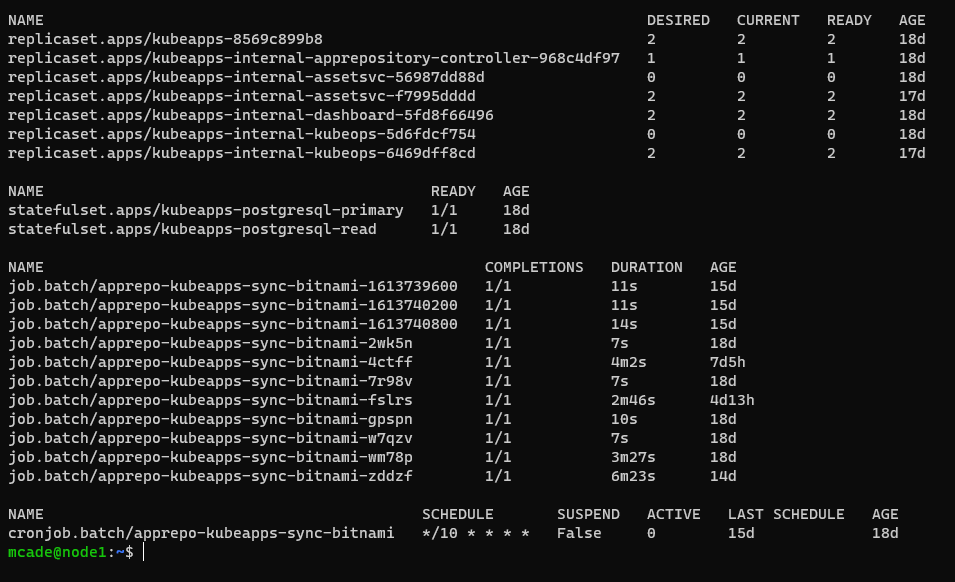
As you can see there is quite a lot happening above, you will also notice that on service/kubeapps service we are using a LoadBalancer port if we run the following command you can see the description of this service.
kubectl describe service/kubeapps -n kubeapps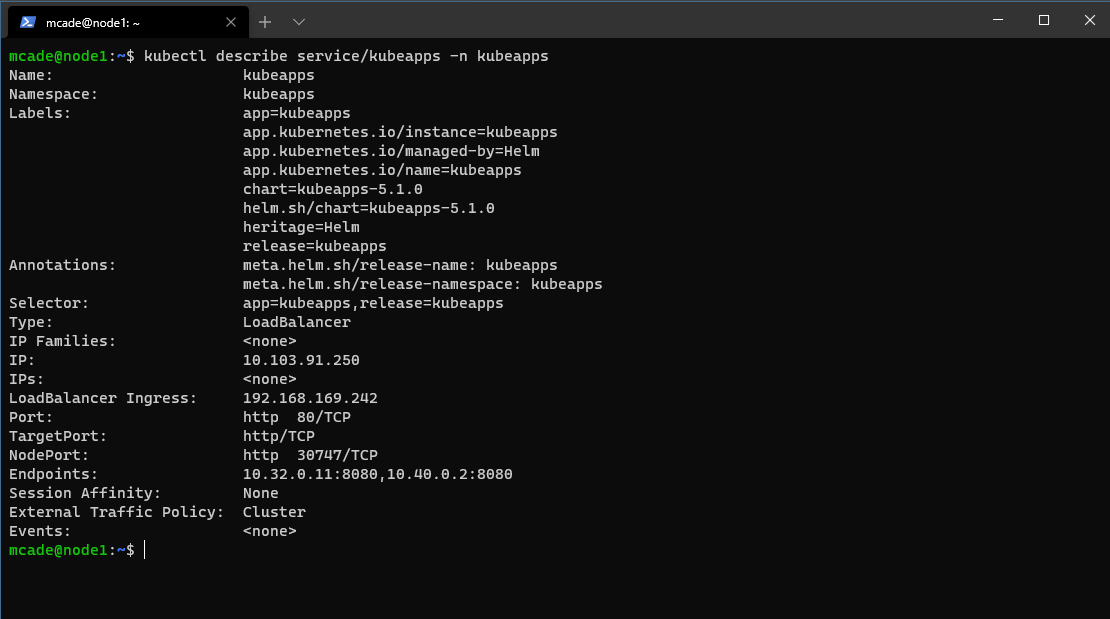
If you did not go through the load balancer post then you could also use a NodePort configuration here to access the application via a web browser
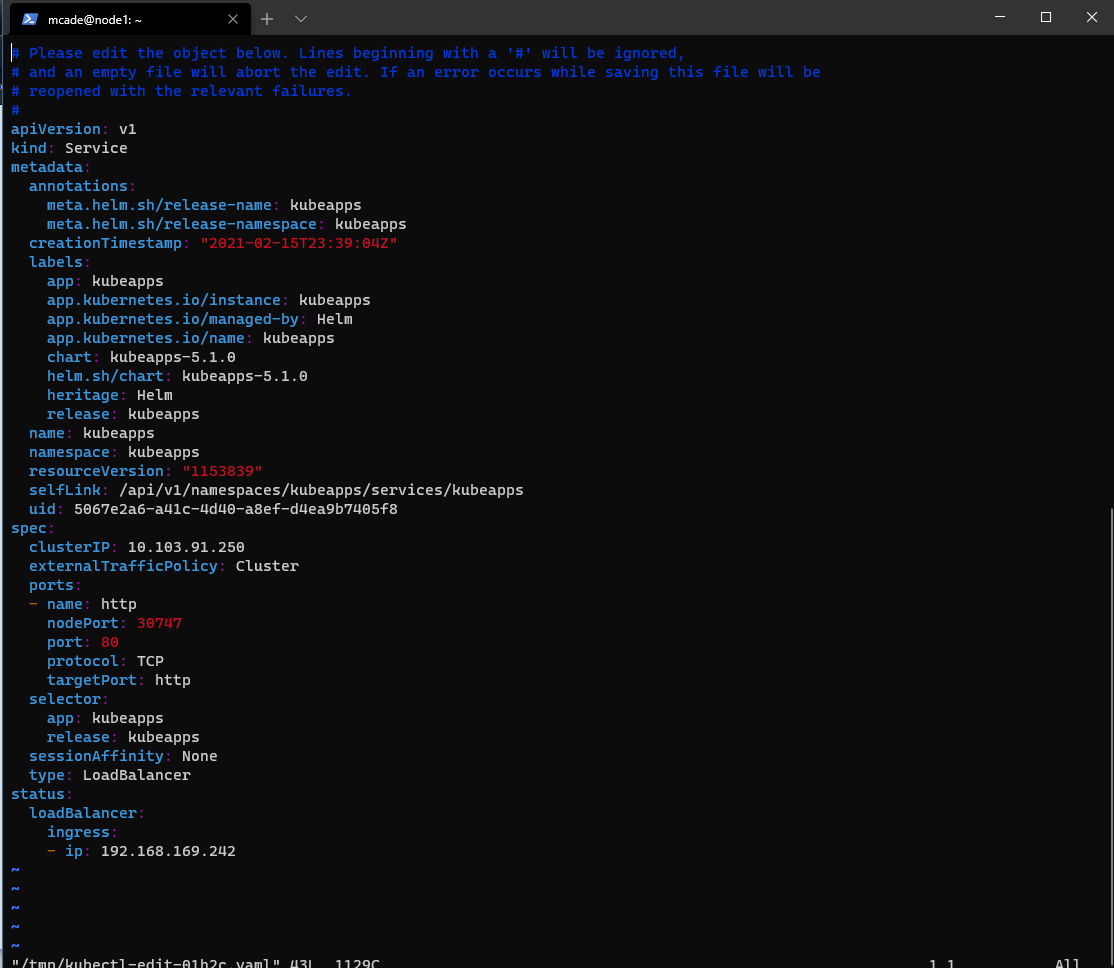
kubectl port-forward -n kubeapps svc/kubeapps 8080:80if you need to update your service configuration to the correct port type then you can do this by running the following command and changing the port type.
kubectl edit service/kubeapps -n kubeapps
Ok, now either with your Load balancer IP or your node address you will be able to open a web browser.
kubectl get service/kubeapps -n kubeapps  From the above, we need to navigate to http://192.168.169.242 in your web browser, and you should see the following page appear.
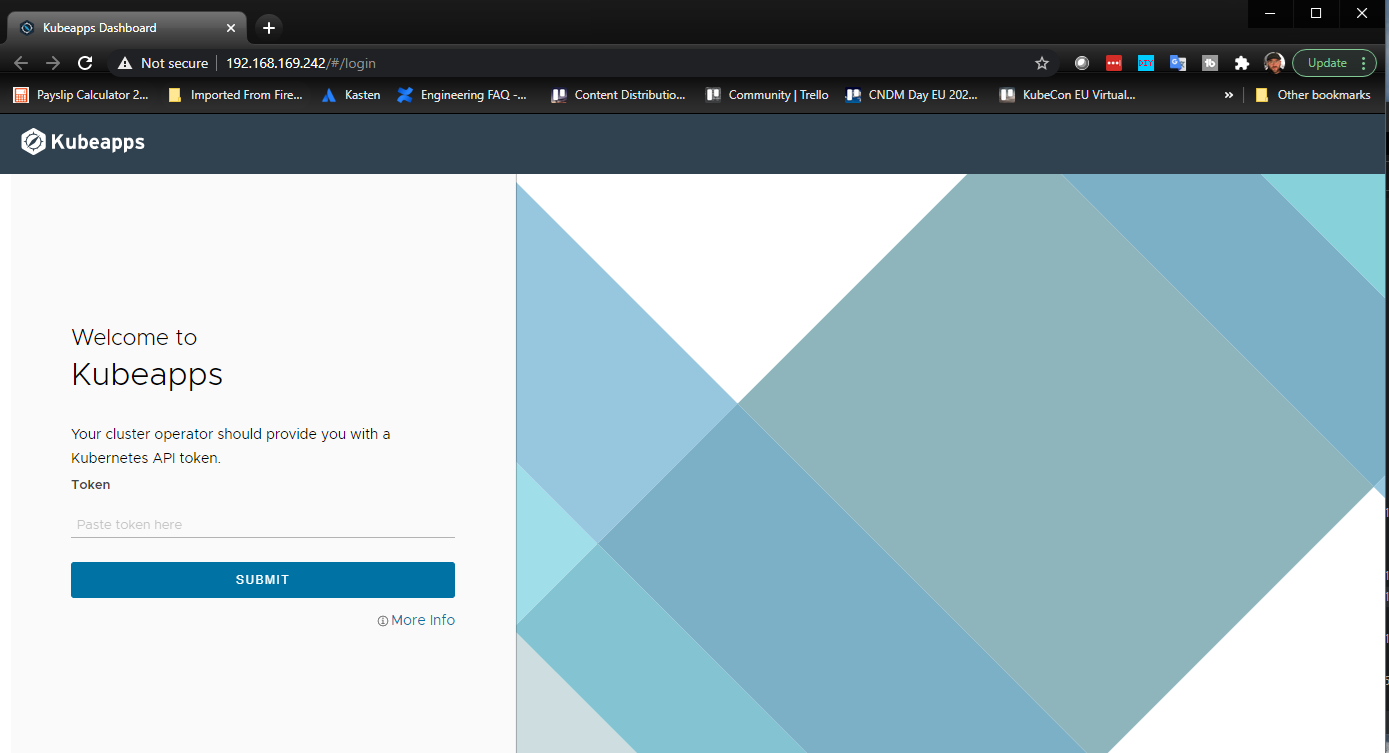
You will notice from the above we now need an API token so let’s go and grab that to get in. first of all for demo or home lab purposes we are going to create a service account and cluster role binding with the following commands.
kubectl create --namespace default serviceaccount kubeapps-operatorkubectl create clusterrolebinding kubeapps-operator –clusterrole=cluster-admin –serviceaccount=default:kubeapps-operator
then to get that API token we need the following command:
kubectl get secret $(kubectl get serviceaccount kubeapps-operator -o jsonpath='{range .secrets[*]}{.name}{"\n"}{end}' | grep kubeapps-operator-token) -o jsonpath='{.data.token}' -o go-template='{{.data.token | base64decode}}' && echo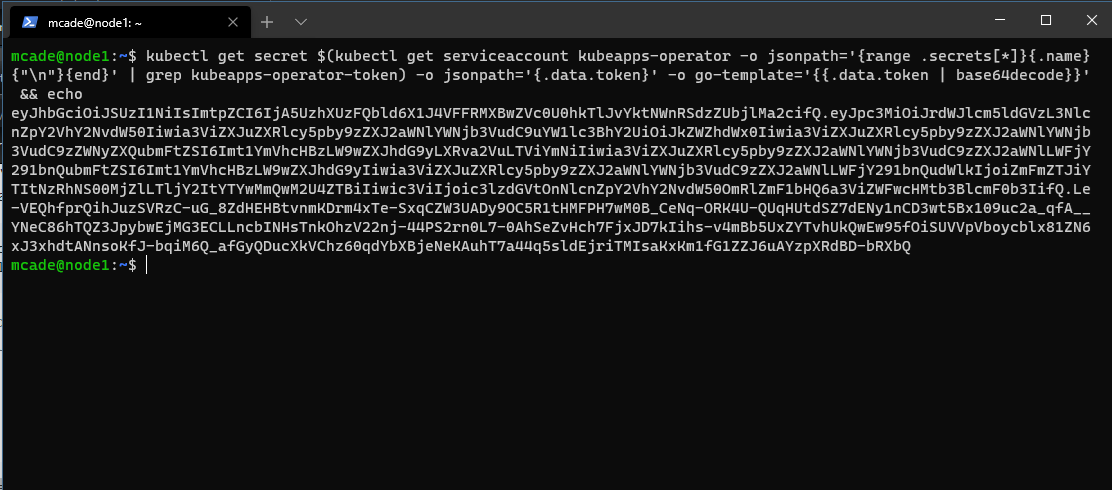
Let’s now copy that token into our web browser and authenticate it into the dashboard. It should look like this if you have deployed anything that is also found in Kubeapps into your default namespace against best practice like me. Here we can see the NFS Provisioner and MinIO
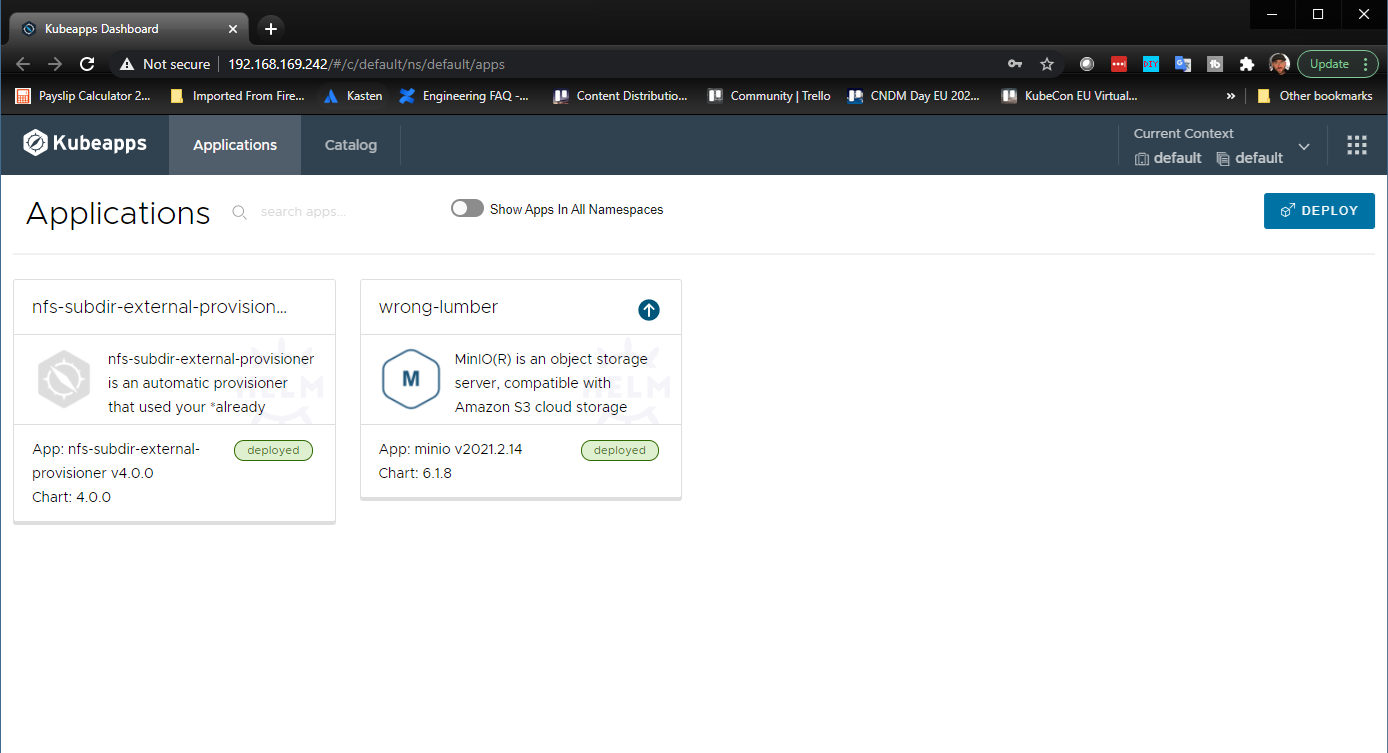
You can also select show apps in all namespaces, and you guessed it all the apps in all your namespaces will appear.
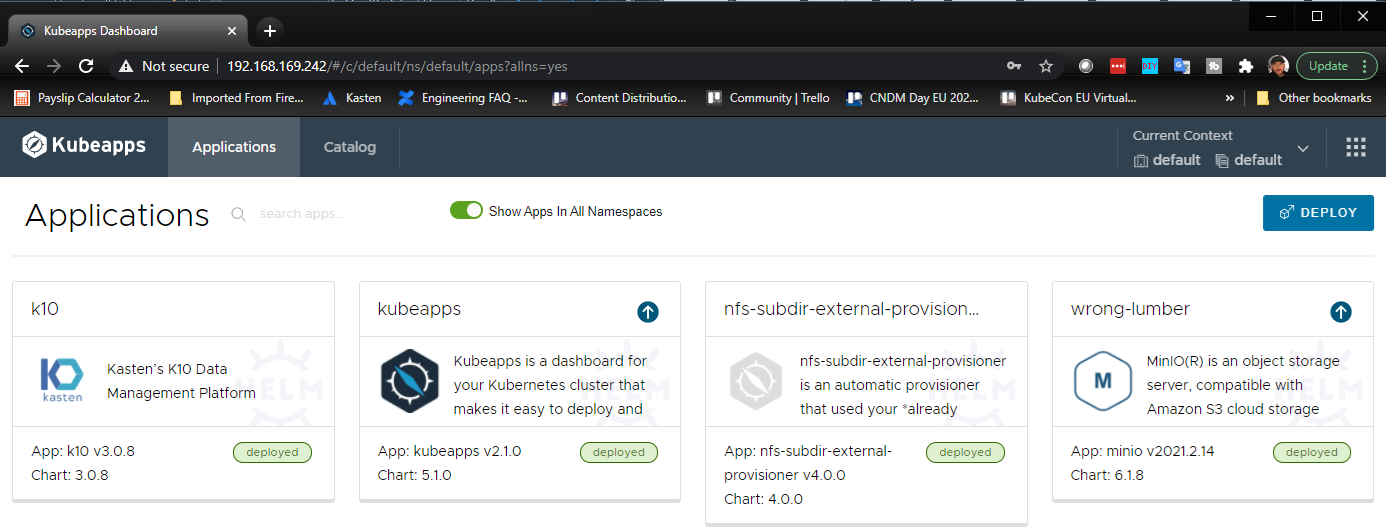
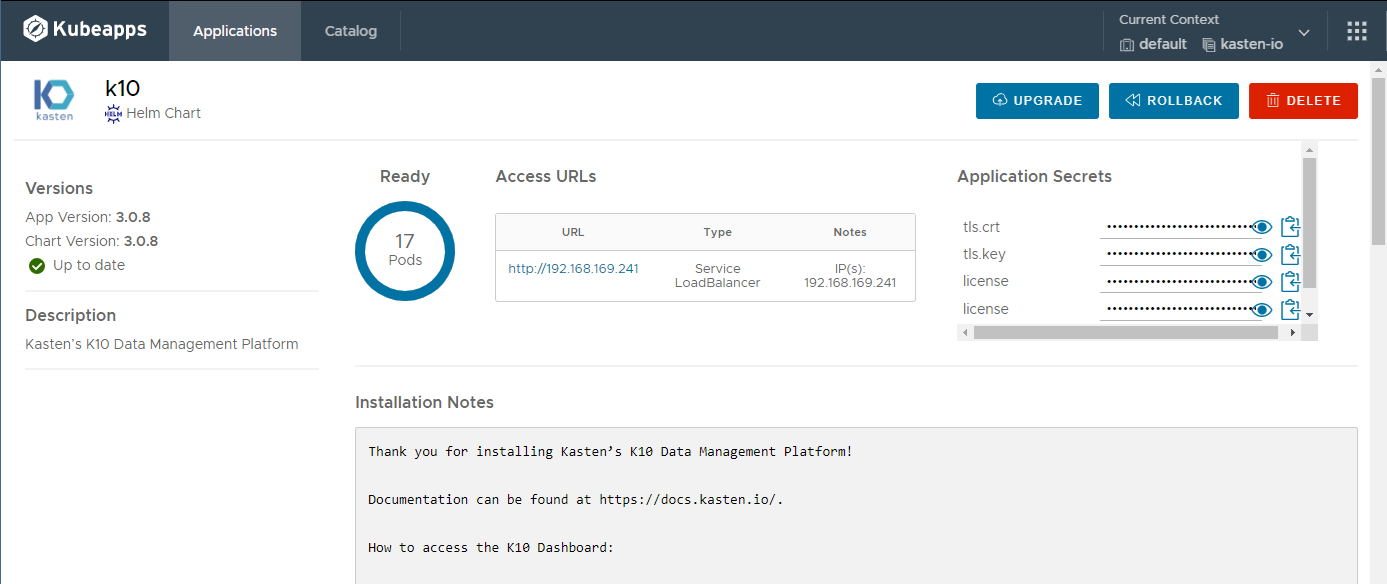
Now you can click into these applications and you can see details about each one including versions, upgrade options, Access URLs and some general details you might need as well as rollback and delete options.
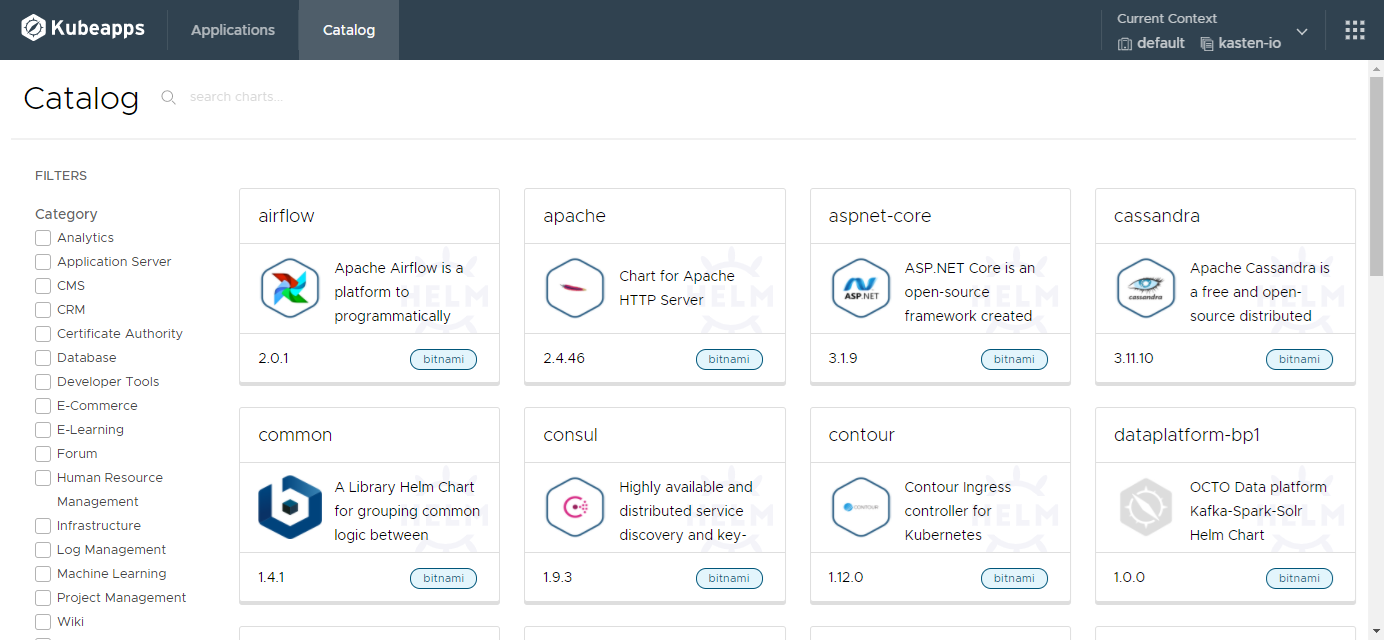
But where I really like this as a fan of the app store UI look and feel vs command line for the most part. I can navigate to catalog at the top of the page and this is going to open the door to a long list of different applications we may wish to deploy in our environment in a super simple way.
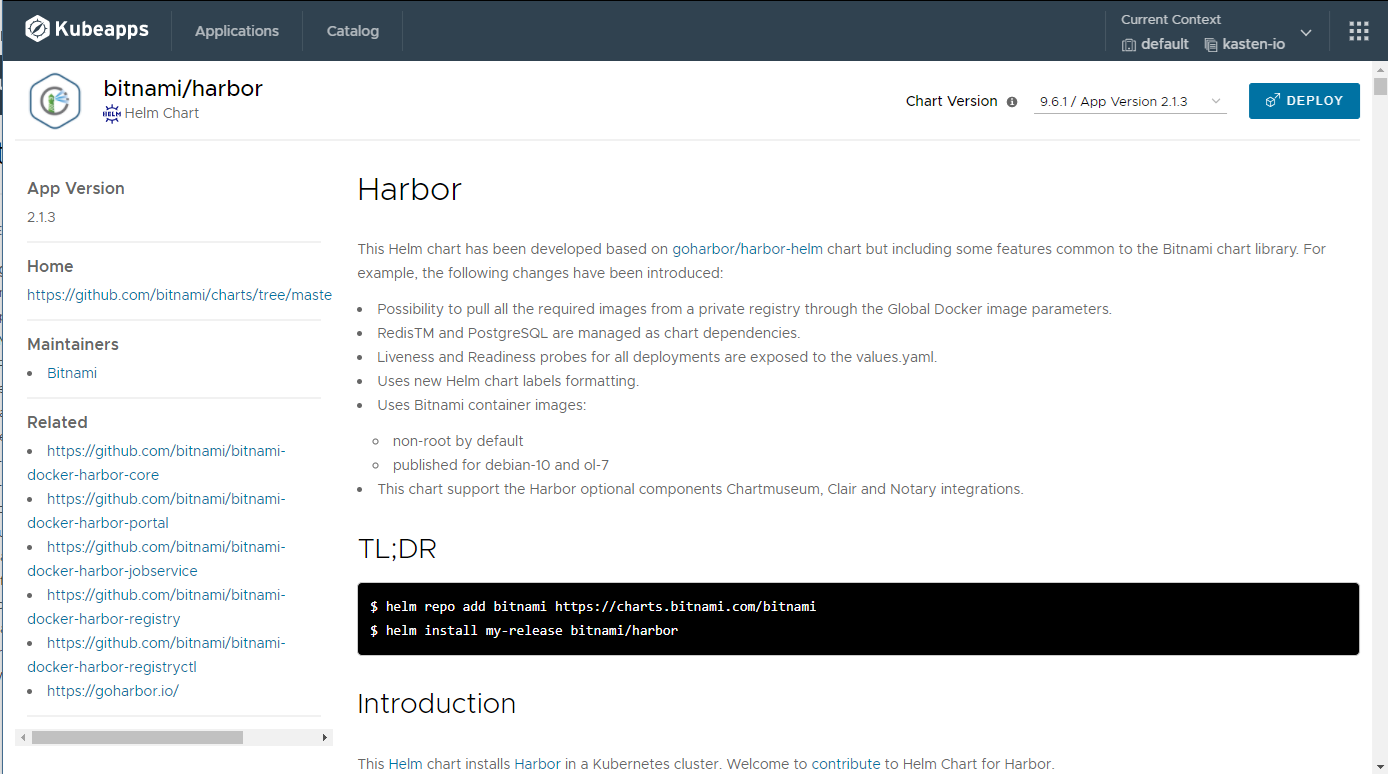
If you select one of these apps, let’s take Harbor for example a local container registry option we can easily deploy this to our Kubernetes cluster and we can also see in the description what is happening under the hood in regards to the Helm chart it is going to use and which version.
When you click on deploy you then see that you actually have the ability to change the configuration and YAML to suit your requirements. This is the ideal place to change that Port Type for your deployment so that out of the box deployments automatically land on the deployment rather than you having to go and change that configuration which in the long run is not the way you should be using the imperative nature of Kubernetes.
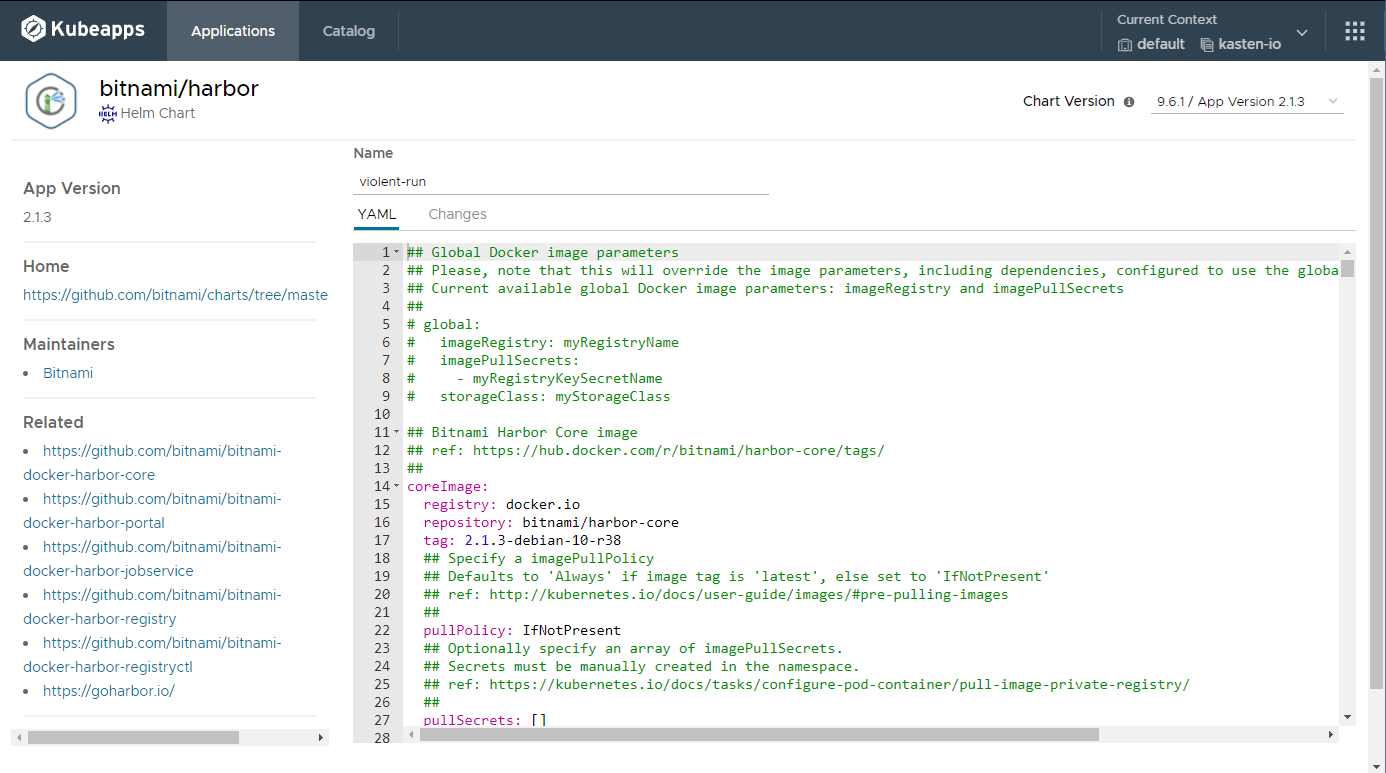
Once you have checked the YAML, possibly changed the name as this is randomly generated (like my MinIO application) and then you can hit deploy

In real life that was actually super quick, I know I could be just saying this but it’s true. Once the deployment has finished you can see your access URLs and application secrets that you need to connect. What you will see though is that it is not ready, and we are currently waiting for the Not Ready to change to ready before we can access those URLs.

So once that is complete and ready, we can then navigate to the access URL and play with our application.
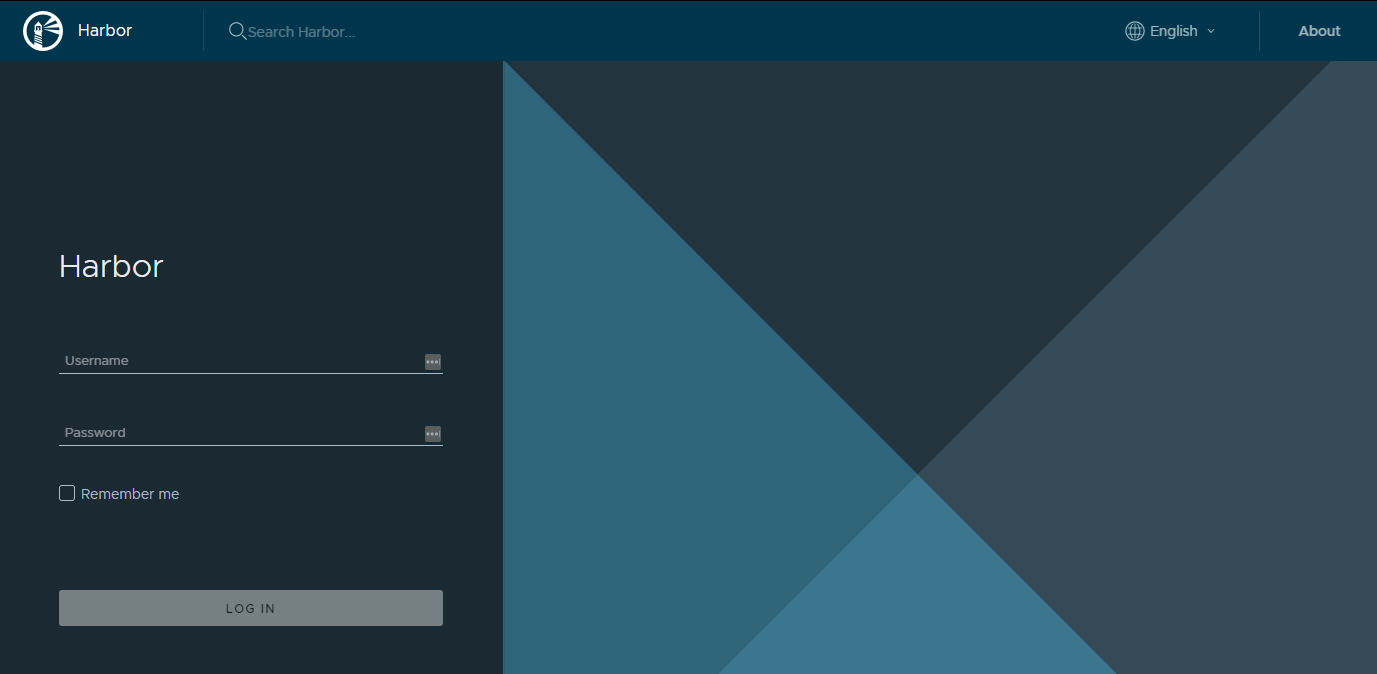
The username is going to be admin and the password go back to your shell and run the following command: this will give you the password to log in.
echo Password: $(kubectl get secret --namespace harbor harbor-core-envvars -o jsonpath="{.data.HARBOR_ADMIN_PASSWORD}" | base64 --decode)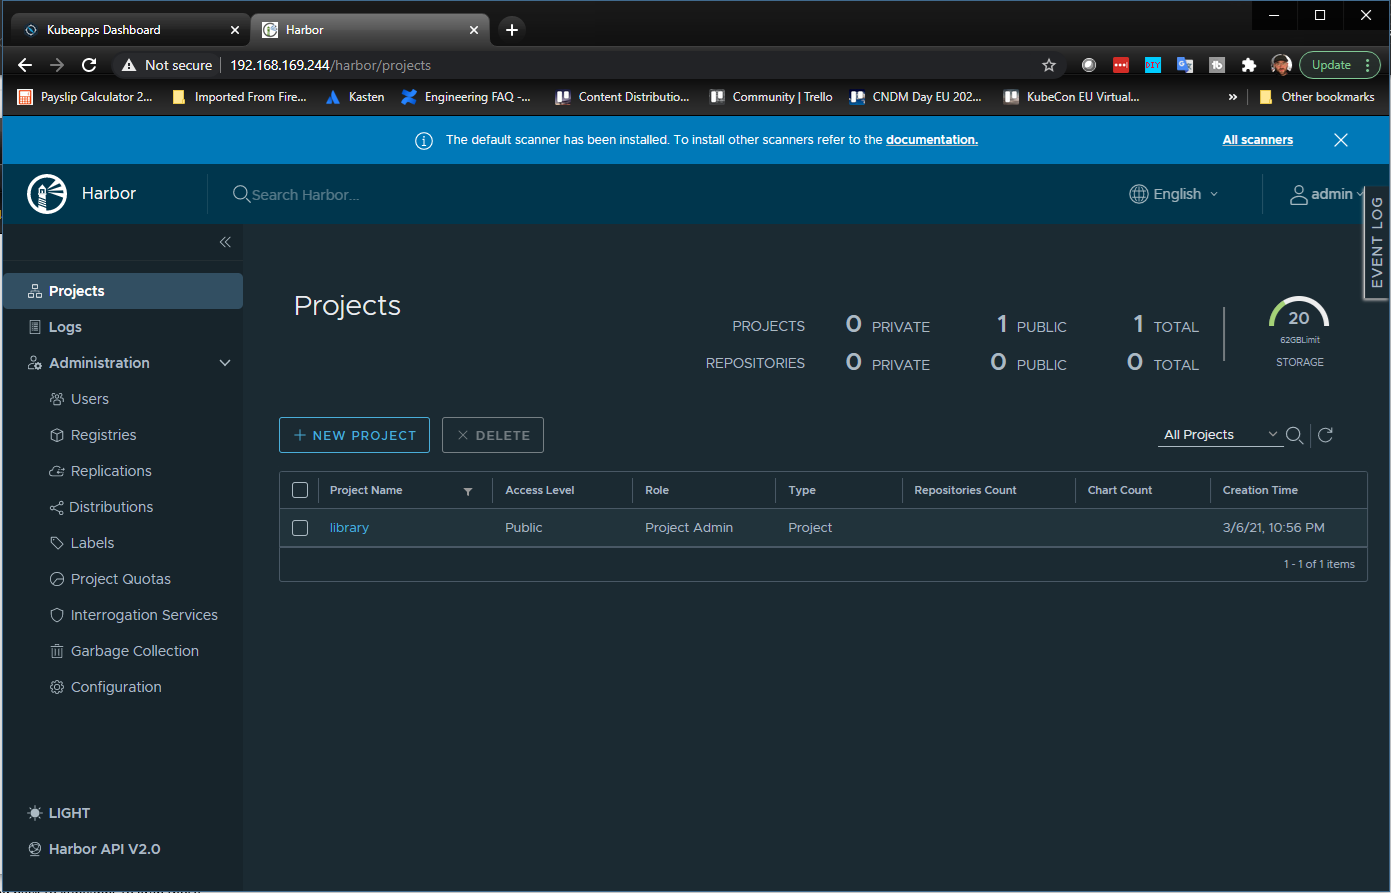
Once again hopefully that was useful and helps just one person get their head around this new world. I also hope that if you have been following along that the world of Kubernetes is not too daunting anymore especially if you have come from a vSphere and Storage background, we have seen a lot of this before and yes, it is different when you get to the theory and component build-out of Kubernetes but that’s how virtualisation was back in the day. Next post we are going to take a deeper look into a fun deployment that we used at a recent London VMUG.

1 Comment