Virtual Machines on Kubernetes is a thing so I thought it would be a good idea to run through how to get the Veeam Software Appliance up and running on KubeVirt which will also translate to enterprise variants that use KubeVirt to enable virtualization on top of Kubernetes such as Red Hat OpenShift Virtualization and SUSE Harvester.
I wrote about the Veeam Software Appliance and ran through the steps to get the system up and running as the brains of your backup environment along with some of the benefits it brings.
For those familiar with the process I took in the above link in vSphere, be warned defining virtual machines in Kubernetes is all about the YAML.
What you will need
A Kubernetes cluster, I will be using Talos Linux as my Kubernetes distribution in the home lab but any bare metal Kubernetes cluster should work providing you have the system requirements.
The system requirements for the nodes in your cluster should have enough to meet the requirements of the Veeam Software Appliance. 8 vCPU, 16+ GB RAM, and two disks (≈240 GB+ each)
You should have a StorageClass with enough capacity to store the above disk requirements.
KubeVirt + Containerized Data Importer (CDI) installed and working. CDI is used to create DataVolumes and import/upload images. (I am running version 1.6.0 of kubevirt)
Client side you will need kubectl and virtctl, kubectl is how we will interact with the cluster, virtctl helps us to upload images, start virtual machines and open a VNC/Console to the machine.
High Level Steps
- Upload the Veeam Software Appliance ISO into the cluster (DataVolume)
- Create Blank DataVolumes (PVCs) that will become the appliance target disks (this needs to be 2 x 250gb due to us needing 248gb)
- Create a Virtual Machine that attaches the ISO and the blank PVCs as disks (ensuring the correct boot order)
- A service so that the system can be accessed outside of the cluster.
- Start the VM and work through the initial configuration wizard of the appliance
Upload the ISO into the cluster
We now need to get the ISO into our cluster as a DataVolume to be used with the virtual machine creation in the next step. First we need to create a namespace where will create the virtual machine and everything associated with it.
kubectl create ns veeam

You could use port-forward but for a large ISO like this it might take a considerable amount of time. I opted to use a local web server on my system to share the ISO. I used a simple python web server with the following command.
python -m http.server 8080
We will then create a DataVolume for our ISO and we will specify the URL to get our ISO. Be sure to change your path and storageclass.
# veeam-iso-dv.yaml

apiVersion: cdi.kubevirt.io/v1beta1

kind: DataVolume

metadata:

name: veeam-iso-dv

namespace: veeam

spec:

pvc:

accessModes: ["ReadWriteOnce"]

resources:

requests:

storage: 13Gi

storageClassName: ceph-block

source:

http:

url: http://192.168.169.5:8080/VeeamSoftwareAppliance_13.0.0.4967_20250822.iso
We will then apply this with
kubectl apply -f veeam-iso-dv.yaml
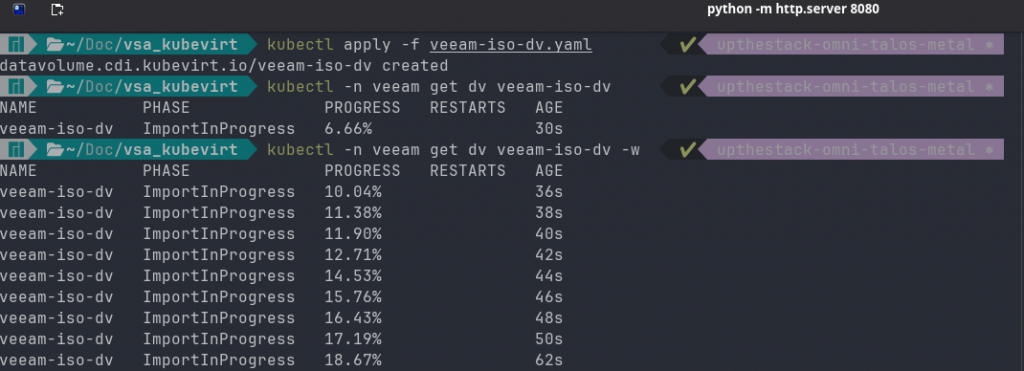
The import process will then start and you can use the following command to see the import progress.
kubectl -n veeam get dv veeam-iso-dv -w

You can keep on eye on this, don’t panic if it gets to 99.99% and sits there for the same time again with no updates. You can come out of this watch command and check the pod logs, you will have an importer pod in your veeam namespace that you can run this command against.
kubectl logs importer-prime-a1ec931f-5335-4f59-aa97-6f165f1c38eb -n veeam
When complete you can run the following command and hopefully you will see something like the screenshot below
kubectl -n veeam get dv veeam-iso-dv

Note when I first tried to use port-forward with this iso it was suggesting 7+ hours so this way is much more efficient.
Create blank target disks (DataVolumes)
You might at this stage be realising the difference between Kubevirt and a hypervisor like vSphere…
We have the ISO uploaded to the cluster and we are now ready to create our Virtual Machine.
There is an option in the following YAML to use CloudInitNoCloud to inject an SSH user for access after installation, I have not added this as although you can SSH into the Veeam Software Appliance from a security standpoint it is not enabled and requires elevated security officer approval, maybe more on this in another post.
We are now going to define our Virtual Machine in code. Again if you are copying and pasting then please amend resources, storageclass and namespace if different to what I have used above.
The appliance requires UEFI vs BIOS so we have made that change to the VM configuration below.
You can find the VM code listed here in this GitHub repository
veeam-vm.yaml
https://github.com/MichaelCade/vsa_kubevirt
Now we can create our VM using the command below
kubectl apply -f veeam-vm.yaml

At this stage our virtual machine is powered off but to confirm the status we can check using
kubectl get virtualmachine -n veeam

Start the VM
Four YAML files later, we are now ready to start the machine.
When ready we can start things using the following virtctl command
virtctl start veeam-appliance -n veeam

lets then use that command again to check the status of our virtual machine
kubectl get virtualmachine -n veeam

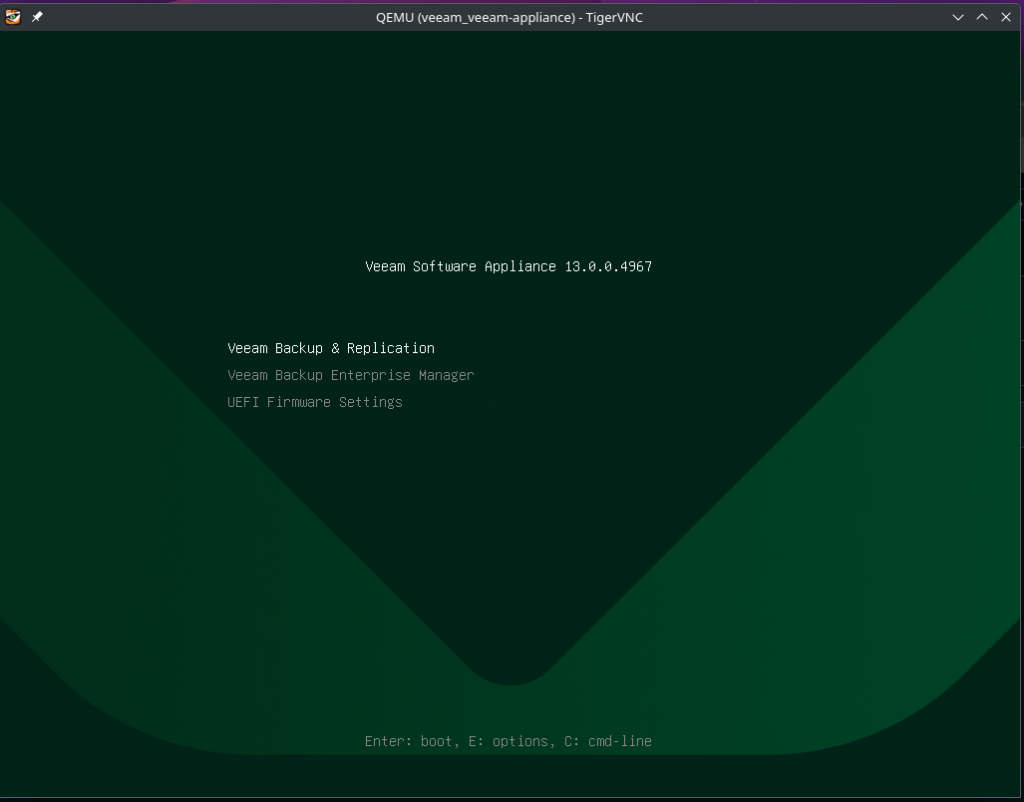
Now we need a console to complete our initial configuration wizard within the TUI, I have installed tigervnc as my client
you can then run a virtctl command to connect
virtctl vnc veeam-appliance -n veeam

and with this command you will also see the following pop up,

Ok, I think that is enough for this post. I have been storing the code snippets in a repository on GitHub that can be found here. – https://github.com/MichaelCade/vsa_kubevirt
Once you get to this page of the Initial configuration, you can then follow this post to complete the steps. – https://vzilla.co.uk/vzilla-blog/the-veeam-software-appliance-the-linux-experience
