Omarchy is taking the Linux Desktop and developer community by storm, standing out as a serious contender for the year of the Linux Desktop. My daily driver for some time now has been Manjaro Linux, which is Arch Linux-based.
A hurdle—though we don’t let hurdles get in the way of a good story and use case—is support. The Veeam Agent for Linux officially supports enterprise and LTS distributions like RHEL, Rocky, Alma, Ubuntu, Debian, SLES, and Fedora. Arch Linux isn’t on that official matrix, but spoiler alert: I have it protecting my rolling-release desktop just fine.
Gotchas
Support aside, a couple of things can trip up backup jobs on fast-moving distros. Whenever Manjaro or Omarchy pushes a major kernel update, Veeam requires the matching linuxXX-headers package installed concurrently so the veeamblksnap DKMS module can recompile successfully. Omarchy runs fast-moving Arch kernels, meaning if your headers fall behind the kernel version, the out-of-tree block snapshot driver will fail to build.
Package Management
Omarchy uses the standard Arch User Repository (AUR). While DHH and the Omarchy team have discussed building custom repository efforts, right now we rely on standard Arch tooling to pull down packages.
Getting Started
For testing purposes, I set this up inside a VM using VirtualBox on my Manjaro machine—though wiping the bare-metal desktop might be the next adventure. Running omarchy update from the foot terminal gives you a clean baseline to start from. From that terminal I ran
omarchy update
Step 1 – Check system and kernel headers are up to date
The goal here is to get Veeam Agent for Linux installed and configured to backup and recover any data that goes bad. Out of the box at least at the time of writing this some of the packages we need are either not included.
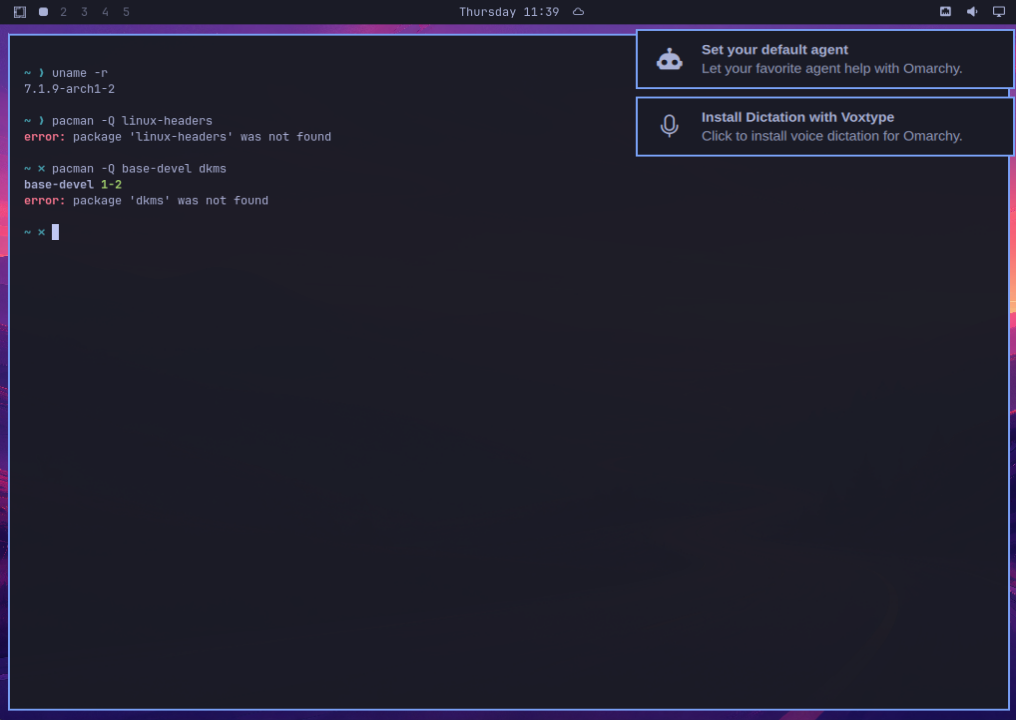
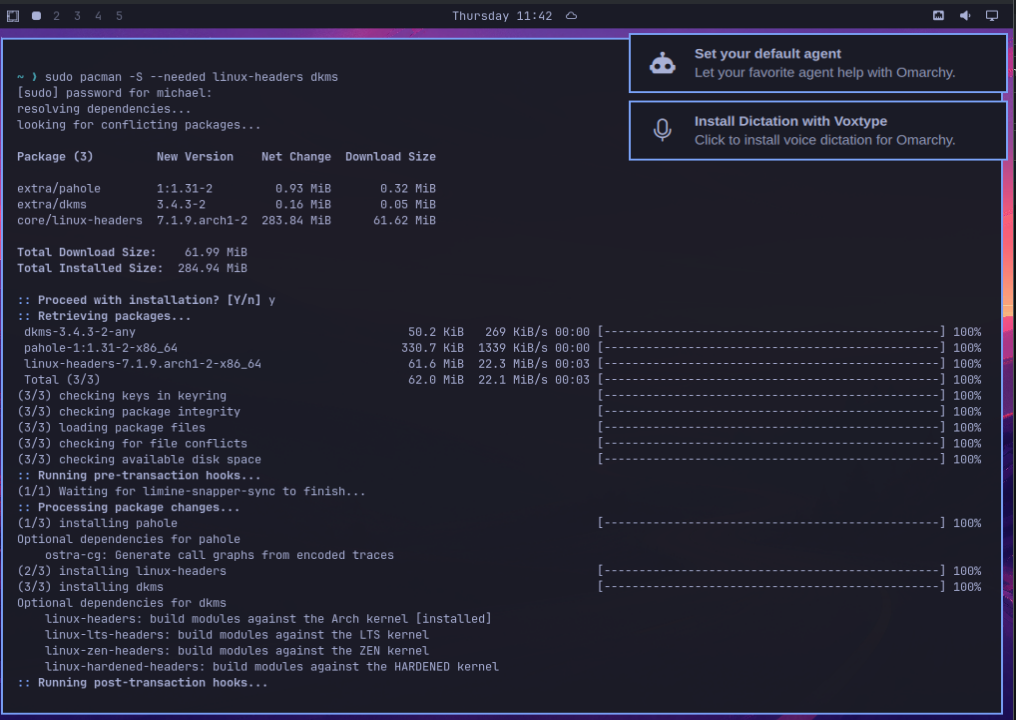
As you can see we are missing some of the packages we need here. We can get them installed with the following command.
sudo pacman -Syu --needed linux-headers dkms
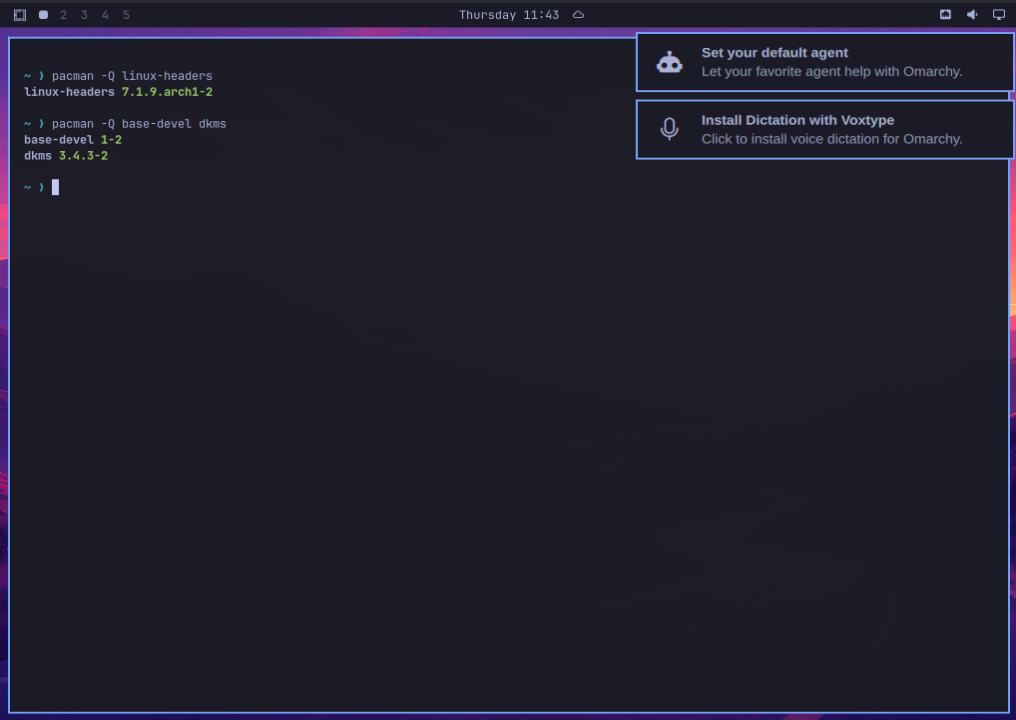
Lets just check we get a better output from the first command
Step 2 – Install Veeam Agent for Linux
The foundation is set with the above and we have the required packages, now we are ready to get the Veeam Agent deployed so that we can start taking some of those sweet backups.
yay -S veeam
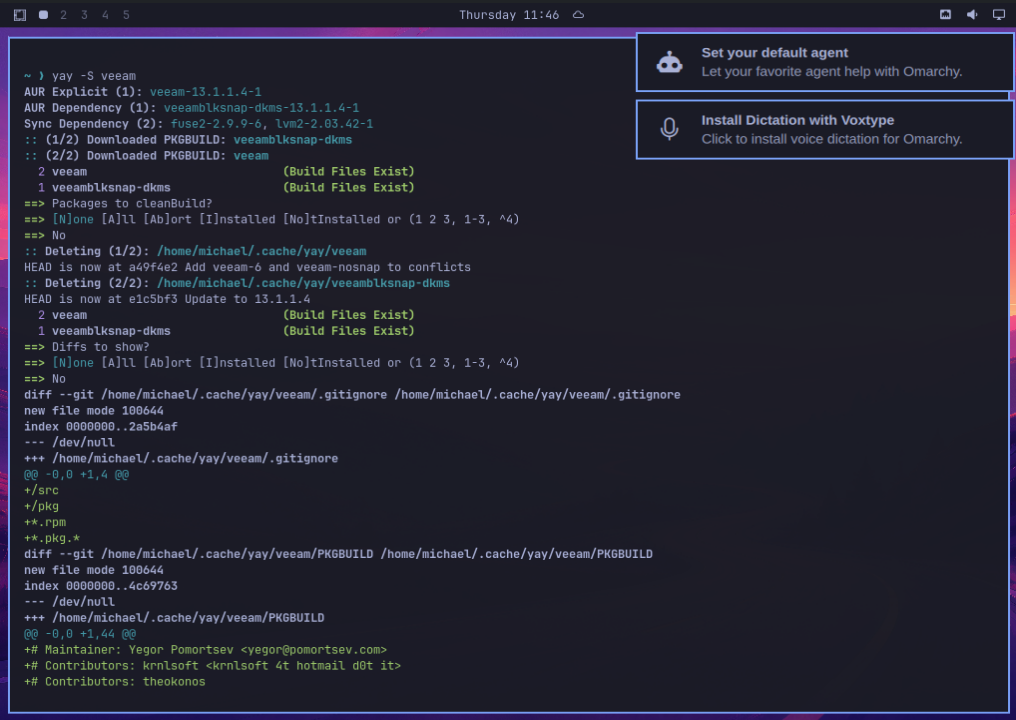
There are a couple of prompts throughout the installation that we have to hit y on. But also take note of what other packages are being installed here. I actually don’t know if those initial packages would have been deployed here, not had chance to just go straight in with a Veeam installation.
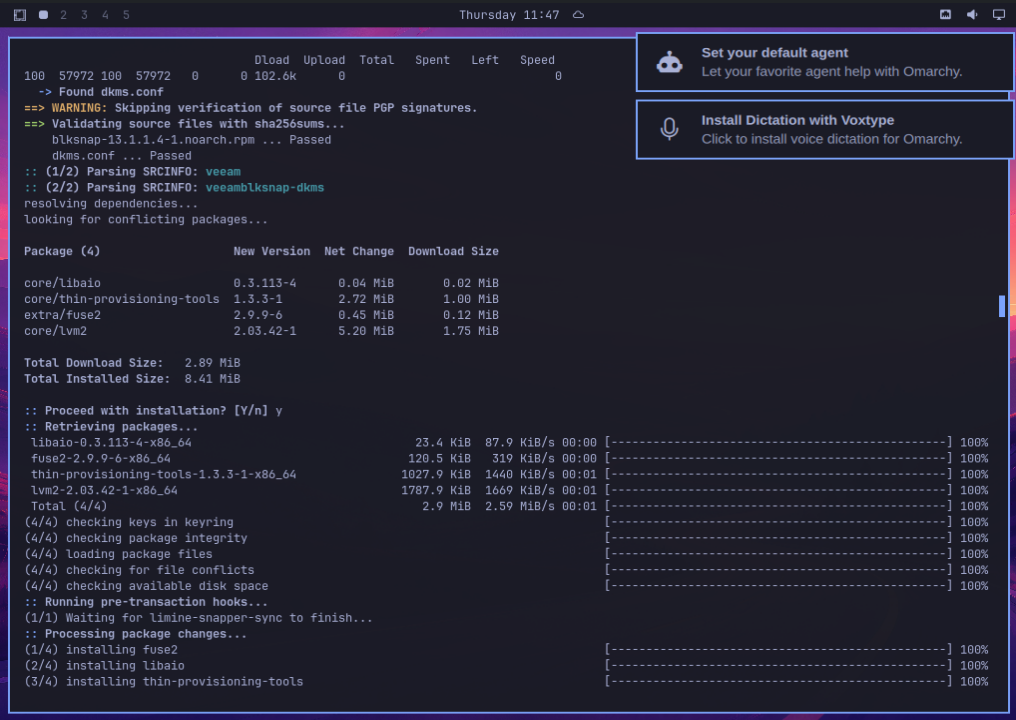
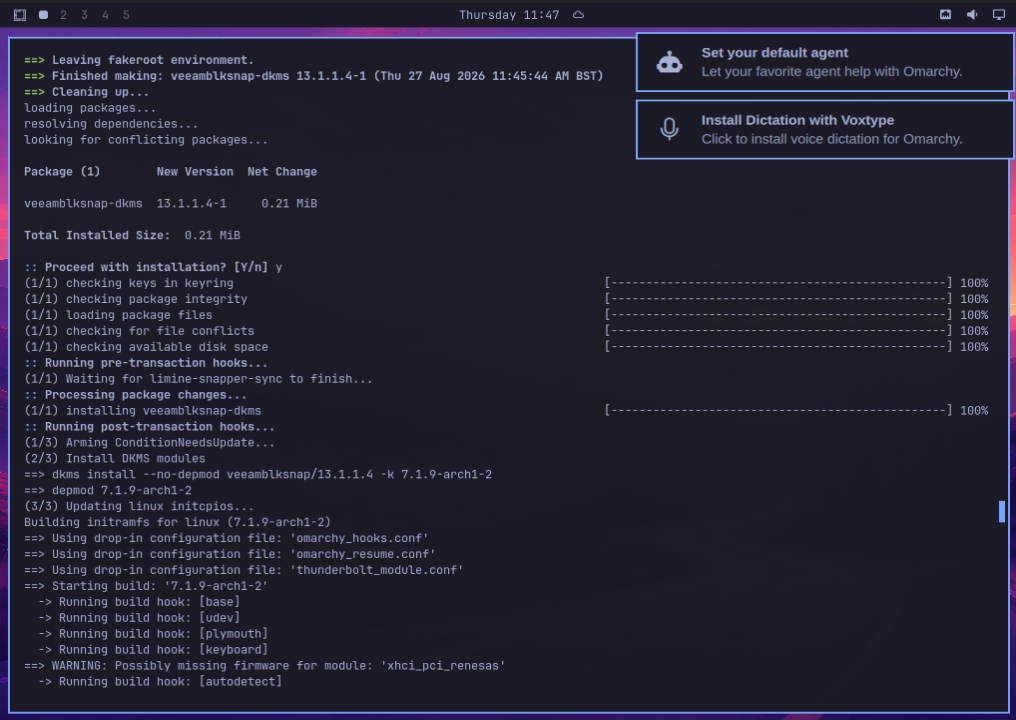
Continued, below you will see that the veeamblksnap package is being installed. You can read up on this here
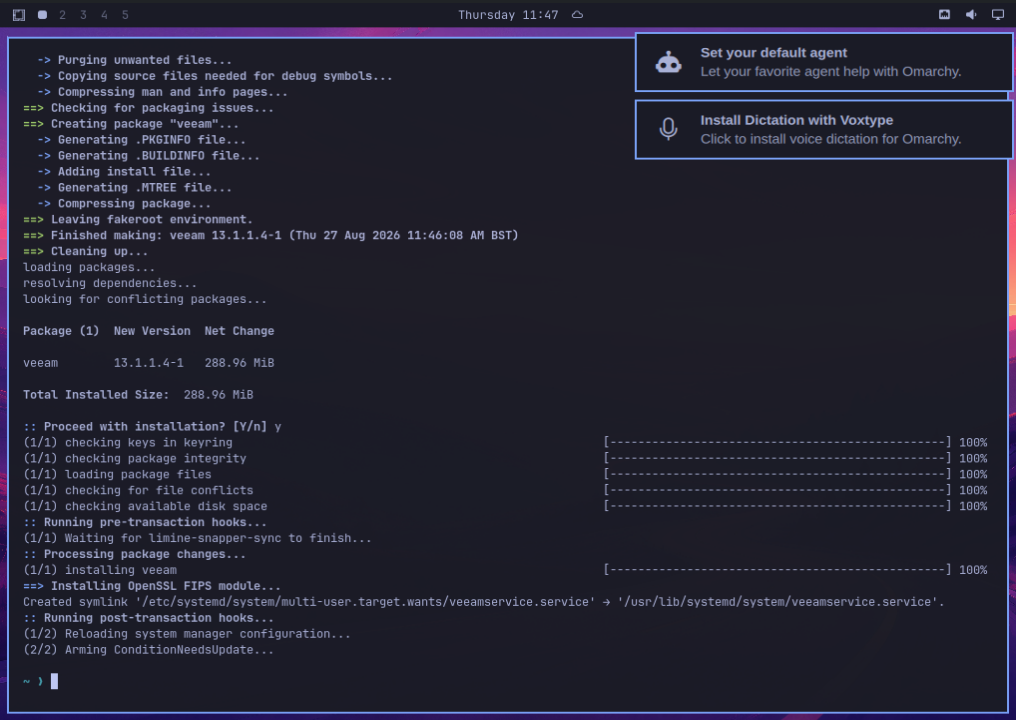
And the final one in the sequence. We finish off with the agent installation
Step 3 – Veeam Agent TUI & Configure
Installed, Job Done. Nope a little bit of configuration needs to take place. There is a TUI and a CLI and will cover both as we move through the rest of this post. Running the following command the first time after install will open a configuration TUI.
sudo veeam
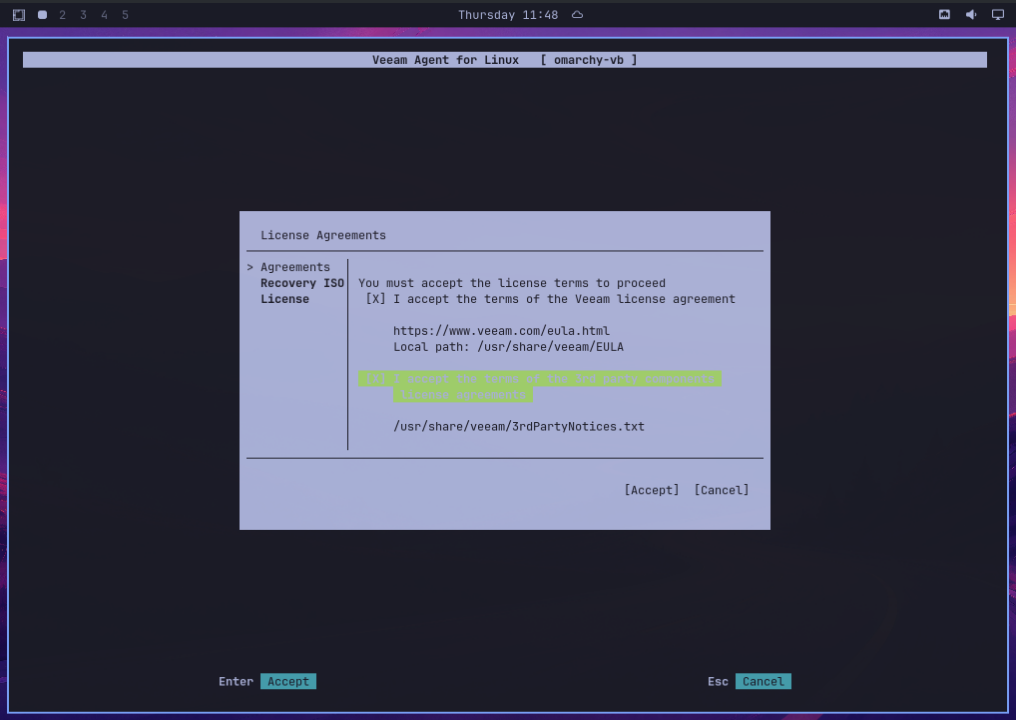
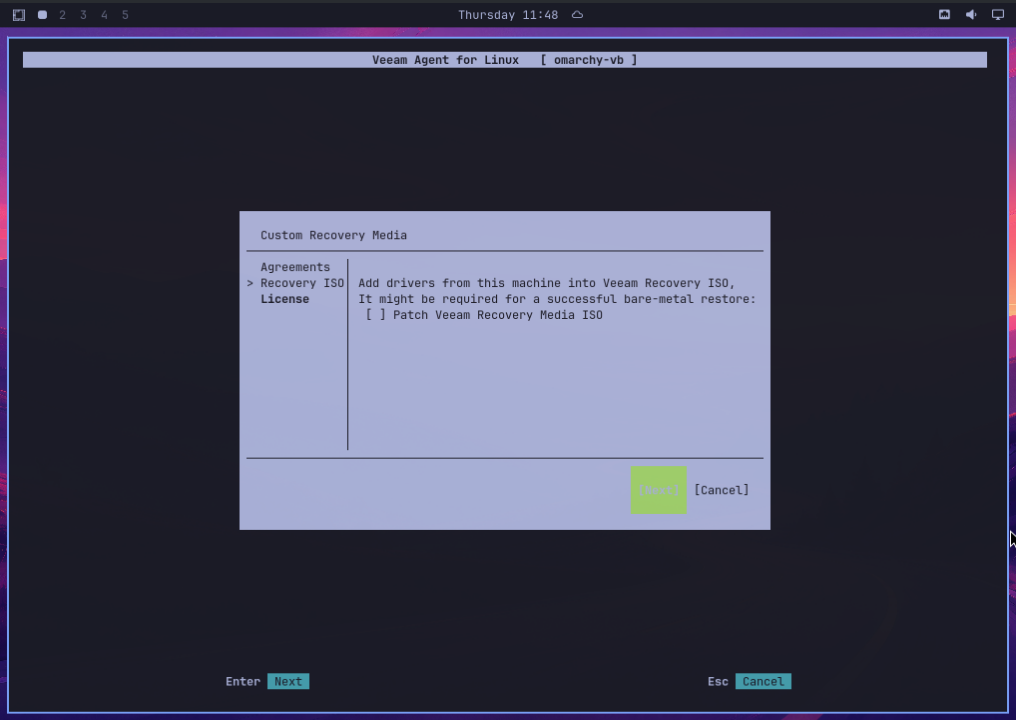
Have fun reading the EULA and accept the terms. The following screen is if you want to create a bare metal recovery ISO, I skipped this step for now.
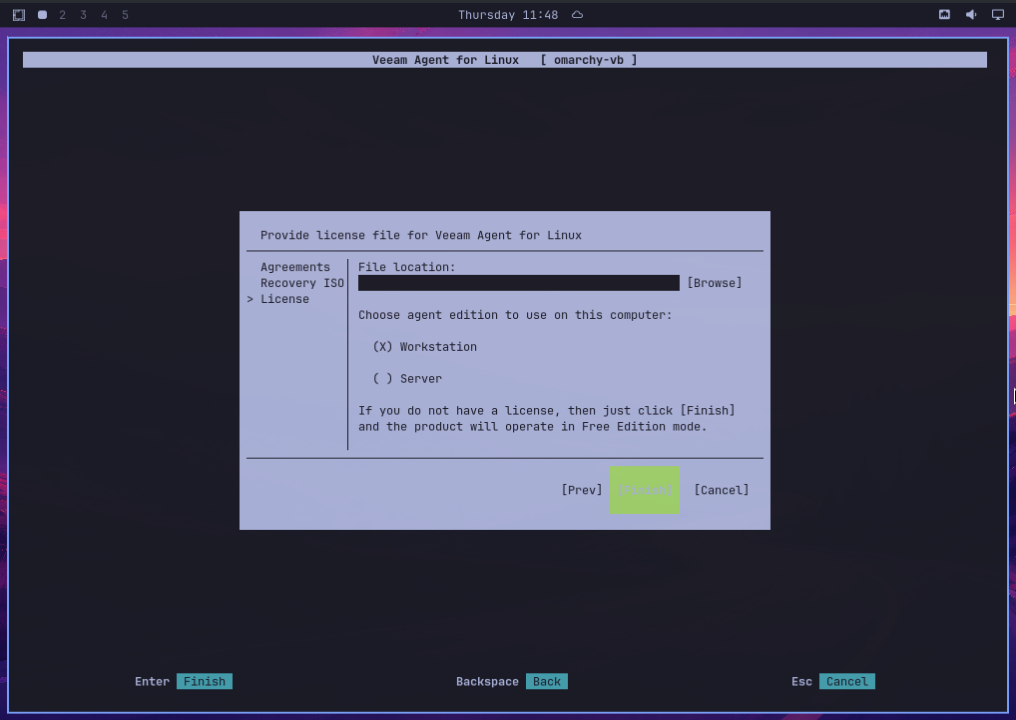
Next up we have the licensing, “But you said this was free” it is select workstation and Finish. The community edition of Veeam enables you to run this with minimum support, and as Arch Linux is not documented in the support documentation we are good to go.
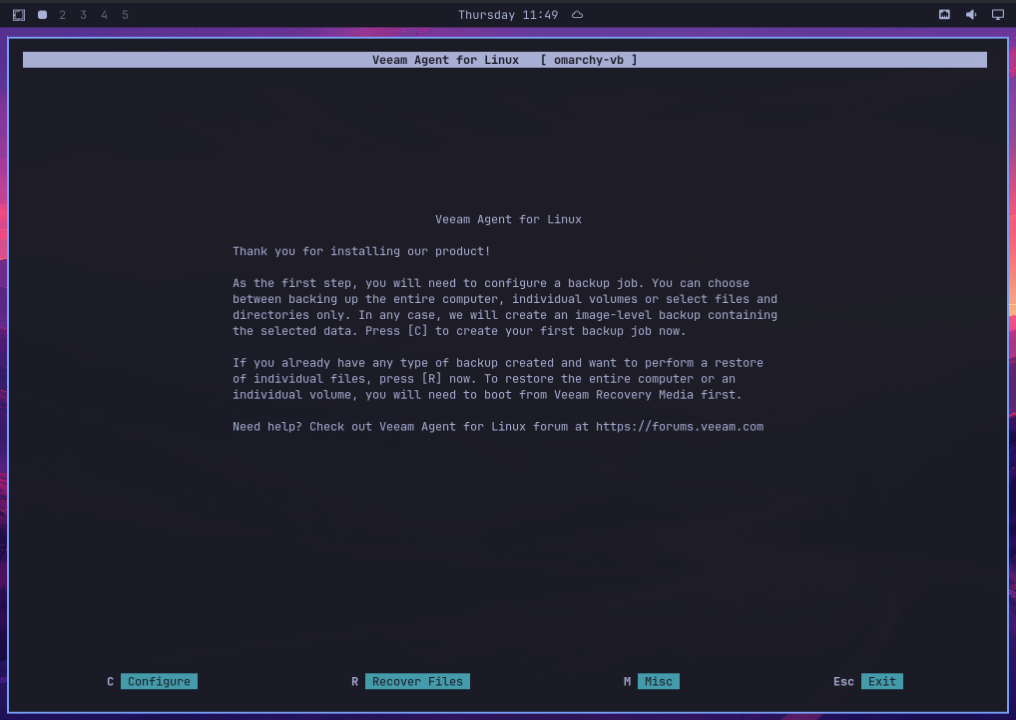
To wrap up the configuration, we get a nice message saying we are finished.
We can now move onto the Configure, selecting the c key will put us through another wizard. Here we are going to create a backup job. So give the job a name, I think I left this as the default. If you have multiple machines you might want to be a little more specific.
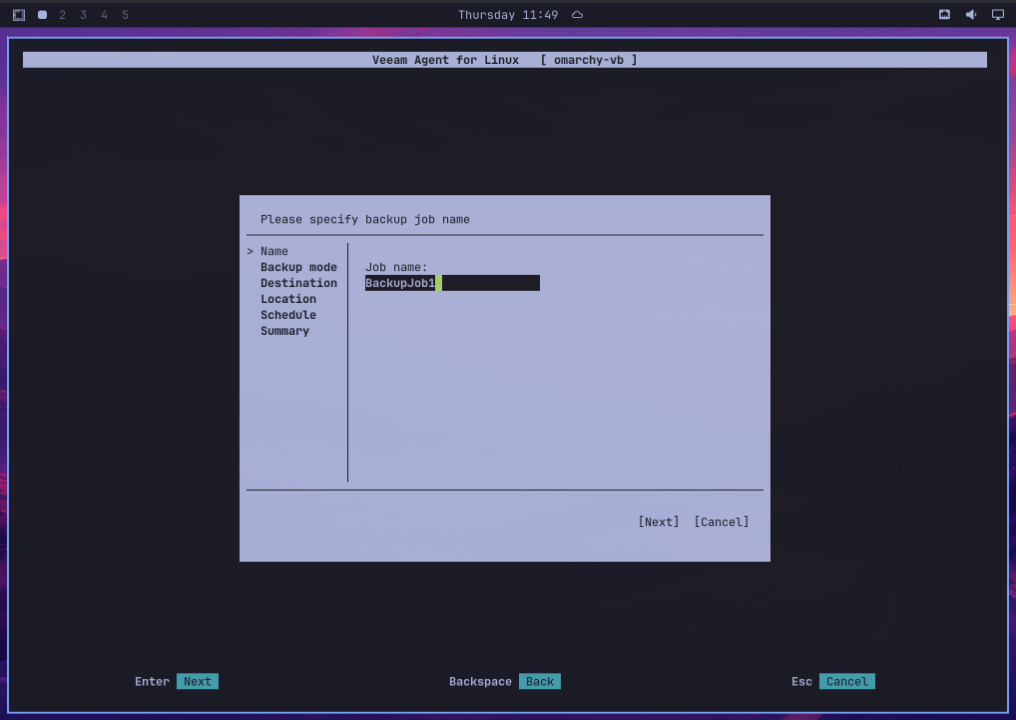
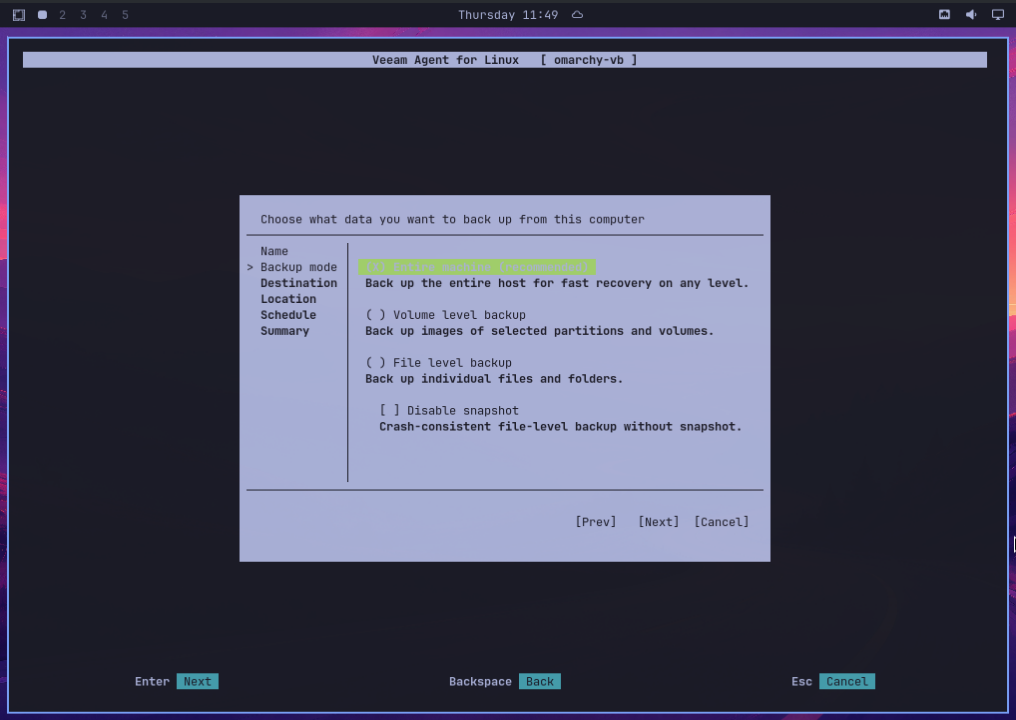
I have to say this is where that green colour, was really quite hard to read. Now we can choose what sort of a backup do we want to perform. The top option is “Entire Machine (Recommened)” But you can see if you know you only want to protect a specific volume, file and folder structure then you can choose those, I have not tested them at all.
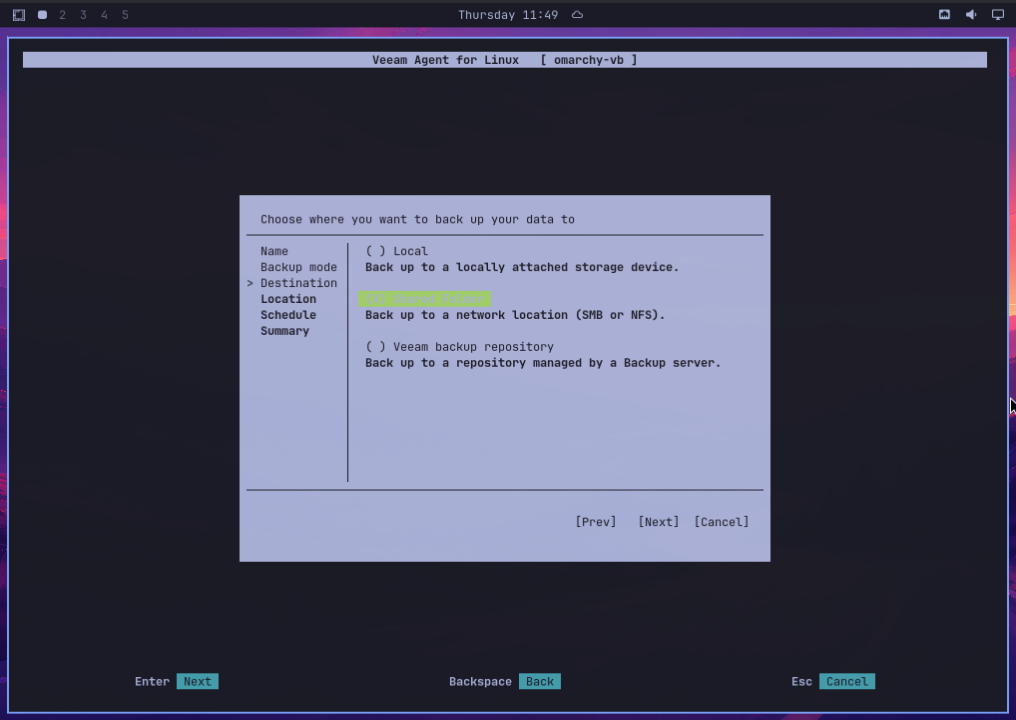
Next up, where do we want to send these backups, we have a few options and the commercial product of the agent has a few more. But for my backups I want to send them to a simple NFS share (note on this later)
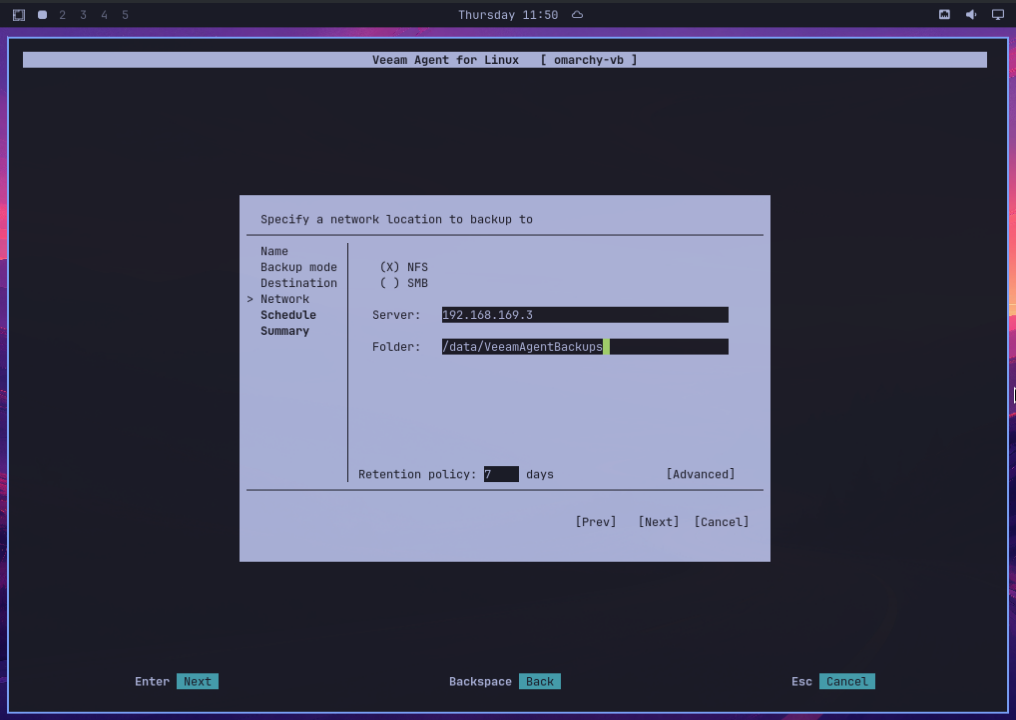
For the NFS or SMB option for a shared folder, provide your configuration, this is where you can also define your retention.
Our next mission is to define our backup schedule. This will be a full backup on day 1 and then incremental backups after this. (Only the changes since the last backup)
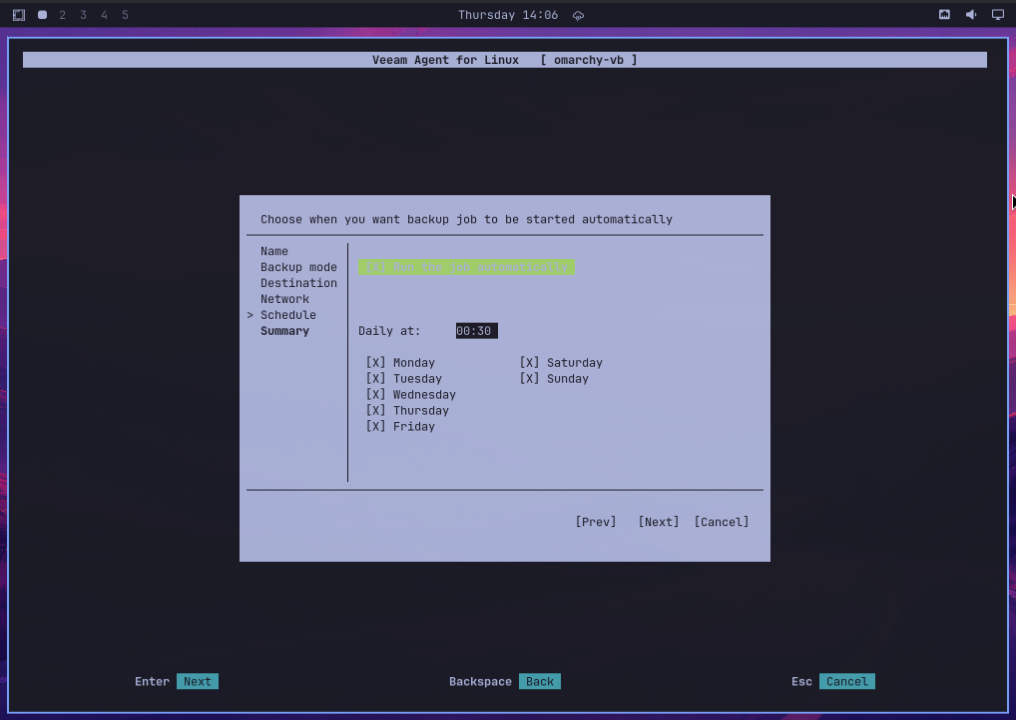
Finally, a summary of what we configured for our first backup job.
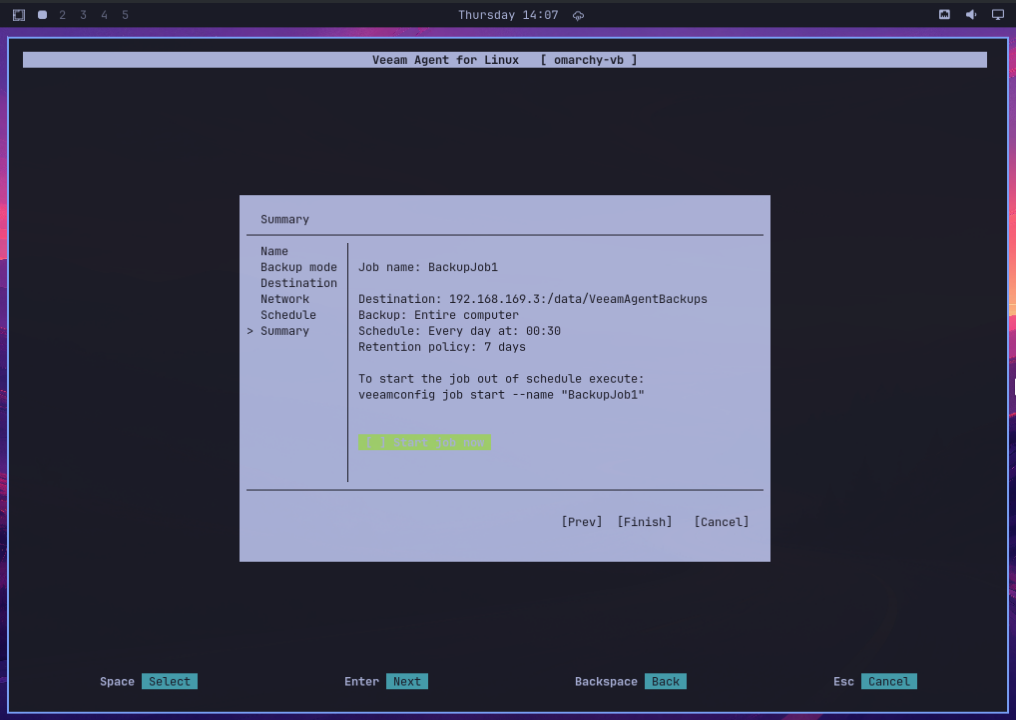
I selected “Start Job now” so as expected the job started.
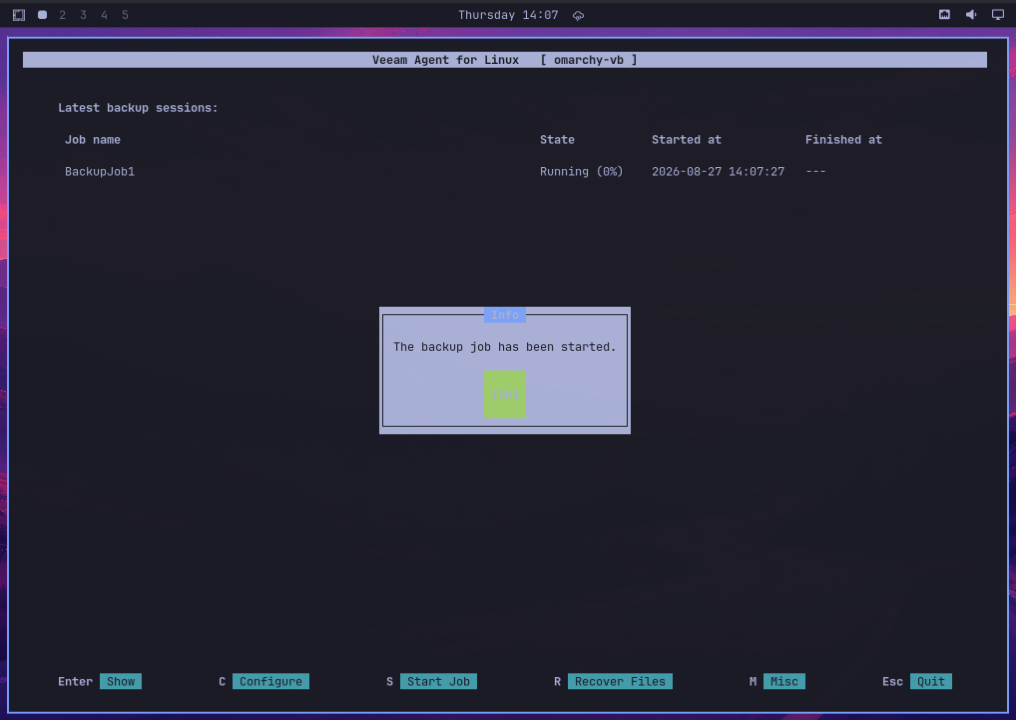
You can monitor the backup job if you have nothing better to do at this point
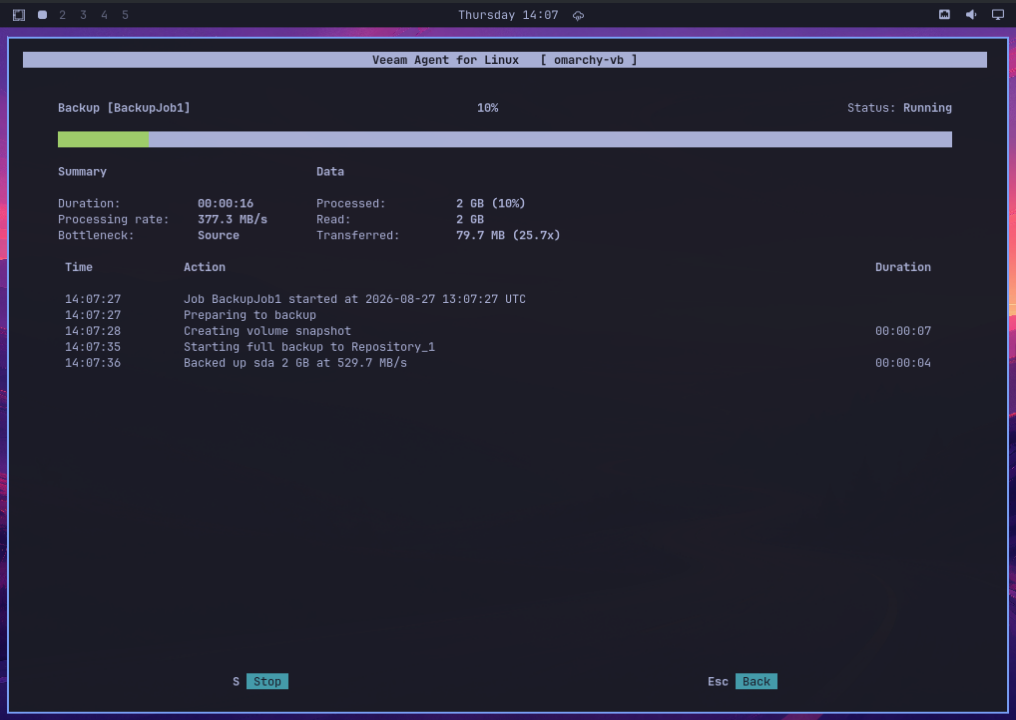
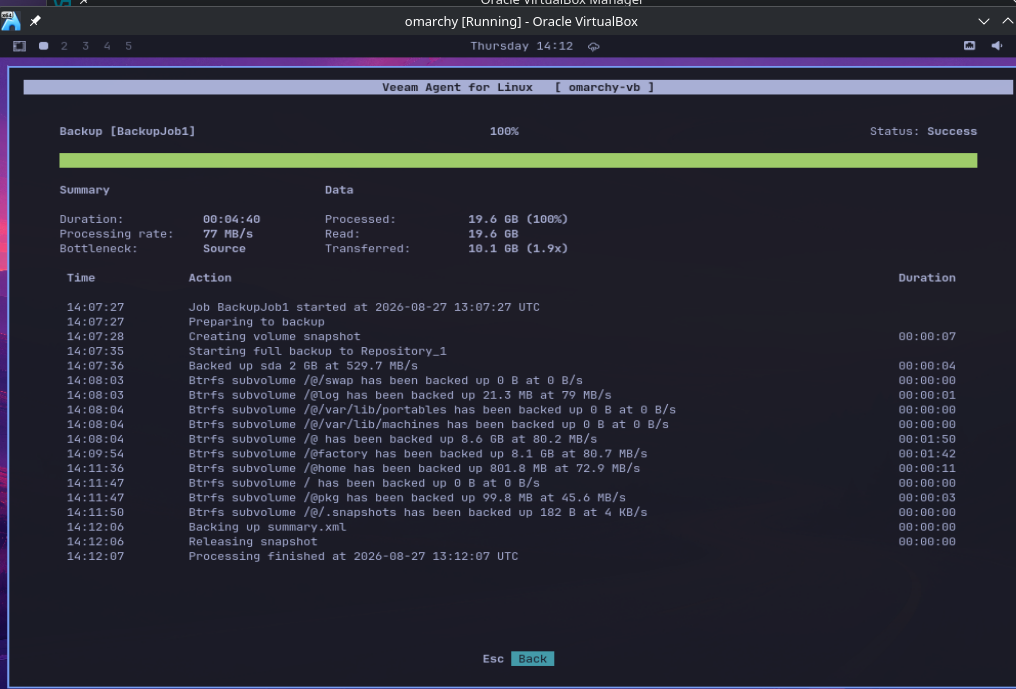
And at some point the job will complete, hopefully successfully like mine did
Step 3a – Sorry if you went through the above and hit the same wall
As I mentioned we can also manage this backup via a CLI as well, I will touch on that shortly. First I need to add a little gotcha that I stumbled across purely because I was wanting to use NFS. Omarchy doesn’t come with an NFS client out of the box.
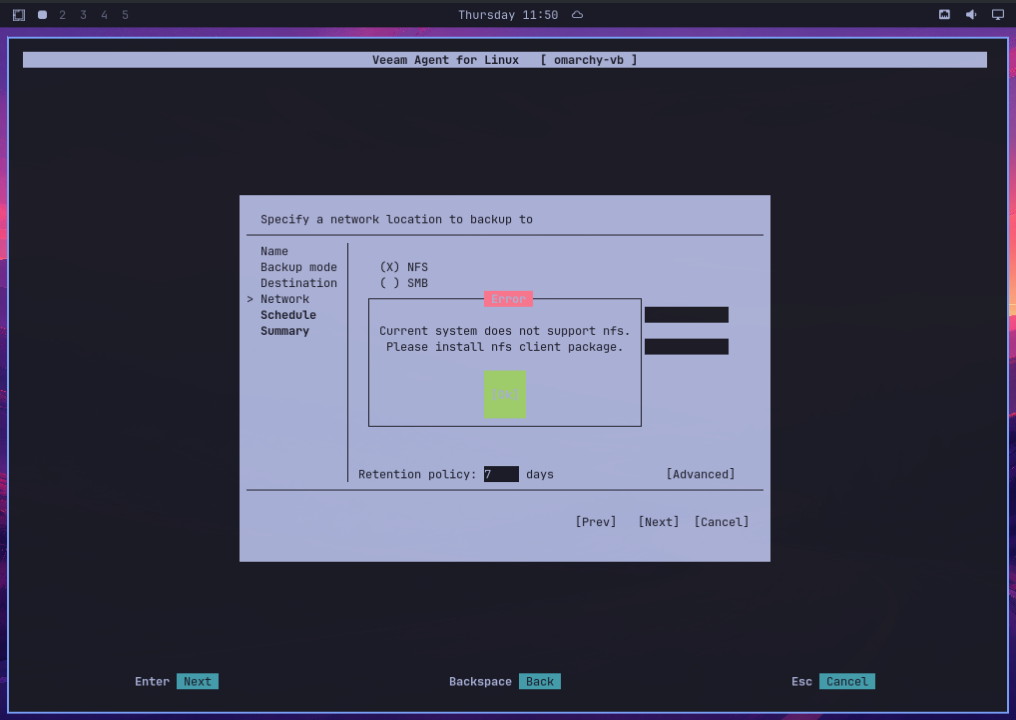
So I had to exit out of the TUI and back into the shell, hopefully you are smarter than me and are able to either just open another terminal and run the following to get that NFS client on the system.
sudo pacman -S nfs-utils
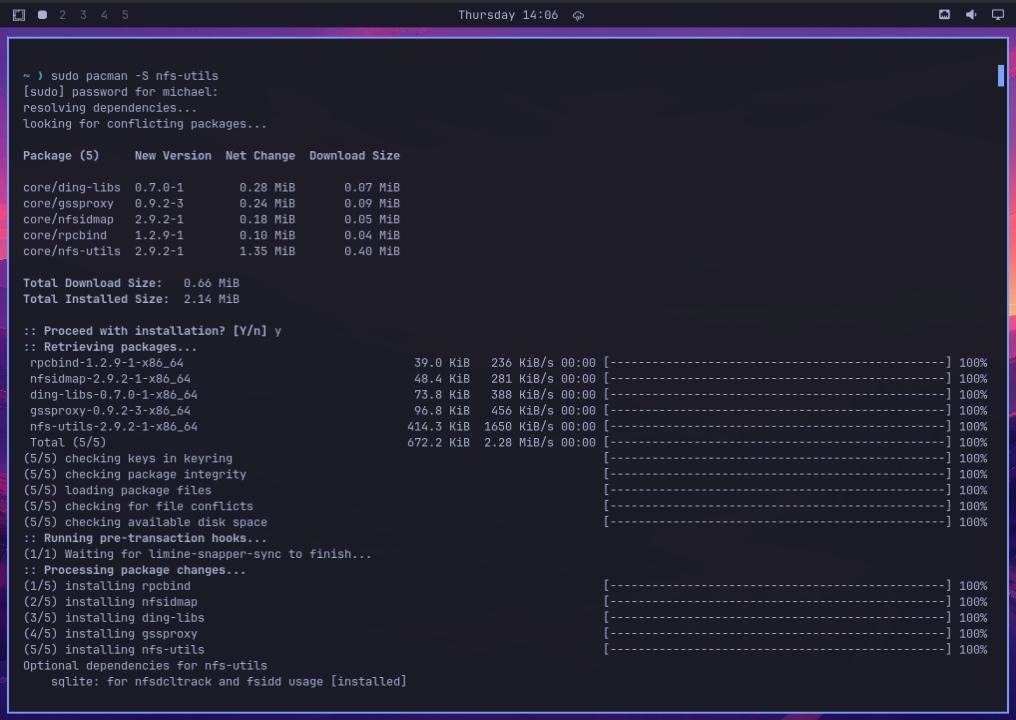
Then we go back into the TUI if you did have to leave and run through that Step 3 process again.
Step 4 – From the CLI
I kept teasing you with talk of a CLI, to access the CLI for the agent you can use the following command
veeamconfig
I won’t go through everything you can do but the usual help flag will get you started, but for example if you now wanted to trigger your next incremental backup or maybe you didn’t hit that cross on start backup now you could run.
veeamconfig job start --name "BackupJob1"
Pro-Tip for Rolling Distros: Because Arch environments change rapidly, subvolume block layouts can occasionally cause incremental change-tracking metadata (veeamblksnap) to throw an ENOSPC or block translation error if extents shift. If your incremental run ever trips up, forcing a single active full baseline (veeamconfig job start –name “BackupJob1” –activefull) resets the change-tracking index cleanly and keeps your subsequent incremental chain fast and reliable.
Step 5 – Testing some restore scenarios
Ok, great we have a backup but what you really want is the backup. Things will go wrong regardless of the system you are running on so we need to be able to do some sort of restore. I am going to show some very simple file level recovery options via the TUI and the CLI.
I have created a mission critical file as you can see,
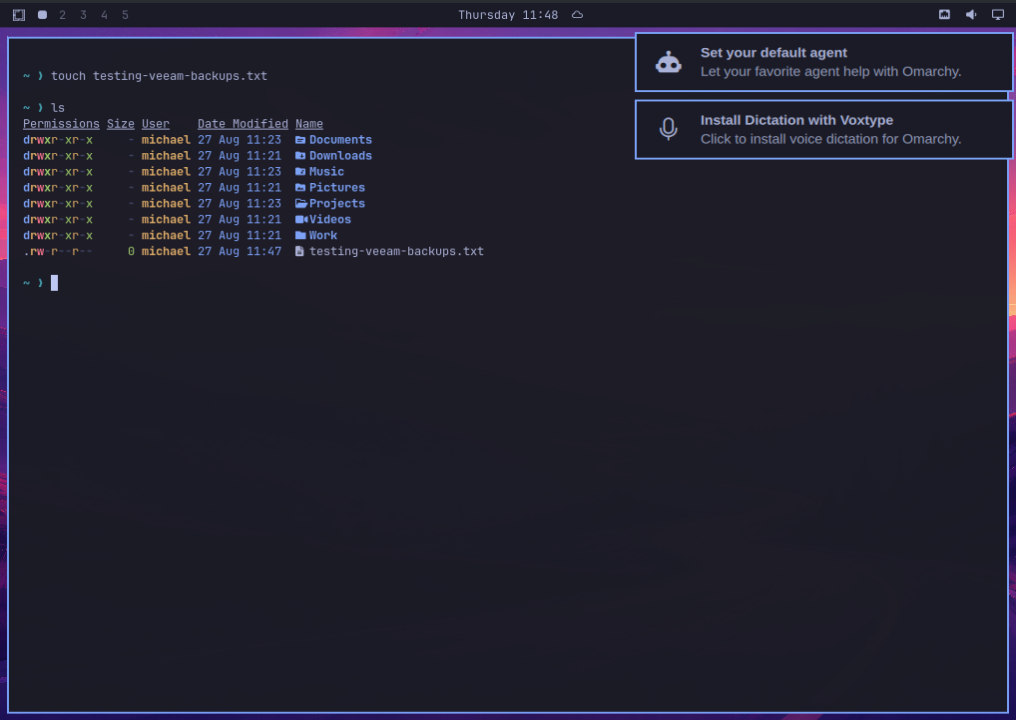
Sneakily I created this before we even started the Veeam backup so I know that our backup has this file in. We need that back!
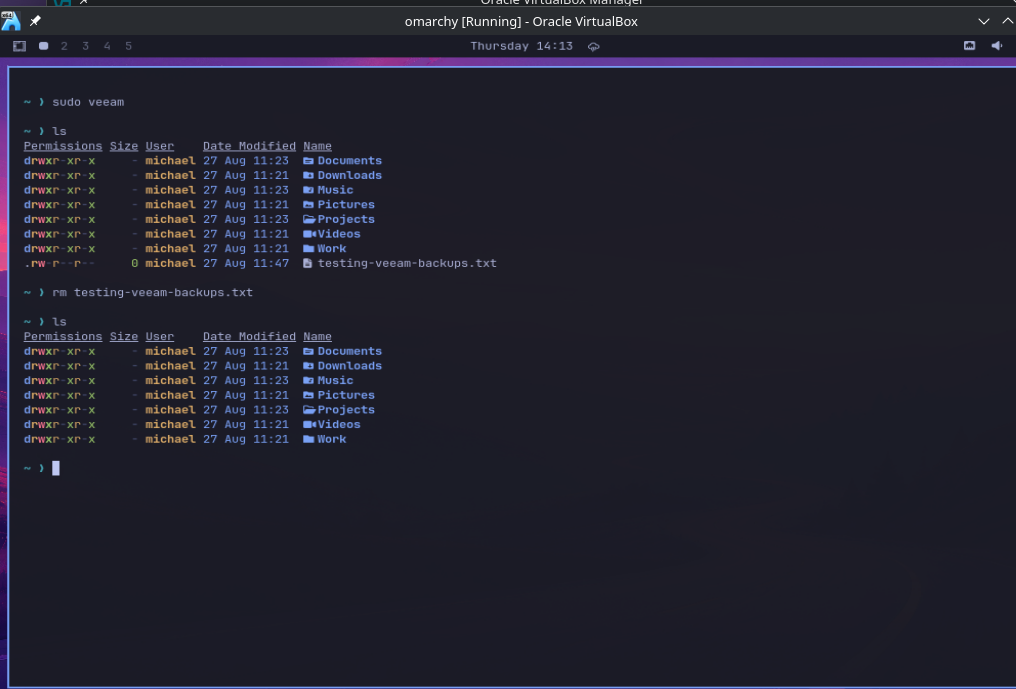
And surely its as simple as going into the TUI or CLI, mounting that backup and copying the file from one place to the other… Well not really.
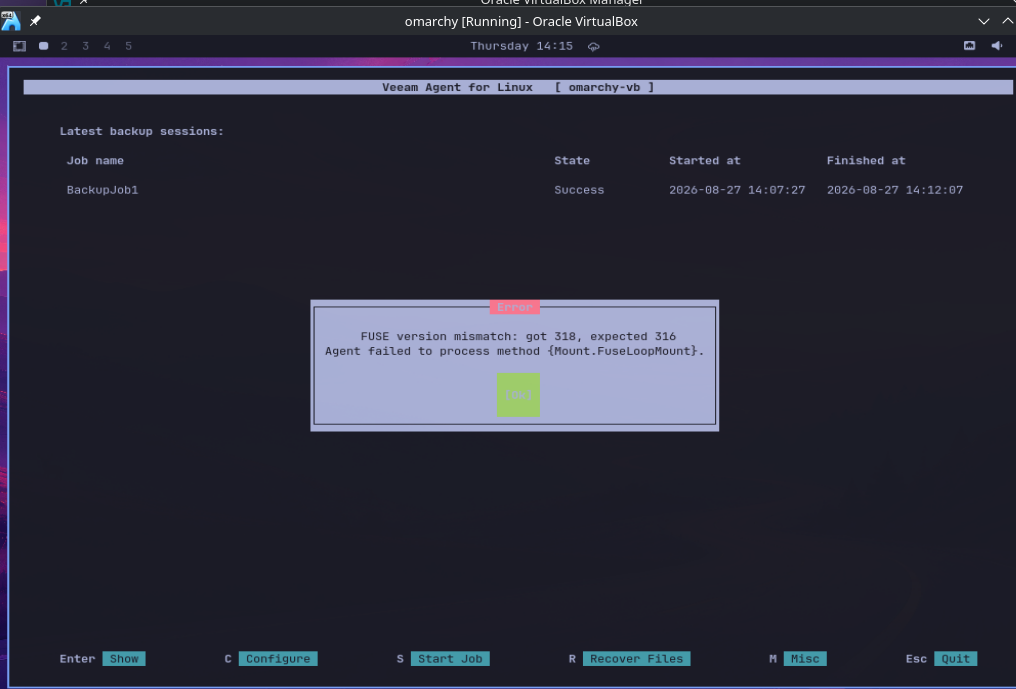
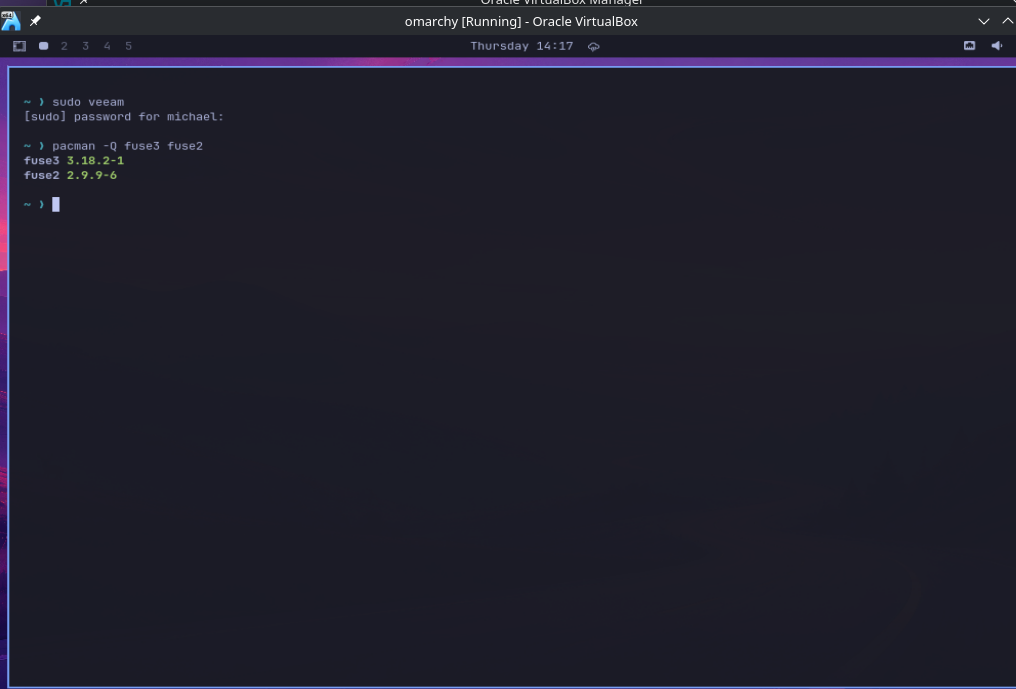
But we need that file back so we had to do some hacking. I confirmed the version of FUSE that we get out of the box with Omarchy is newer than the one Veeam is looking for.
But that did not stop me! I was determined to get that file back not just for me, but for you all as well. You will see from the short video below I went on a wild ride of compiling the old FUSE version for us to use for our restores.
First we needed some more packages
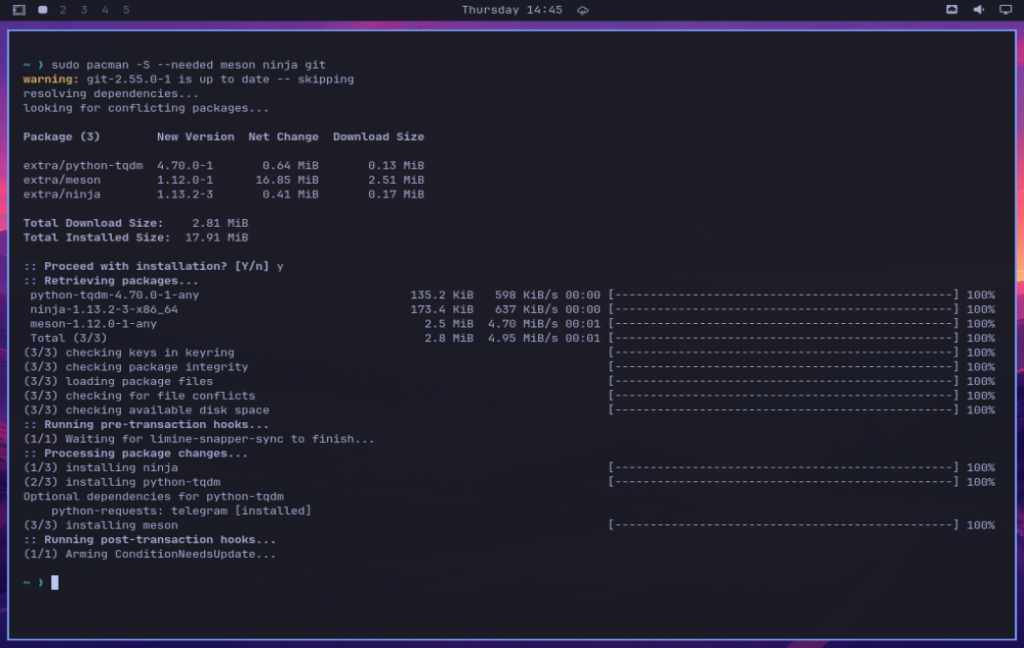
Second we needed to clone the repo for fuse.
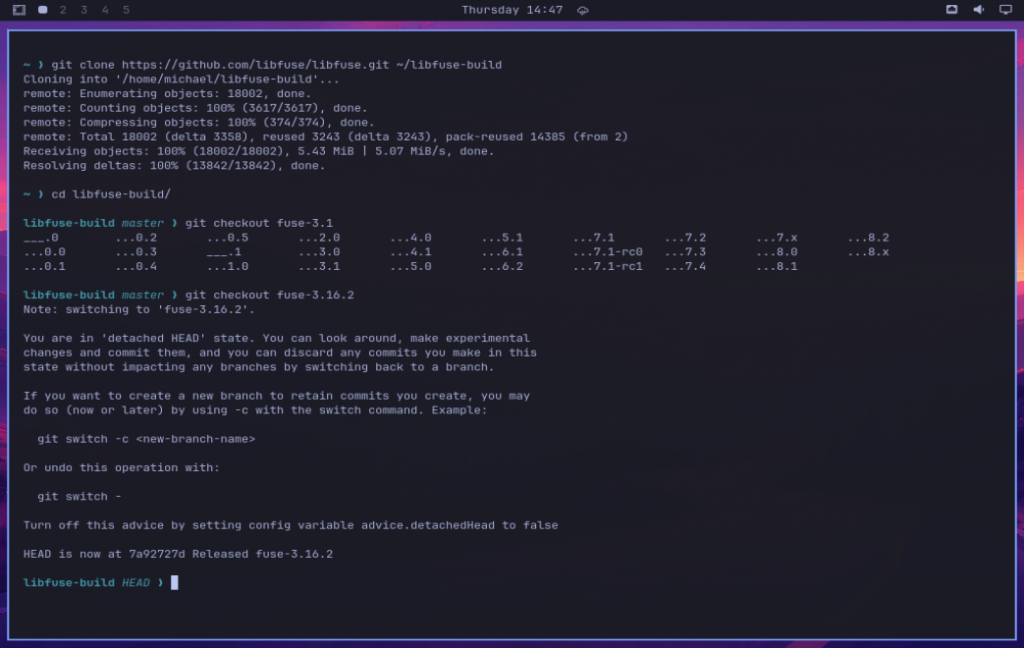
Then it was build and compile time.
There is a step in the above video where I have to edit a specific veeam.ini file
sudo nano /etc/veeam/veeam.ini
In this file we have to make a change to point to this specific fuse option.
And this libfuse3.so.3 also in the video above is what we built and then moved to that location.
# Path to fuse3 library (for file-level restores)

fuse3Path = /opt/veeam/transport/libfuse3.so.3
I think that covers everything for now, way longer than I anticipated but wanted to share.
The Year of the Linux Desktop might still be a running joke in some circles, but when you can comfortably snapshot, protect, and recover a bleeding-edge Arch-based desktop environment using enterprise-grade tooling, it feels a lot closer than ever.