
I need a catchy name for this…
Ok, we have progressed our home lab hardware to end game status and it is time to document this stage before we get into the layers above.
How it started…
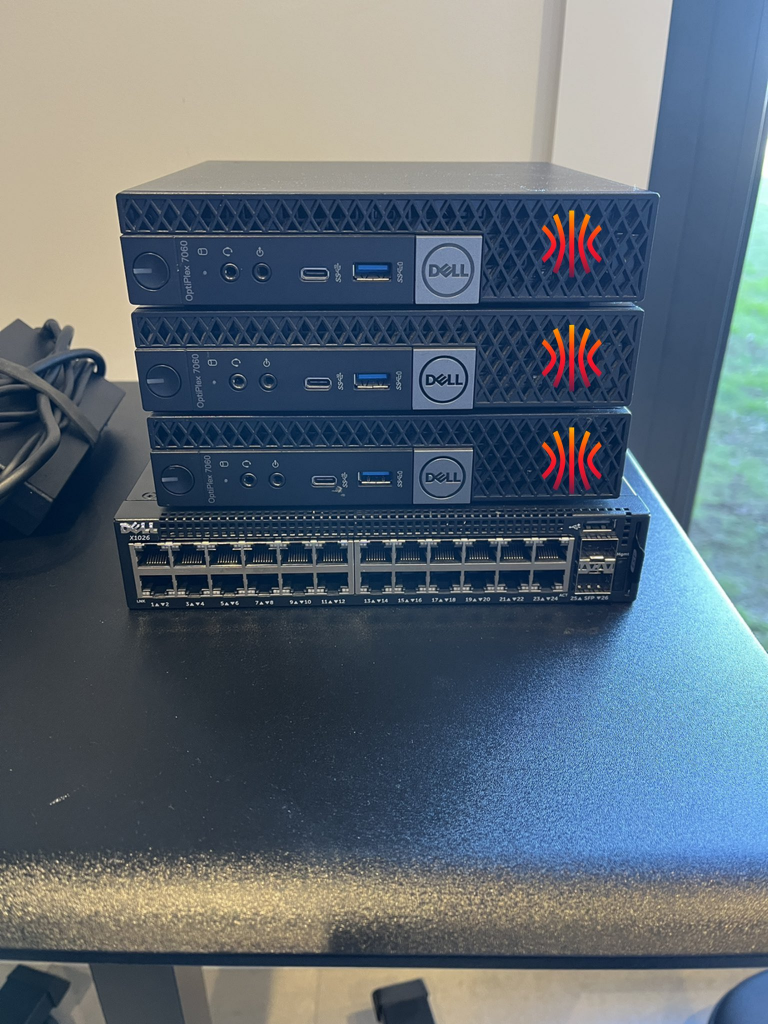
We started with the above hardware which was detailed in this https://vzilla.co.uk/vzilla-blog/getting-back-into-the-homelab-game-for-2024 also in this post it highlights some existing bits of kit that I had already. Also in that post there were two goals I had and that was to add a further two nodes and upgrade 4 of the nodes to 32GB (1 was already at 32GB) So we did just that.
How it’s going…
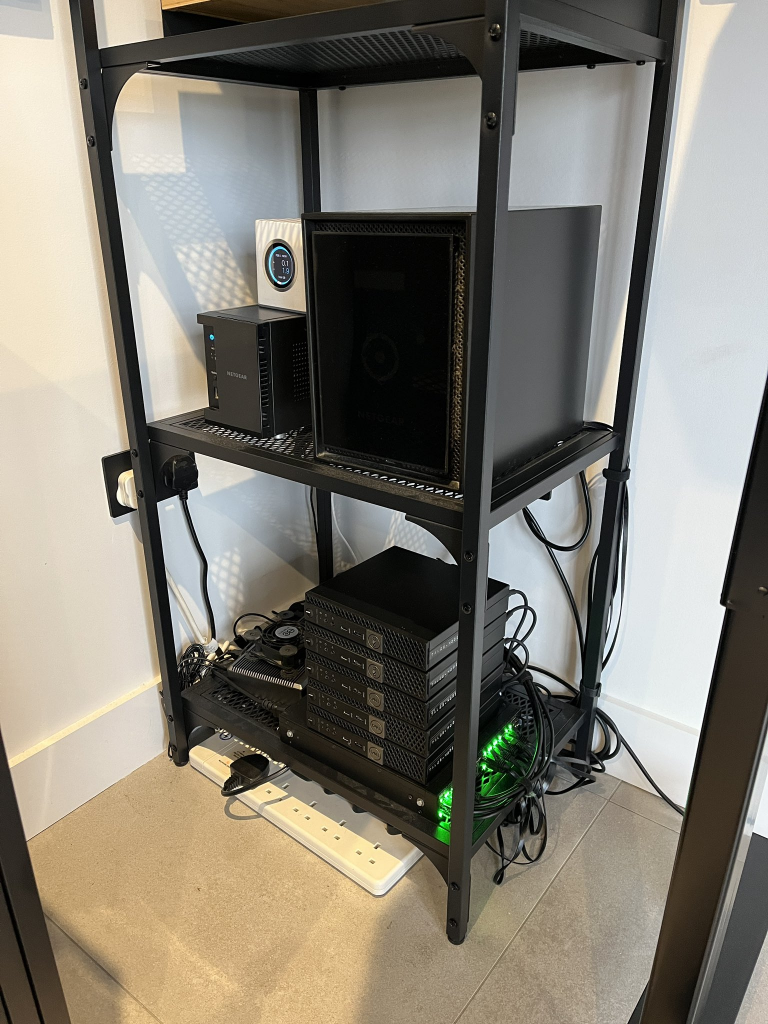
You can see below the current set up, it is not quite the “rack” solution that I see all over the YouTube and Reddit. But it’s mine!
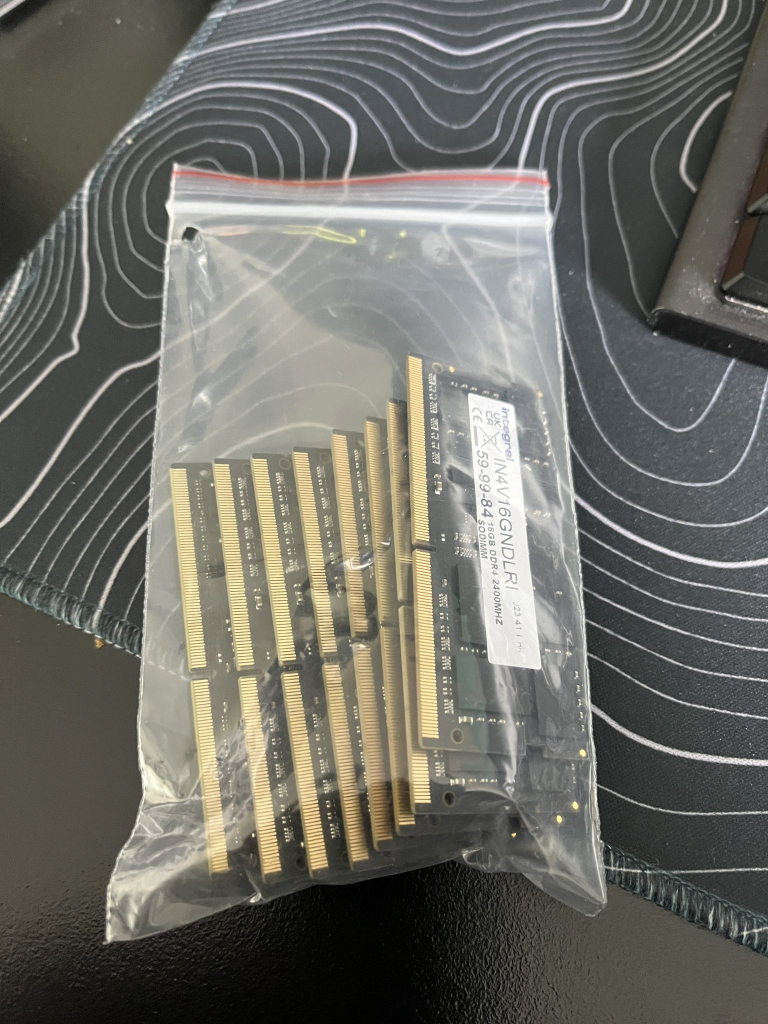
We upgraded the RAM and this picture for anyone that shrieks with the lack of anti static.
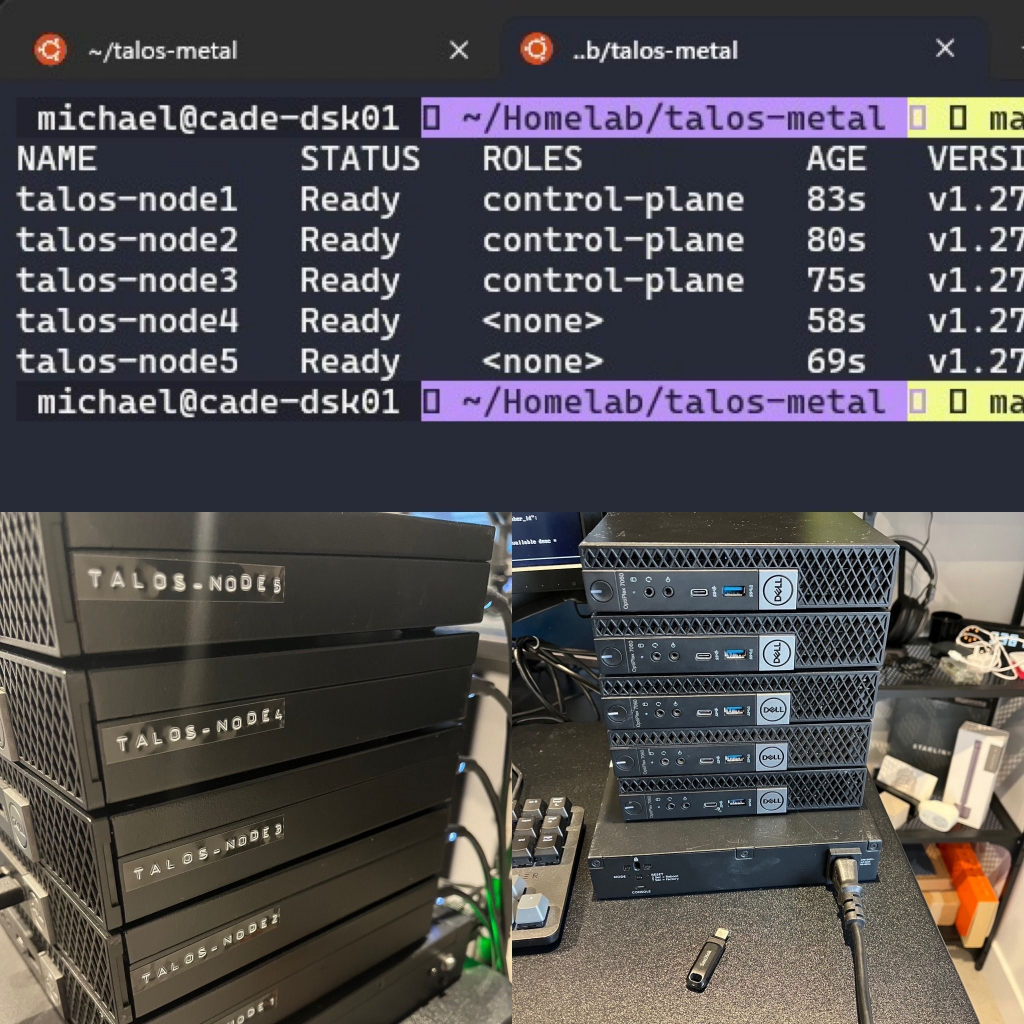
Mentioned in the last post as well we had built a 3 node Talos bare metal cluster and now we just needed to bootstrap the other two… but we could also just create a new cluster via the Talos API. Because we also had some software changes with Cilium as a requirement for the CNI for the cluster.
You can find my homelab in public here. Specifically we are working from the talos-metal folder but if you are interested in a quick way to spin up a Talos Linux Kubernetes cluster on vSphere then the talos-vsphere folder is for you and expect to see hopefully soon some Red Hat OpenShift ways as well.

Below image is for insta but it basically shows a complete cluster with CNI, my amazing labels and then the full frontal of the nodes…
Who noticed the Dell logo orientation? Who knows why…
Those top two nodes are my worker nodes the bottom 3 are control-plane nodes… and I have not tried to change them because I know it is triggering some people!
So now from a hardware point of view we are “finished” although I do need to sell the 4 x 16GB kits I replaced the 32GB with…. maybe £30 each… if you are in the UK then drop me a note.
Next up is the software side of things and where we get into the fun stuff. First on that list is putting those nvme drives to use in a ceph cluster with the rook operator. I will try and document this as well.
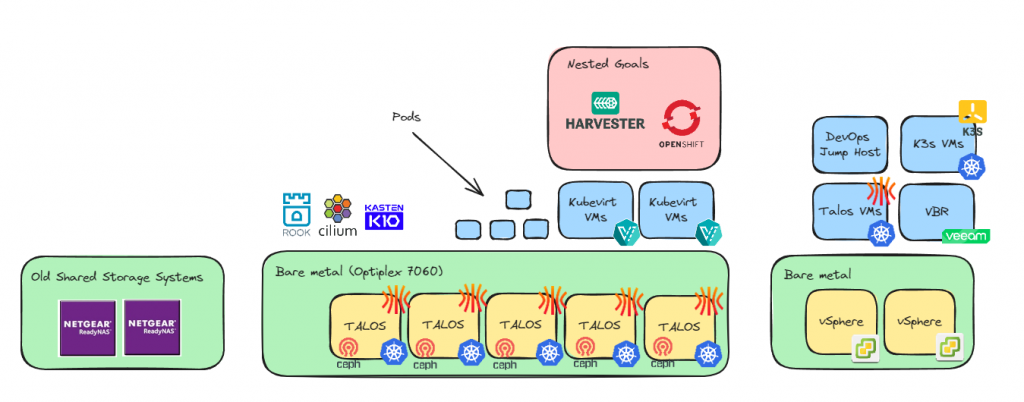
The current view of the homelab
As I mentioned we have some software to get deployed now. Rook Ceph is the first step and then we are going to be diving into kubevirt so we can start what we started this for, this is to be able to run some nested environments for some simple demos.
What other services should I consider in the lab?

1 Comment