I wanted to highlight the integration between Veeam and HyTrust and their CloudAdvisor product, this integration has been around since mid 2017 and has been available to use in your Veeam environments, it wasn’t until the recent GDPR and focus on data regulations though that the use case has really been asked for.
What is the integration? The integration gives visibility into your environment of both the virtual infrastructure and backup environment. This post will run through the steps to get the HyTrust Cloud Advisor up and running in your environment. The deployment comes in the form of an OVA to be downloaded from HyTrust, they have trial versions to take advantage of as well.
Download the OVA and files required from the site and then begin the deploy from OVA wizard within vSphere. Once you have deployed it’s time to get this configured and looking at our environment, the easiest way to configure this is via the vSphere remote console. Connect here and then run through the initial steps of configuration.
When you first see this screen if you are like me you probably read this and then you go off looking for that default username and password. Look closer at the screen and you will see that default username and password is actually in the opening welcome message.
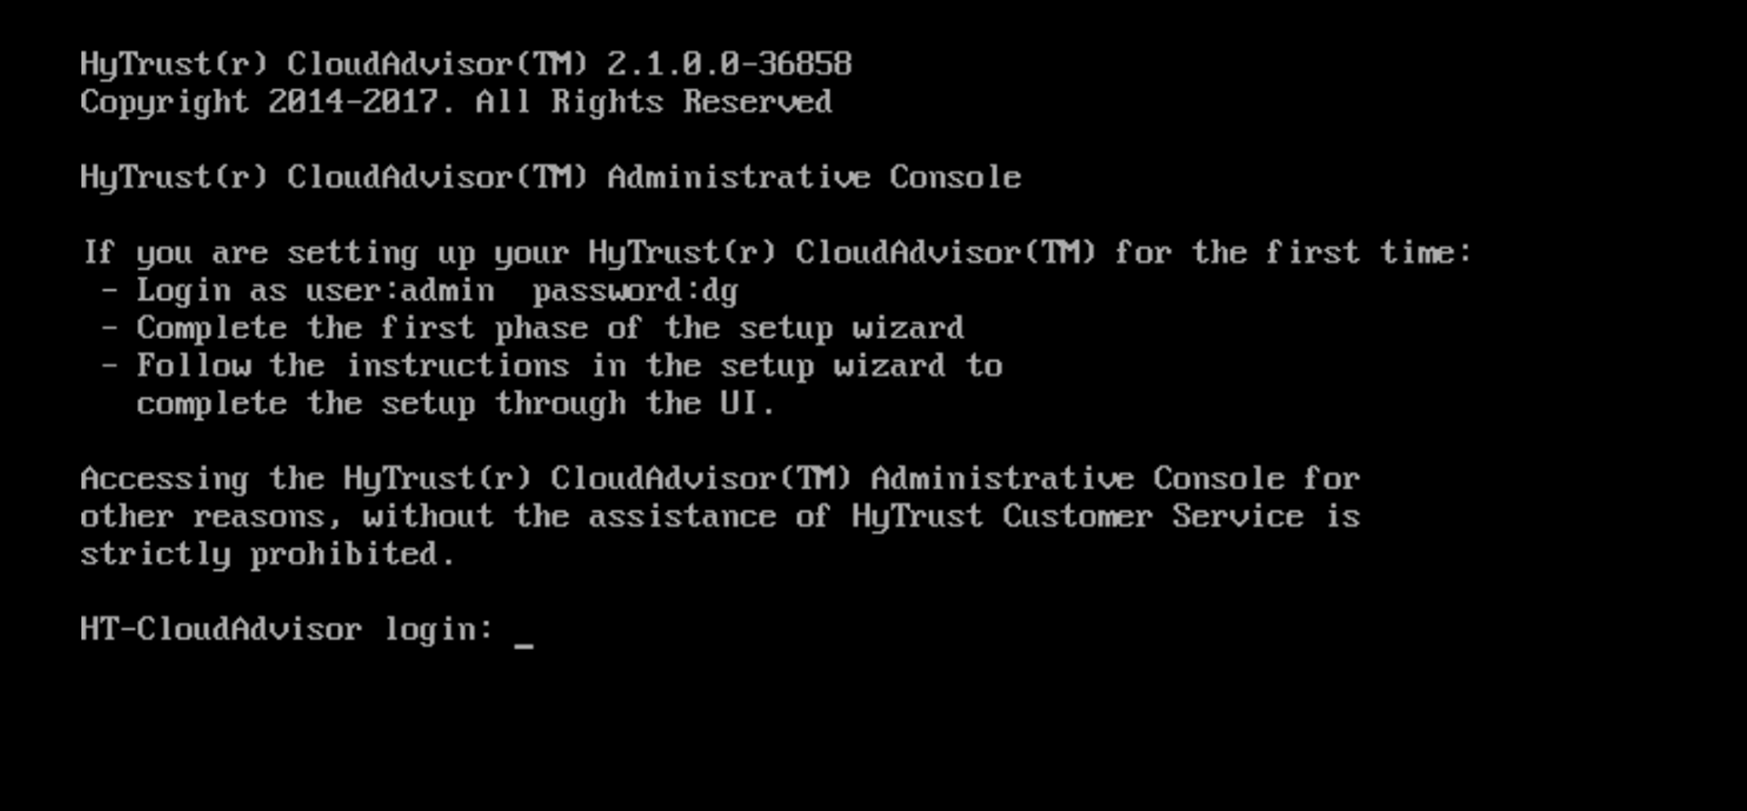
Once you have logged in the first time, an automated setup wizard will begin this will start with the name of the appliance.

The following setup wizard takes you through configuring network address details, domain and DNS. There are two network interfaces in the appliance and I only chose to configure one.
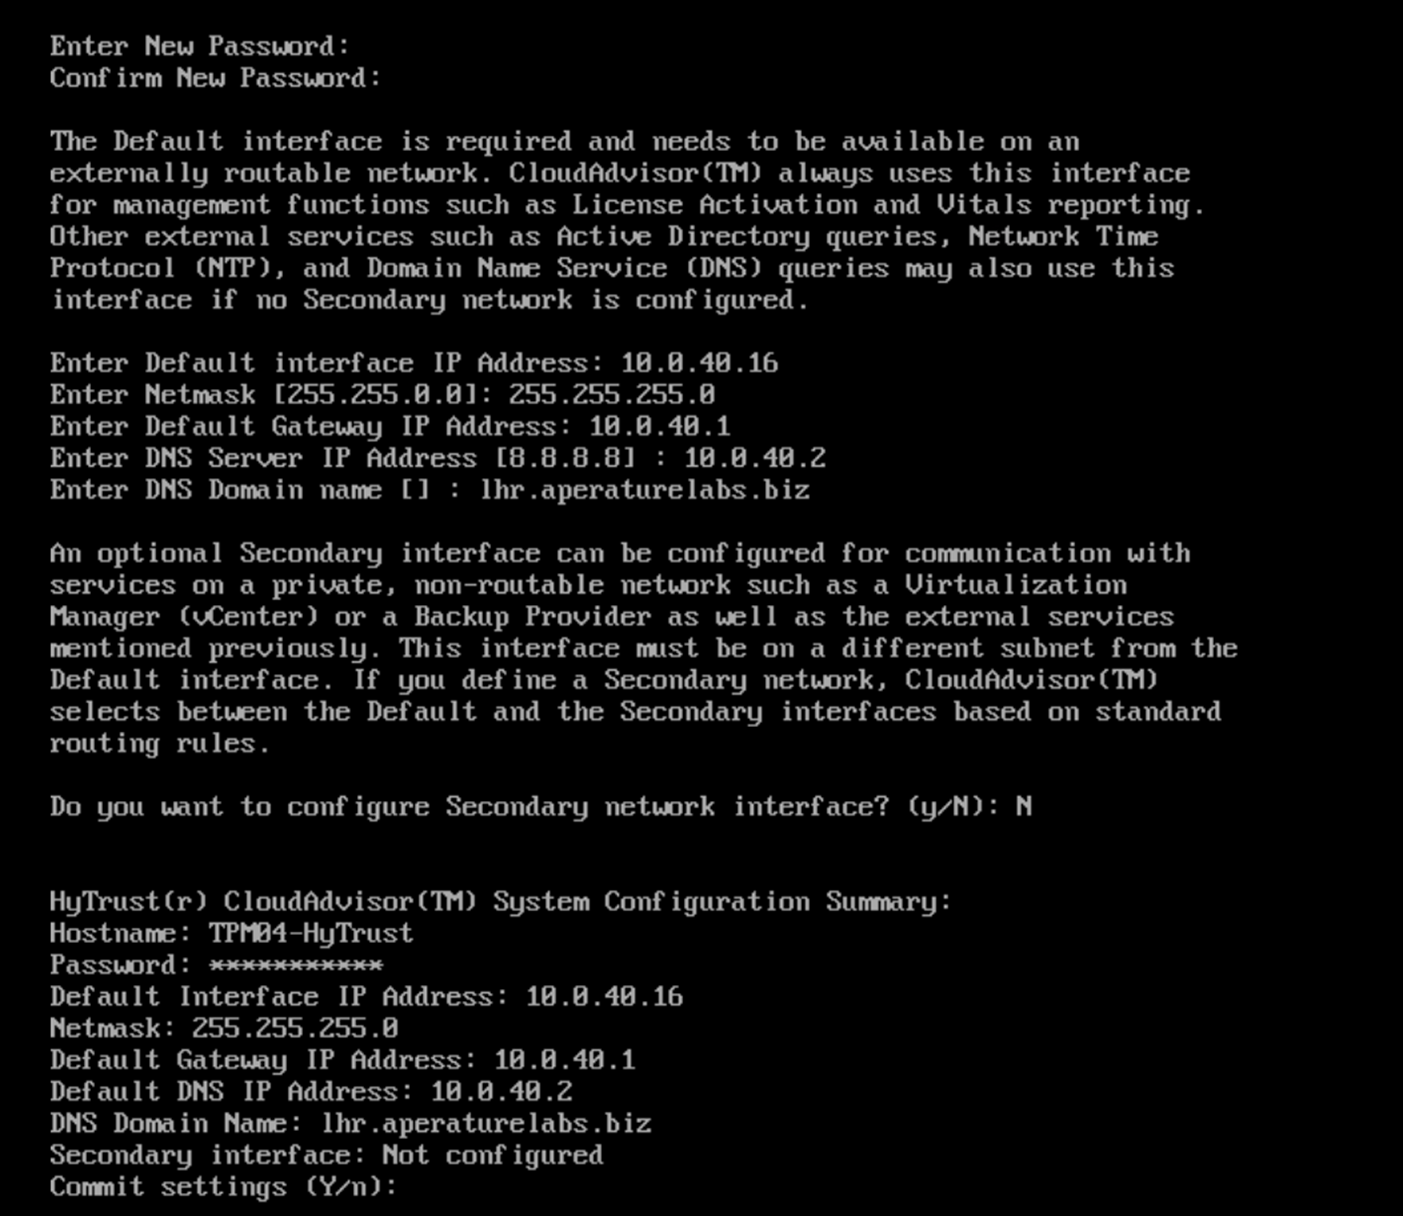
When you have been through the wizard and if you are happy with the summary of changes you can then commit those. It will then give you some detail about where you can go next to further deploy this appliance. Take note of the web address in the summary screen below.
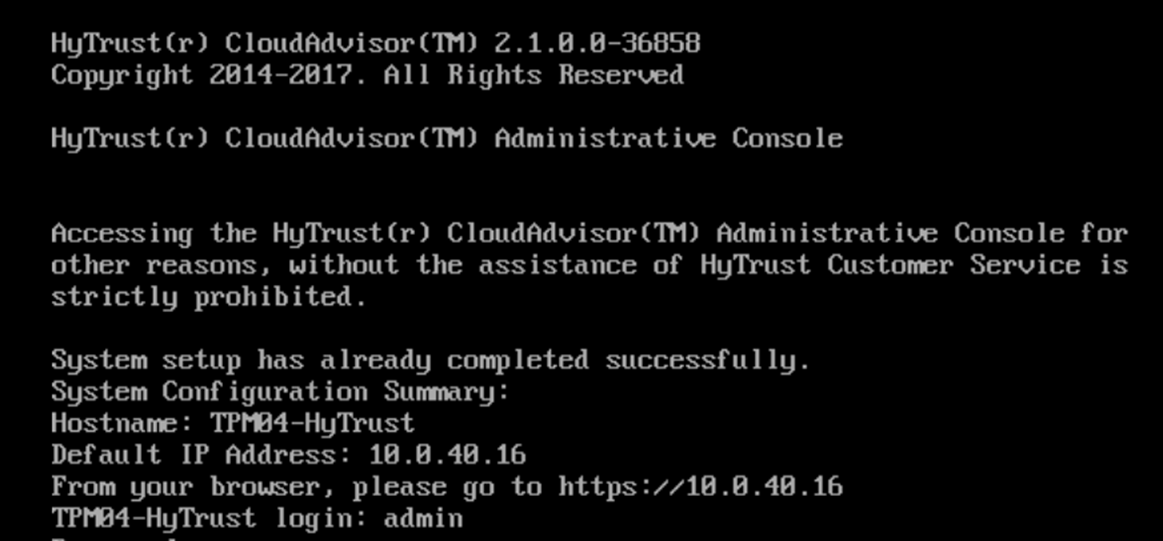
Having taken that web interface address we can now go ahead and connect to that address in our web browser. Be aware if of the https and secure connection you may have to accept some rules on your browser to proceed to this point.
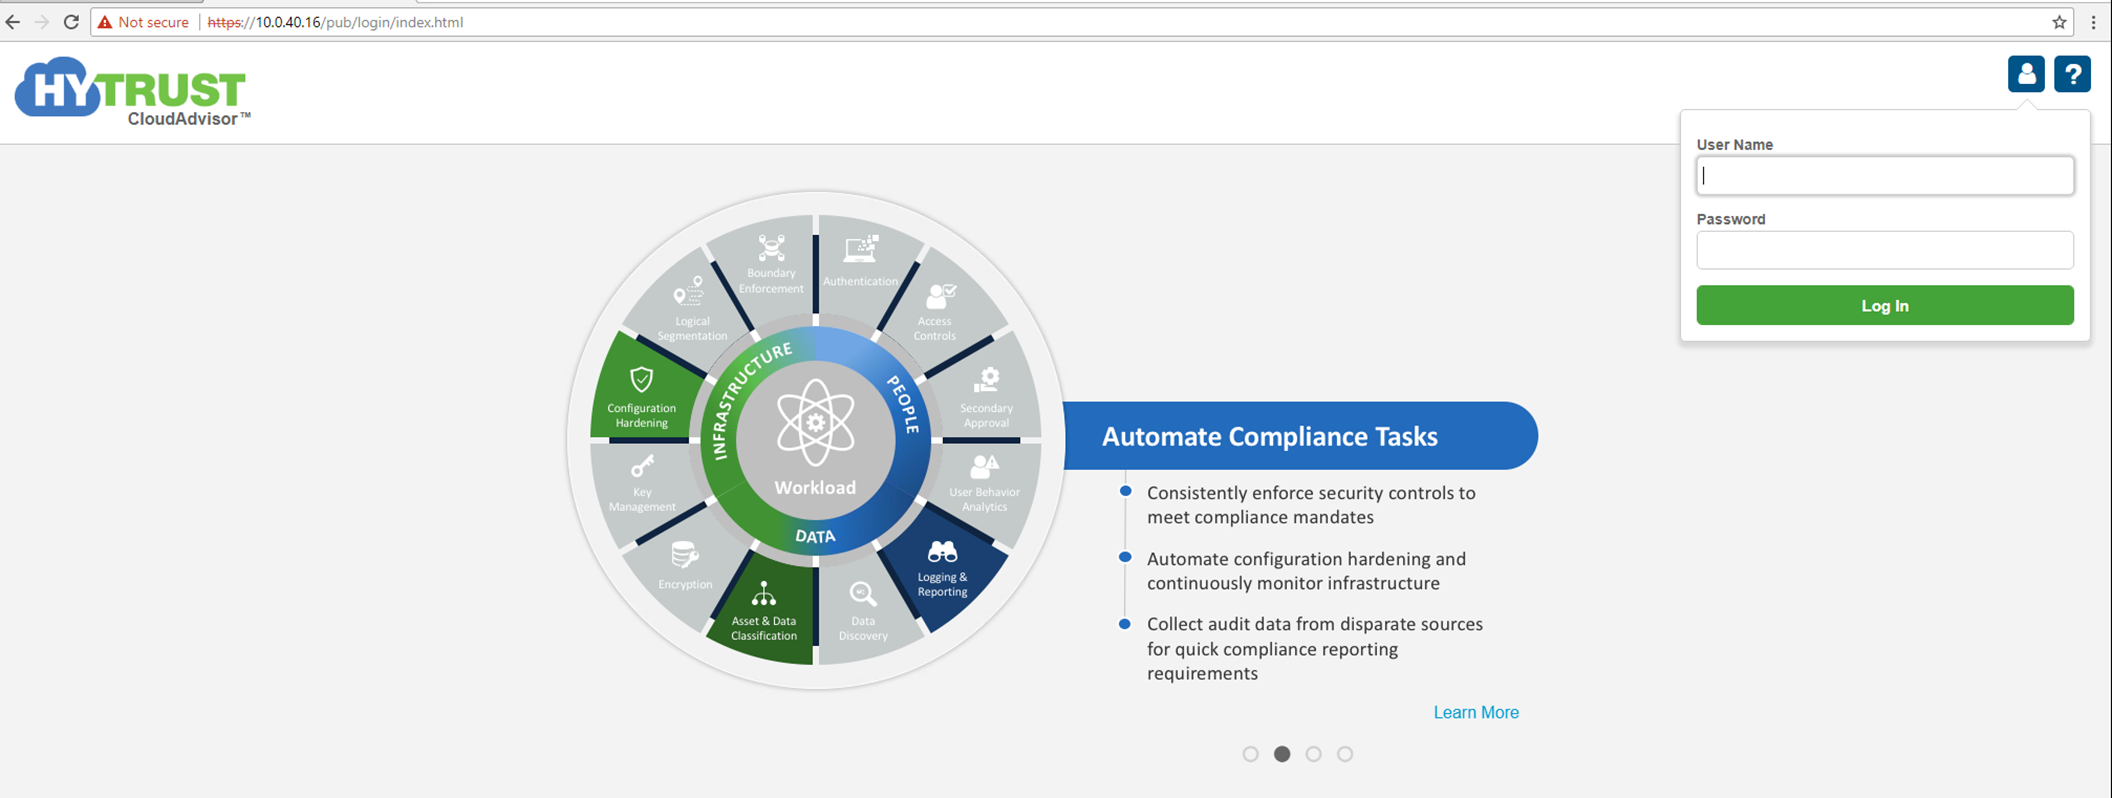
The first time you login HyTrust Cloud Advisor you will see this option to “Setup Now” This rolling screen covers some of the areas that HyTrust can assist with their portfolio of products. Worth a flick through there.
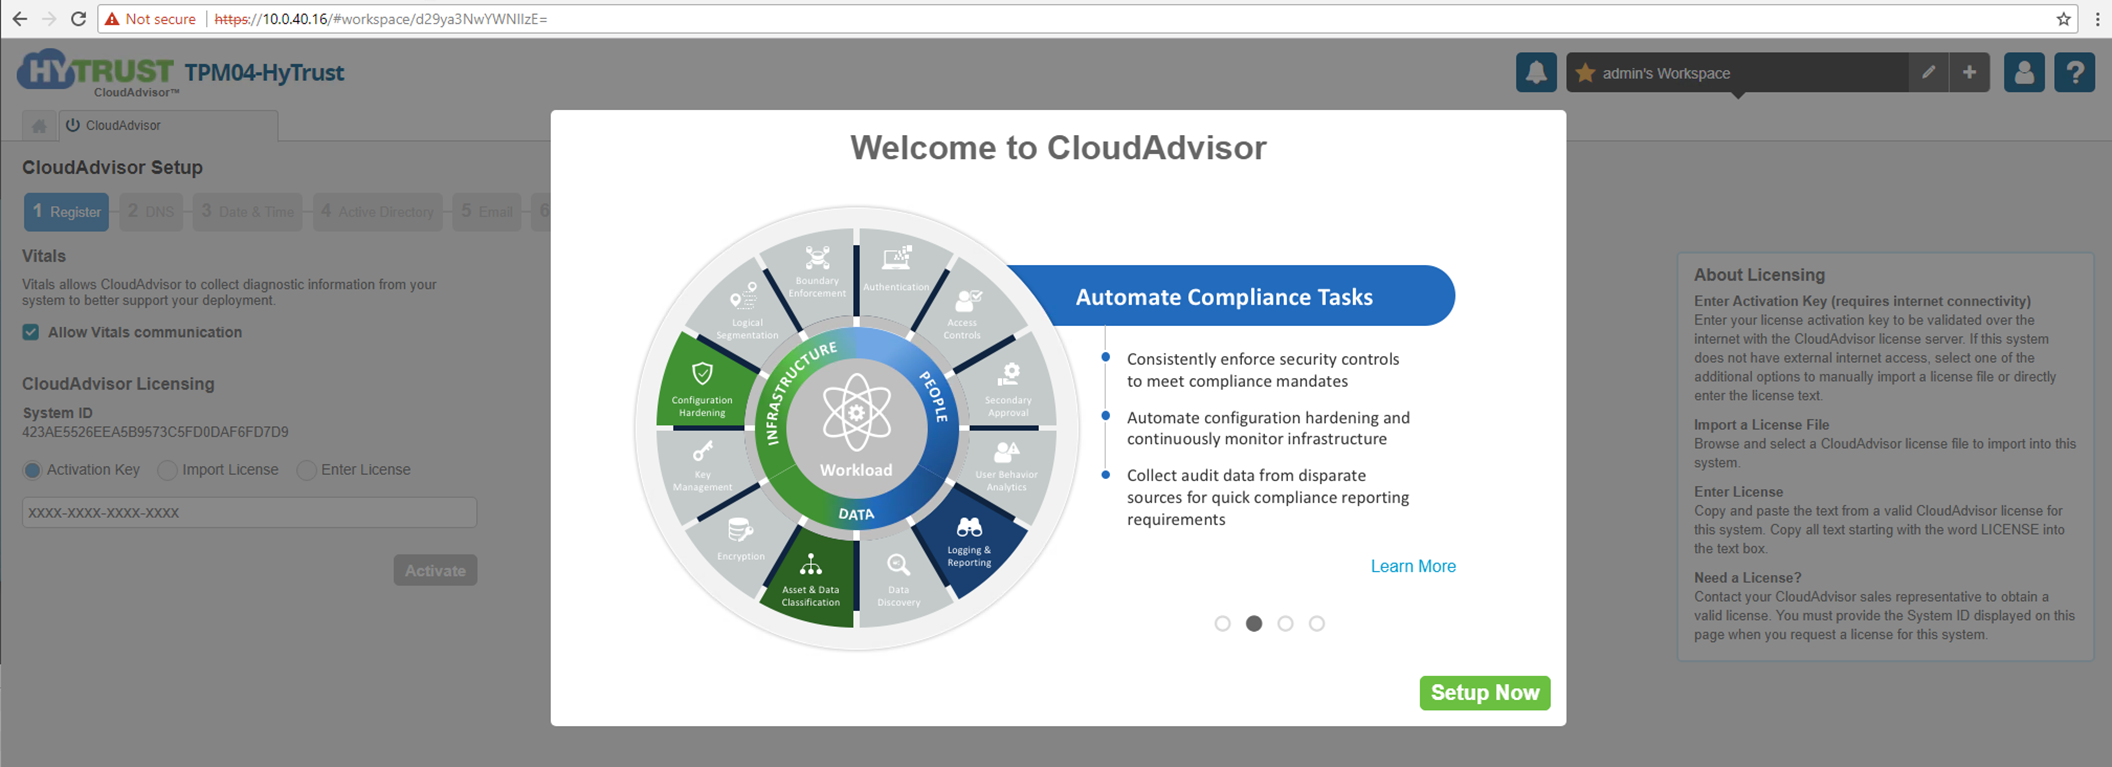
Obviously I read through the End-User license agreement, I expect you guys will do to.
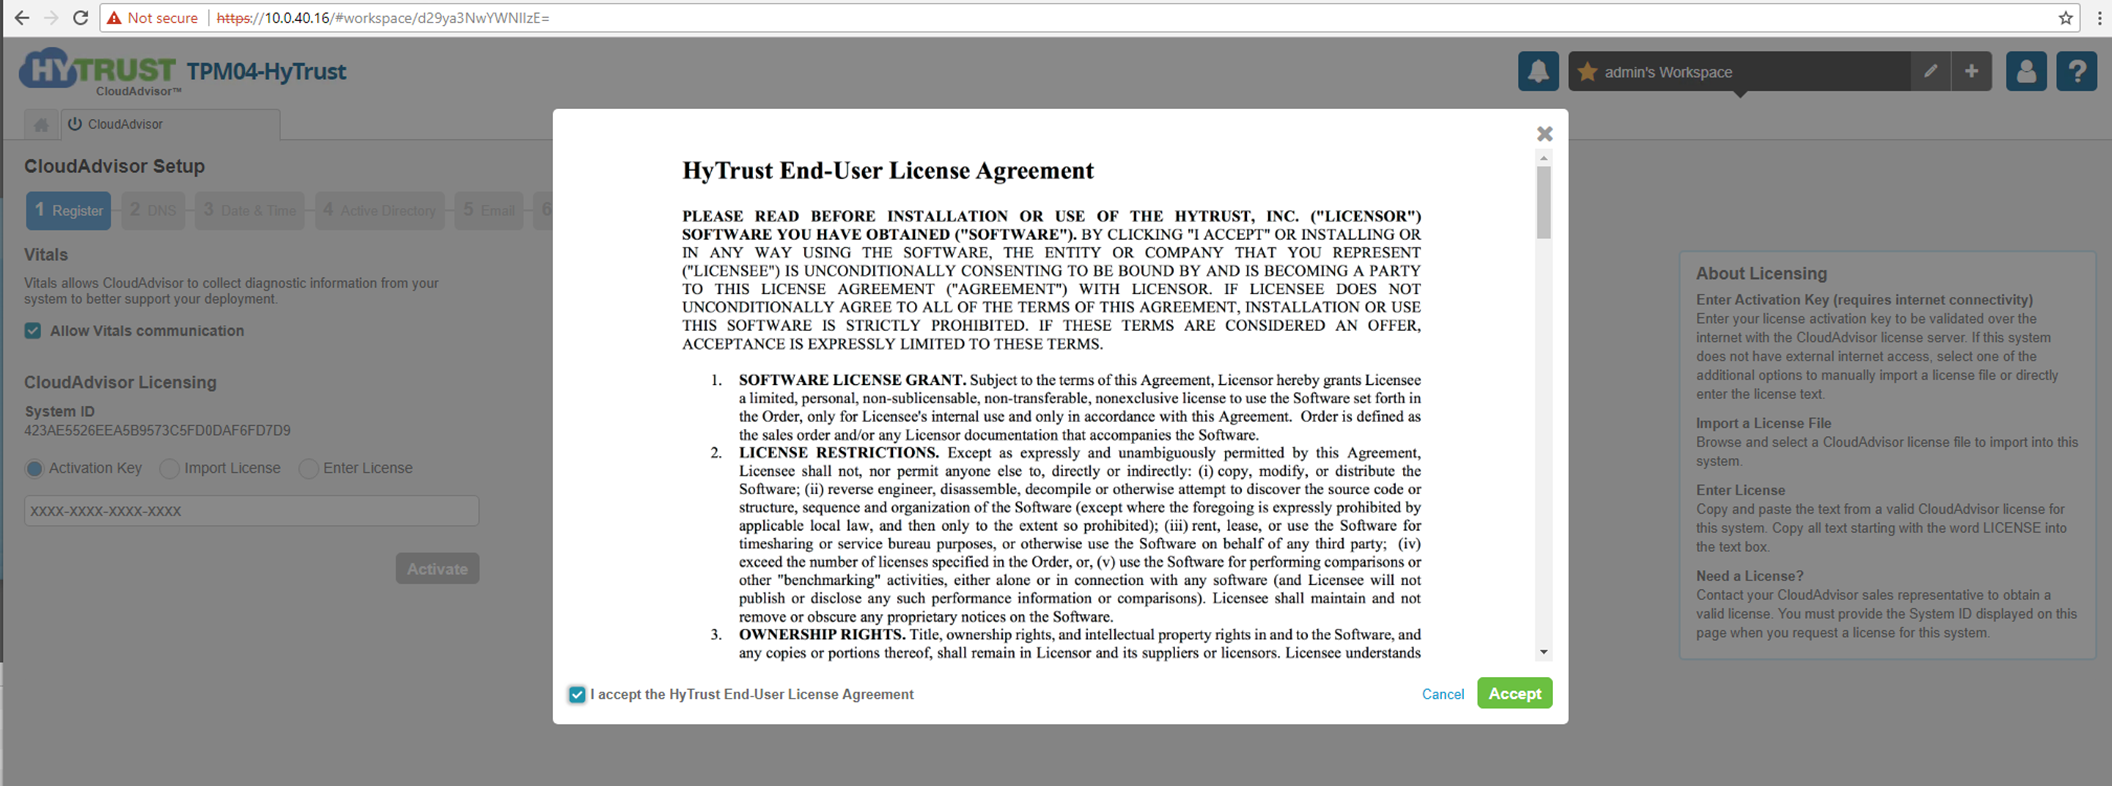
It then breaks into this CloudAdvisor setup wizard, each of these tabs needs to be completed so I would advise before starting the setup wizard to have this information to hand. The first thing to add is the license key.

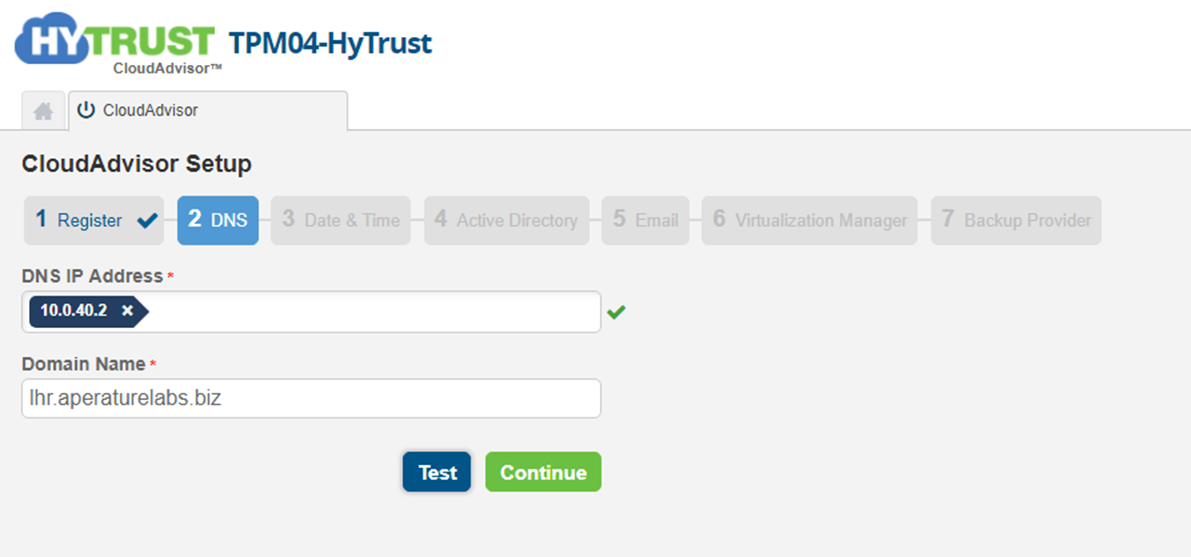
Now during the console setup we had already added DNS configurations but this is just confirming that this is the correct settings, you also have the option to test the settings you have put in here.
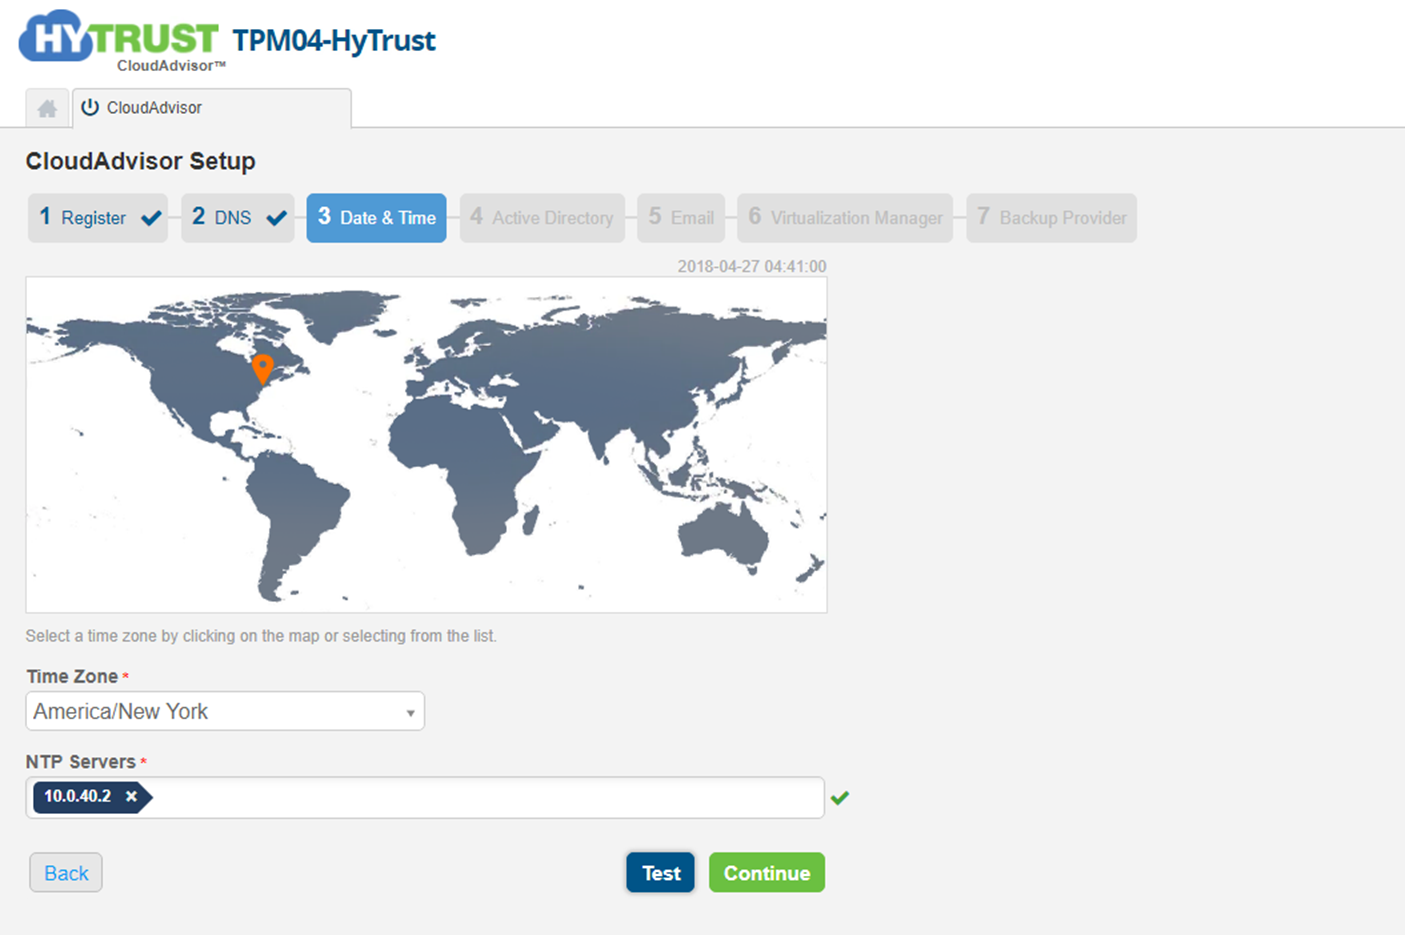
As always, this Data and Time screen needs to be configured correctly. Pick the correct region and pick the appropriate NTP time server. In my case I chose an external one and chose London as my timezone.
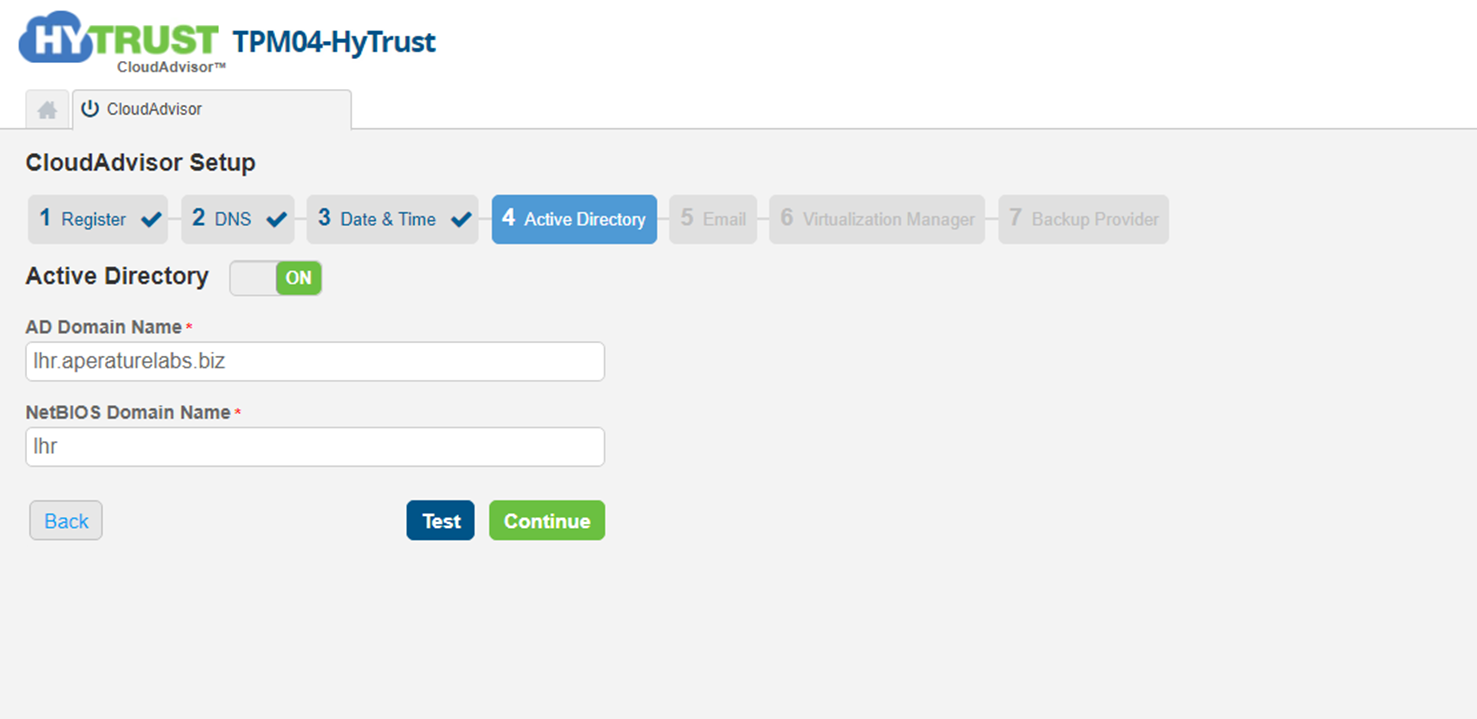
The next stage is where we will add the appliance to the active directory domain. Provide the domain name and netbios these are required and then you have the option to test with credentials to authenticate with the domain controller and make sure the configuration is correct.
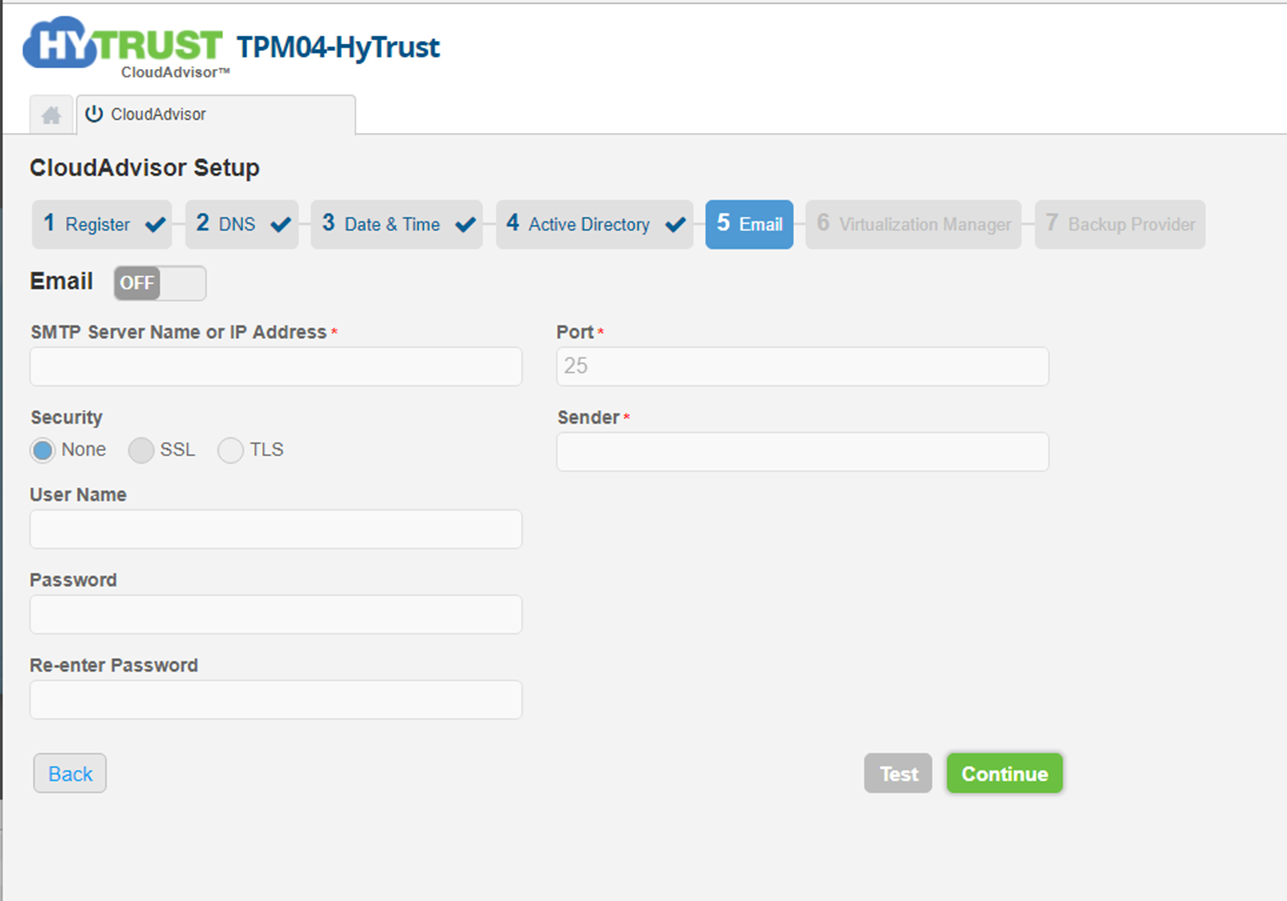
You can choose if you wish to setup email notifications, I didn’t for this quick configuration.
The 6th stage is adding your virtualisation manager this in our case is our VMware virtual centre. Very simply add your DNS name or IP of your Virtual Centre and your allowed credentials.

The final stage and the most important one for me is the backup provider, we are able to add our Veeam Backup & Replication server here, the first thing to note is that when you add the server you get the chance to choose an “Analysis Blackout Window” this is when you do not want your backups to be mounted and analysed, very important to consider as this could affect retention periods and performance. This can be adjusted or even configured later on.

Adding VMs to Inventory
Now that we have the initial deployment and configuration out of the way, it’s now time to start populating the tool to understand more of what is happening in the environment and making some actionable events against those findings. This is where we add our virtual machines and backup files to the fold.
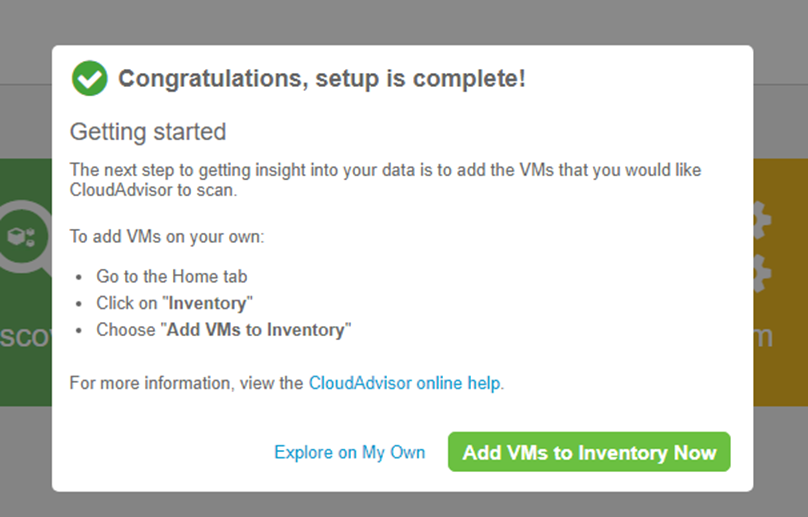
On the first selection it is your provider again that we added in the first configuration wizard, depending on where will determine the provider chosen. In my first scenario I want to add a live VM.
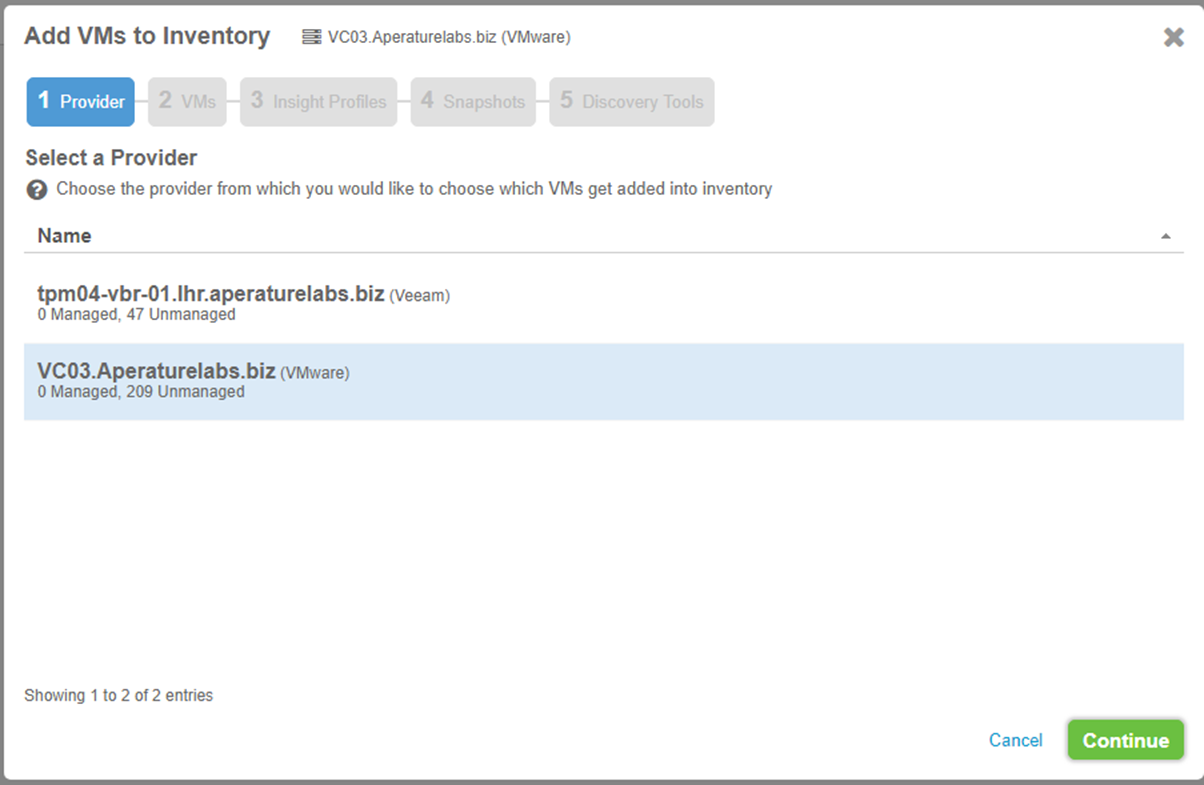
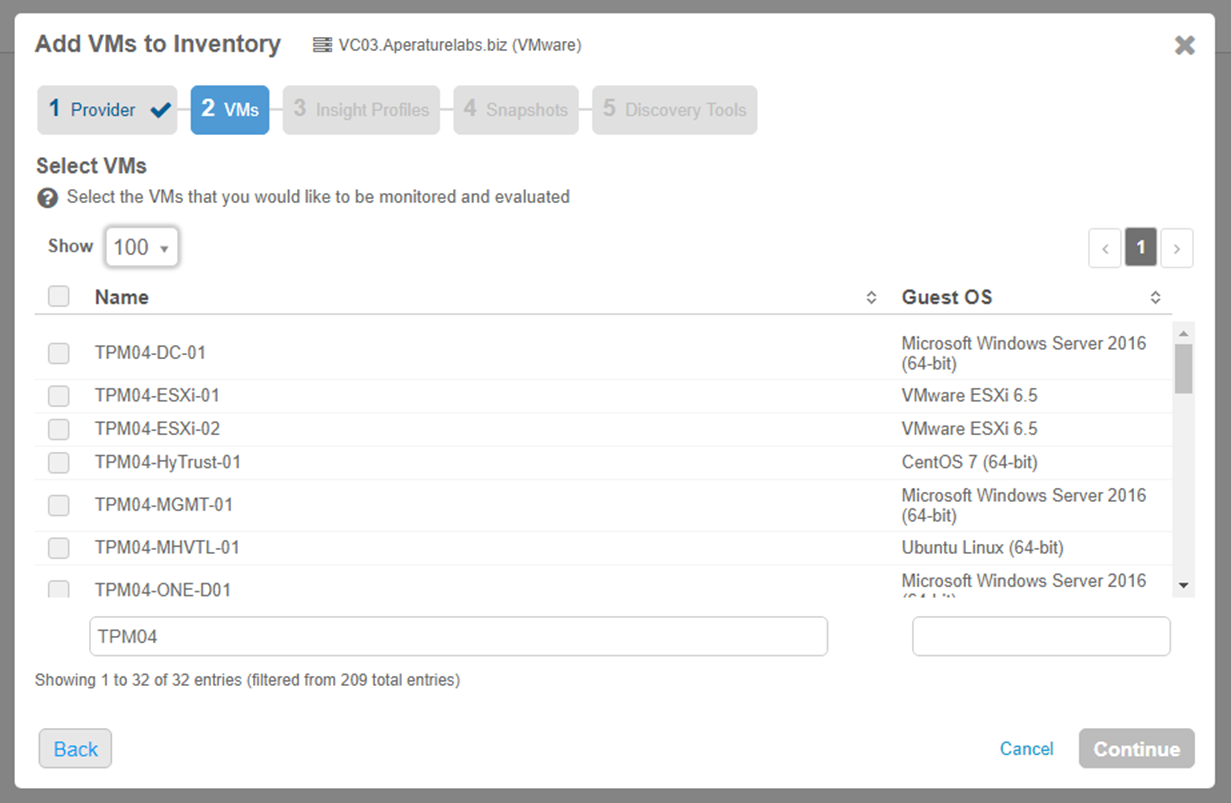
The search function here allows you to search the VM name or by guest OS. My VM naming convention uses TPM04, I have searched based on this. You can also tweak the number of entries you see in this page, I put this straight to 100 as I know I don’t have that many machines.
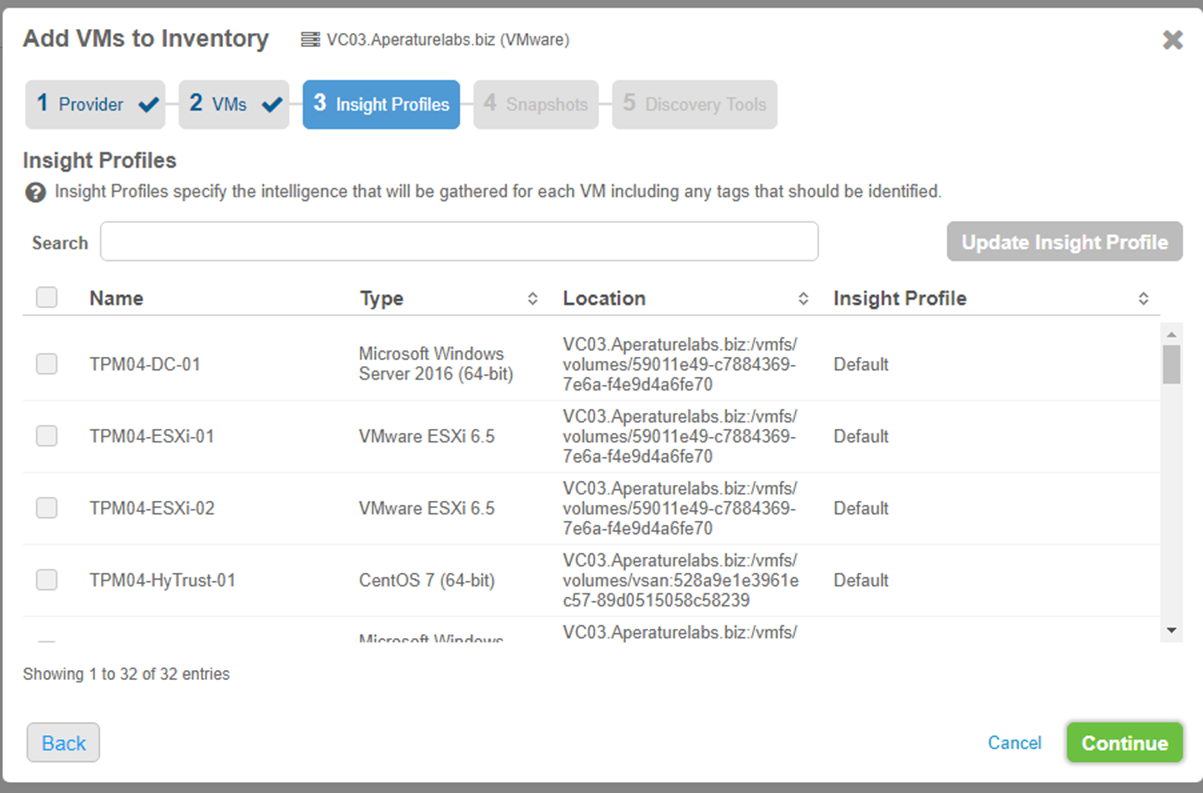
The next step is to choose which VMs we would like to assign Insight profiles to, this is a set of rules or specifications that will be gathered. For the purposes of this I am going to run through on just the default profile.
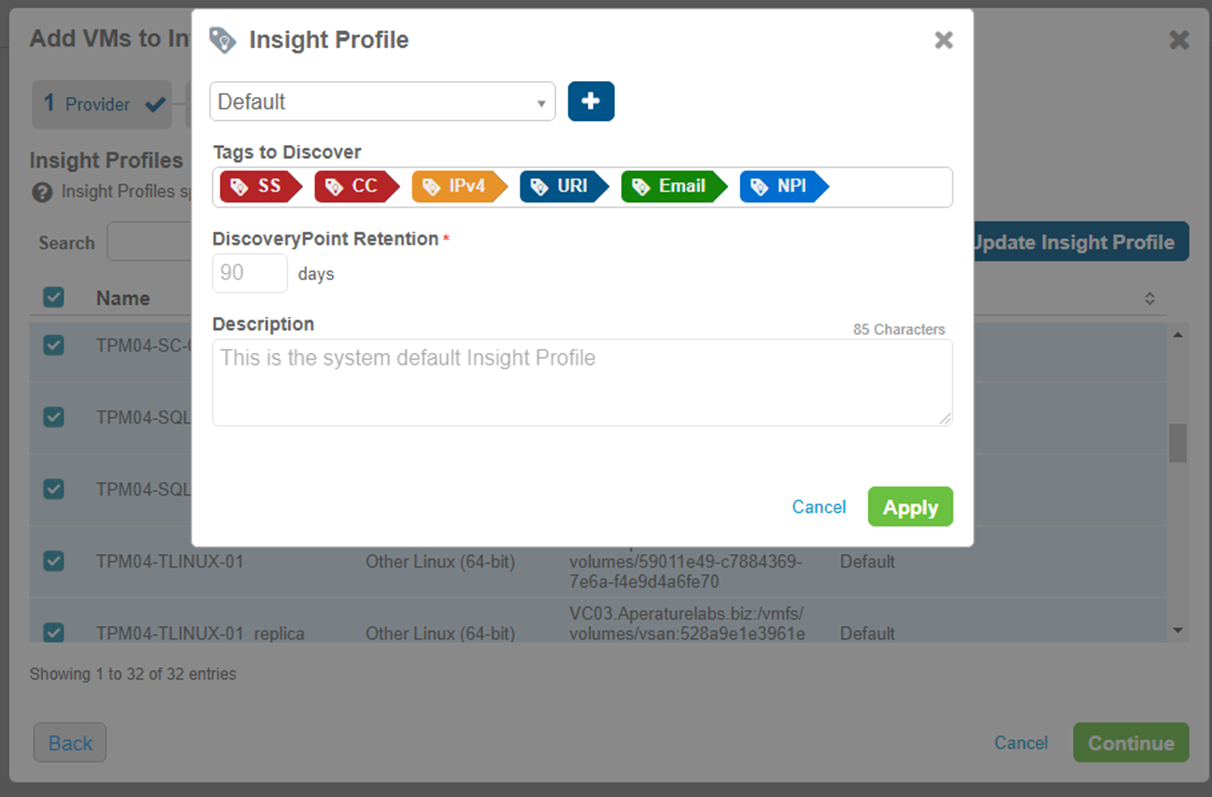
The default policy is going to look for these specific tags within the VM. This can be updated during this configuration using the “Update Insight Profile” button on the previous page.
Next is the concept of discovery points, this is defined as snapshots, this will be the schedule on how frequently the data will be checked.
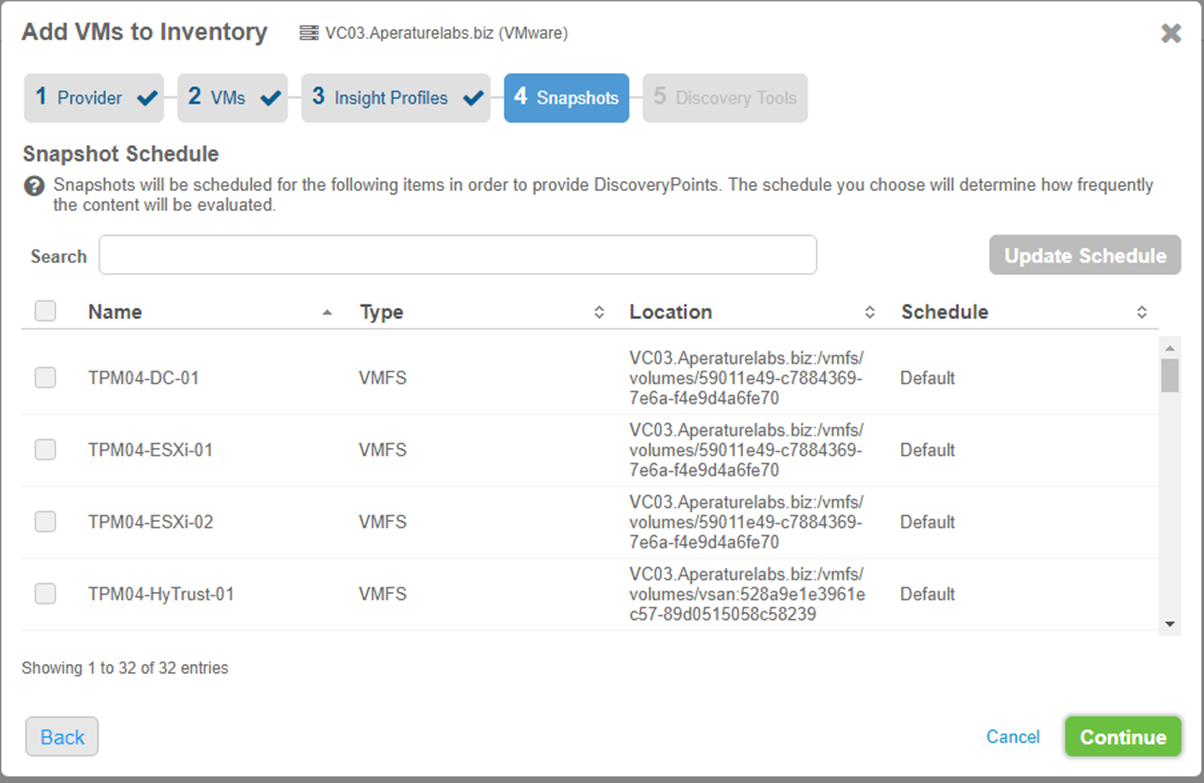
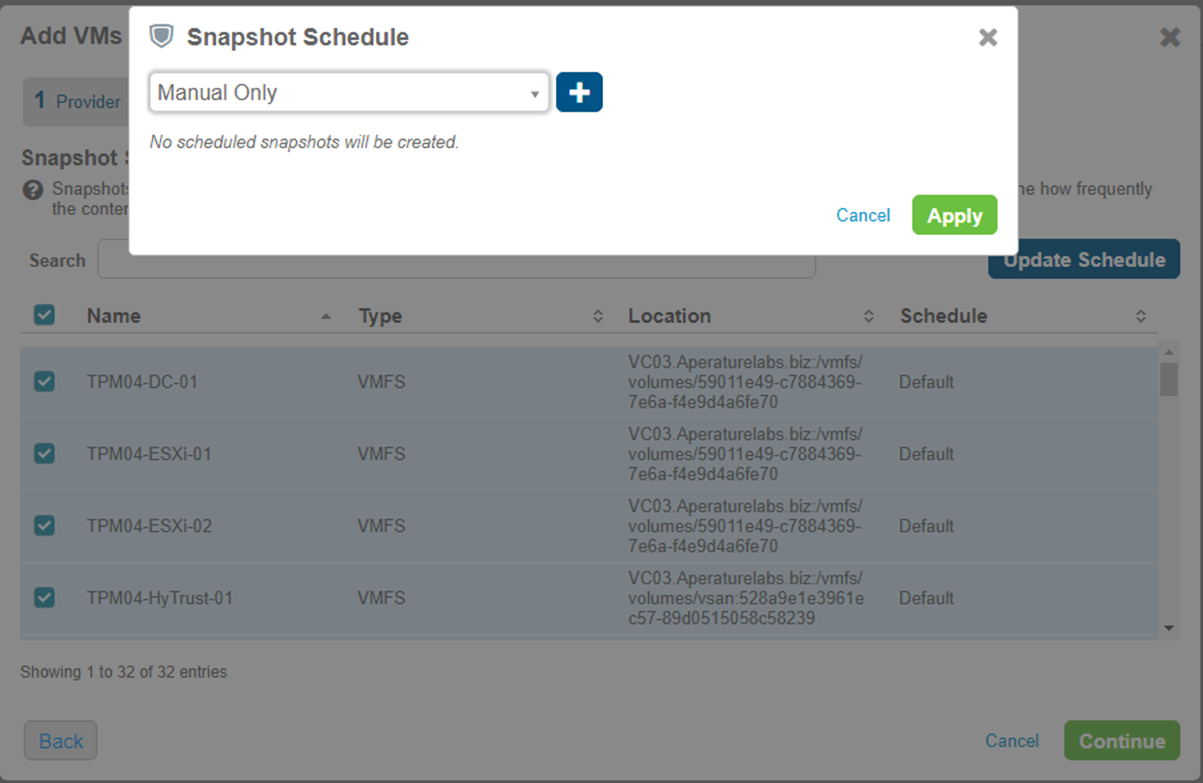
Again, you can change the schedule here and configure new ones. The default that I will set is manual schedule.
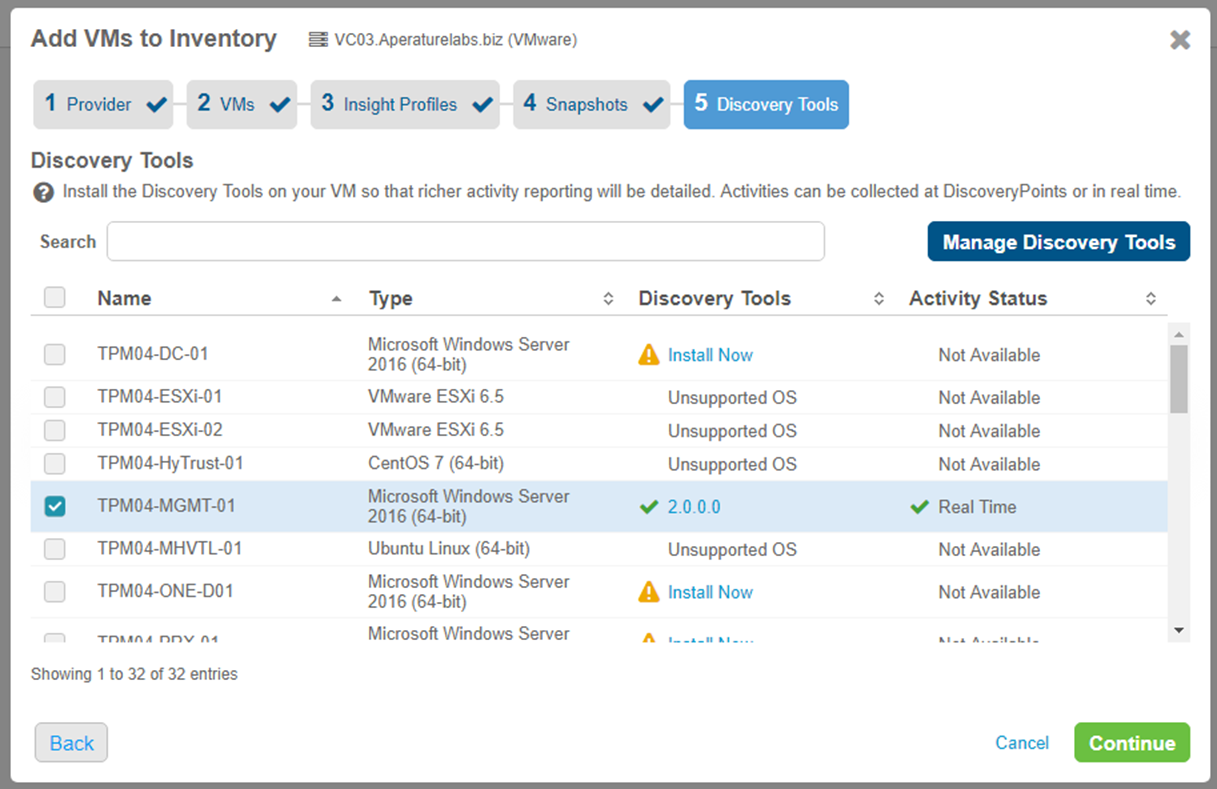
Discovery Tools is the final step to adding virtual machines, this allows for an agent to be deployed to the machines you maybe want to get more data from.
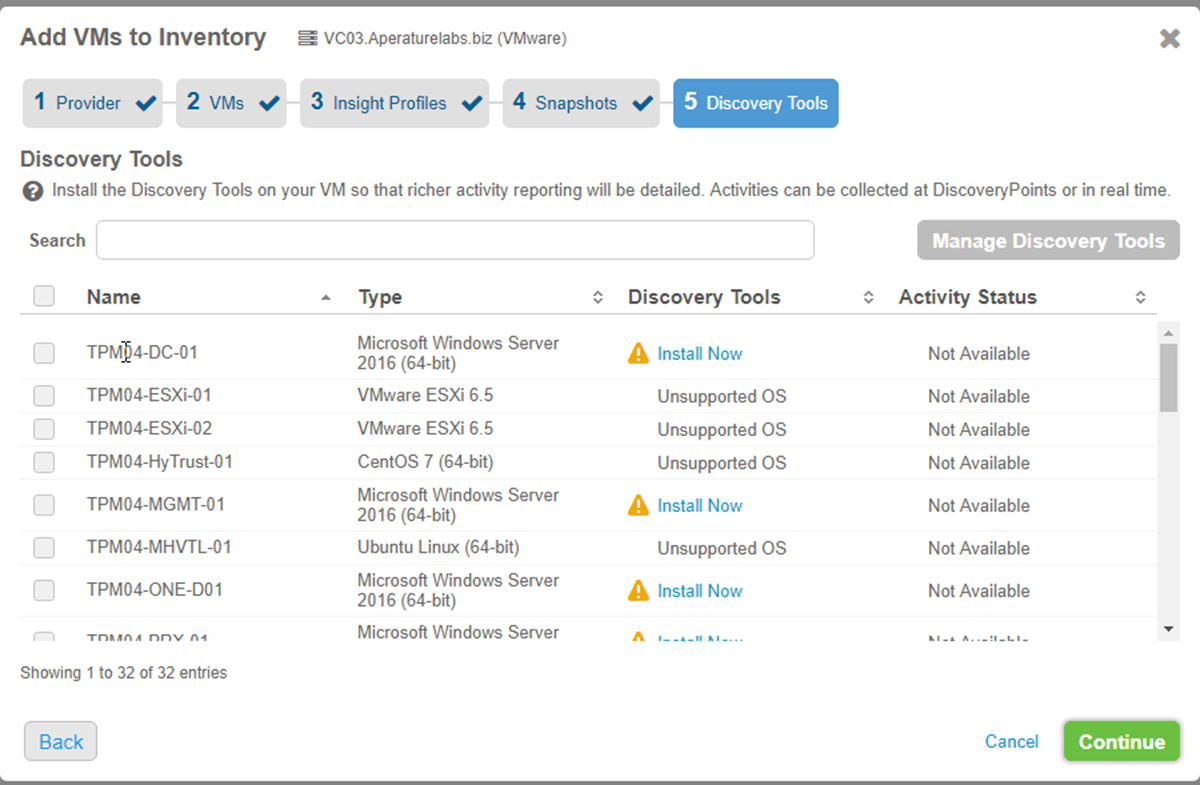
I am going to deploy on only one machine for lab purposes to begin with. But by clicking on the install now hyperlink you are faced with some configuration on how to deploy the agent.
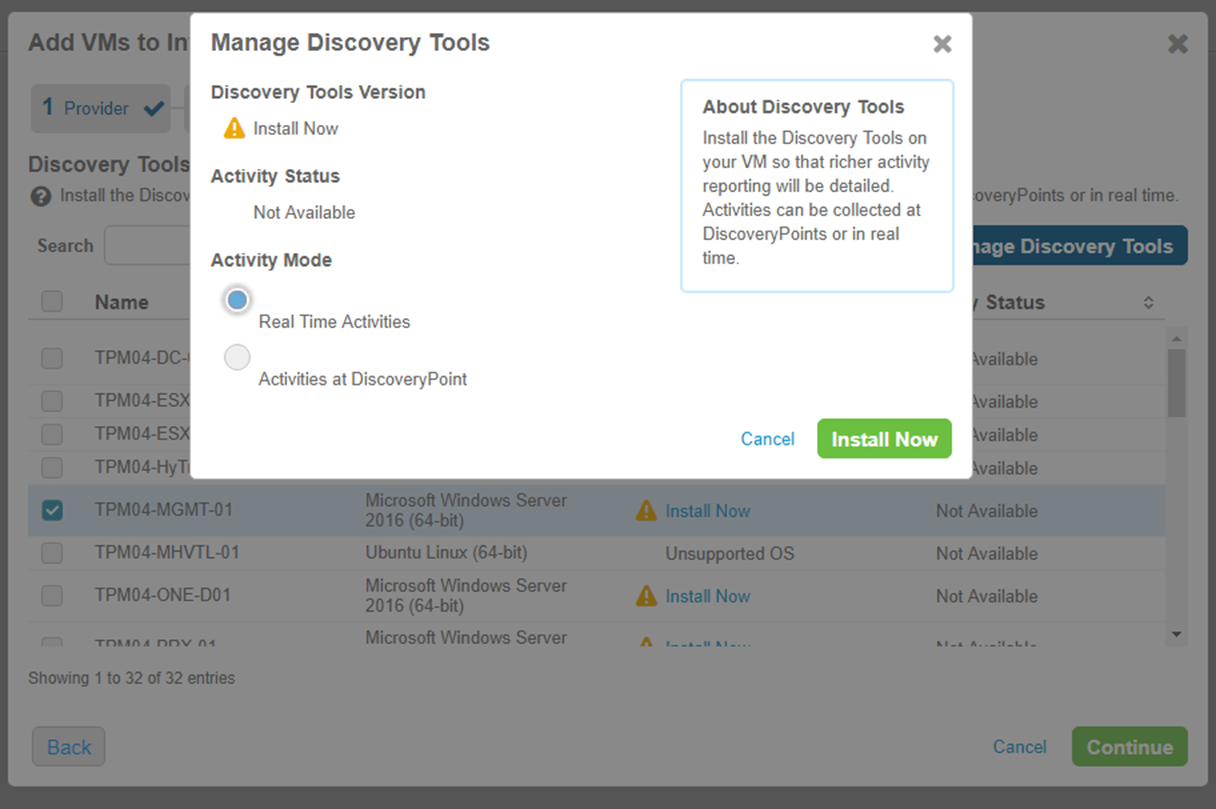
Once the agent has completed its deployment you now see the following in that window.
The following then takes place and adds those VMs into your inventory. 
My NFR license only allows for 2 active VMs. One is from the Virtual centre and one is from the Veeam backup and replication server and the backup file.
Next up we will have a closer look at the Veeam and HyTrust integration and some use cases and overview of how and where you might use these two products together.
