With the recent GA release of Veeam Backup & Replication 9.5 Update 4, the next storage integration also arrived, leveraging the Universal Storage API that was released late 2017 the list continues to grow. Here is an overview of the integration points previously I wrote about.
Functionality is covered in the post linked above, I wanted to take this time to highlight the simple process of getting your NetApp HCI or SolidFire storage added within your Veeam Backup & Replication console.
Before you begin you need to make sure you have added your vSphere environment this will unlock the Storage Infrastructure tab.
This week some of my posts are focusing on Veeam Community Edition, I will be running through the process of adding storage within this free edition, this allows even the community edition to have visibility and some control in to some of your historic snapshots that were not even created by Veeam, as well as the ability to recover some items from those snapshots.
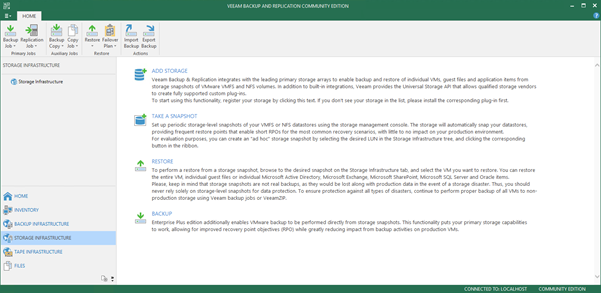
As you can see from the above, we have a clean Veeam Backup & Replication install with our VMware environment added but in the shot above you see we have no storage integrations currently added to our Veeam Backup & Replication console. To add we need to select the Add Storage.

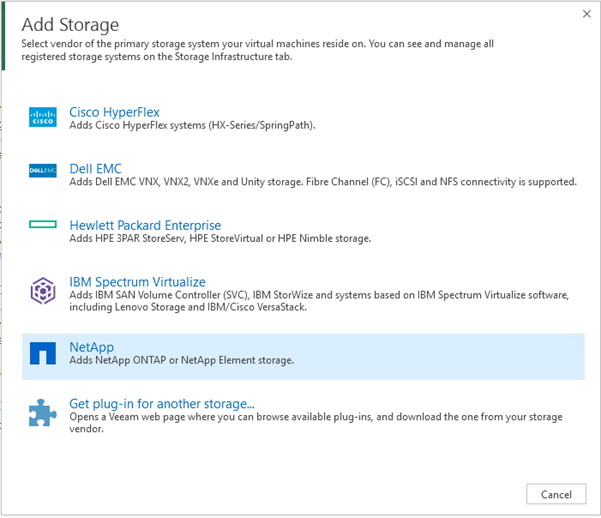
Next up you will see the long list of available storage integrations that are available along with the link to download any of the additional Universal Storage API plug ins. For us we can select the NetApp option below.
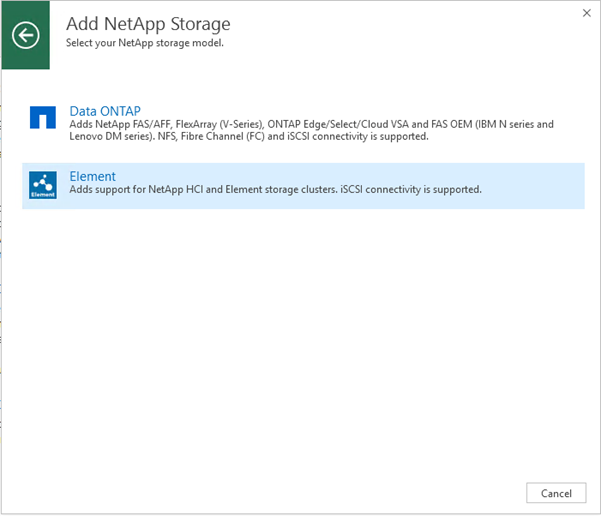
On this next page you will see Data ONTAP which we have covered a few times in previous posts, but the one we are interested in today is Element, Element is the operating system that is used on both SolidFire and NetApp HCI storage.
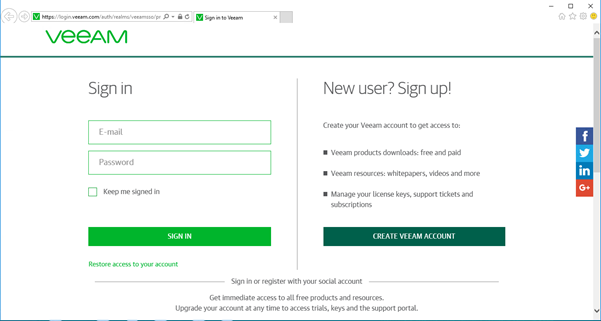
The element option is a link to the Veeam website where all plug ins can be downloaded. Authenticate with your account or create an account to see those available downloads.
Scroll down until you find the following screen, this is applicable for all Veeam Universal Storage integrations, here you will find the downloads for all.

Select and download the NetApp Element Plug-In.

The plug-in once downloaded will be in the form of a compressed file, extract this into an appropriate location.
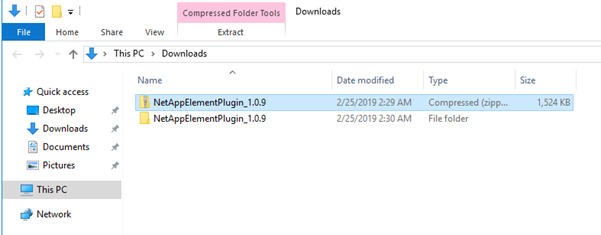
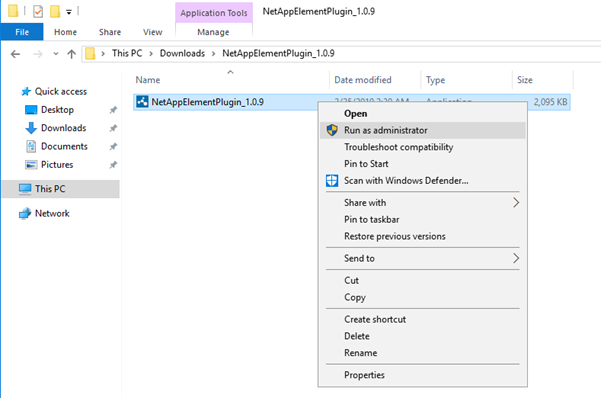
You will see once extracted, it is an application file type that can then be ran, I always choose to run as administrator.
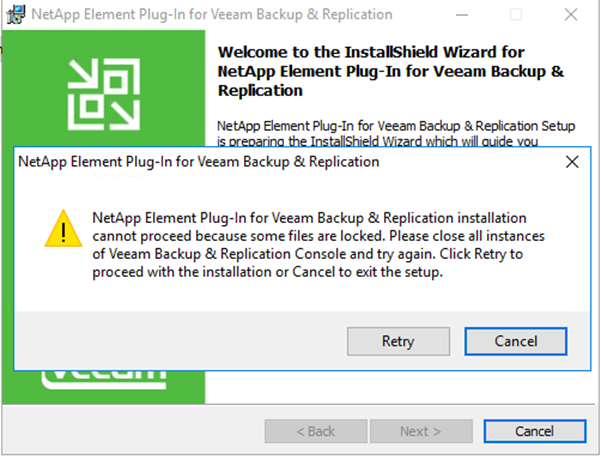
If you have not closed down all your Veeam Backup & Replication consoles then you will first of all get the following warning which will not let you proceed until all consoles are closed.
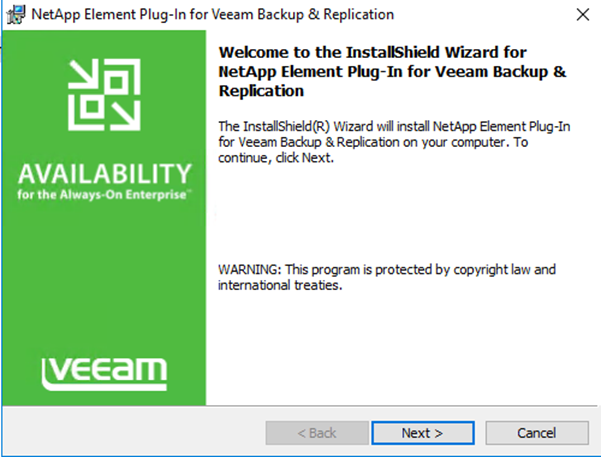
Next is a pretty straight forward wizard, its Veeam we wouldn’t make this complicated would we. Next.
Terms of usage, let’s make sure we all spend our time and read through this. It after all states in block capitals that this is IMPORTANT – READ CAREFULLY.
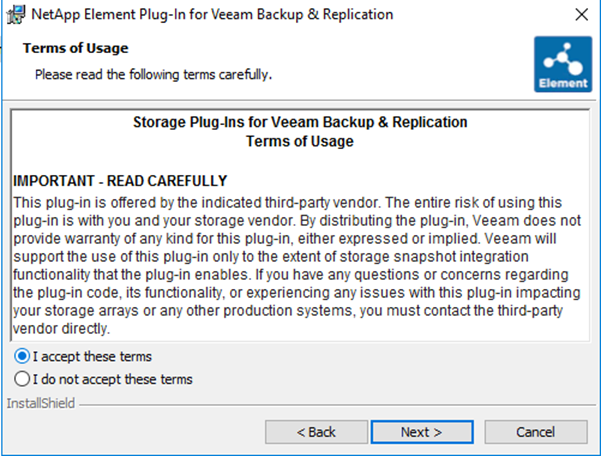
When you are happy with the terms of usage, your tray table is stowed, your seat in an upright position and your seat belt fastened you can proceed with the installation.
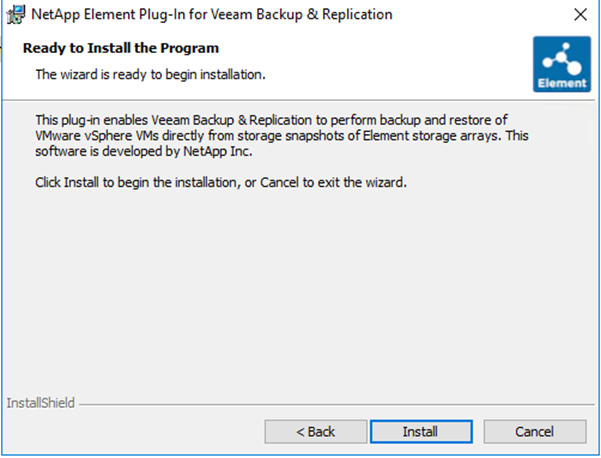
A note to mention is that this is going to stop some Veeam services, as a best practice you should disable your jobs before running the installation. Don’t worry it does start them again once installed. Just remember to re-enable the jobs after. In my lab I have no jobs running currently and it doesn’t take long at all.
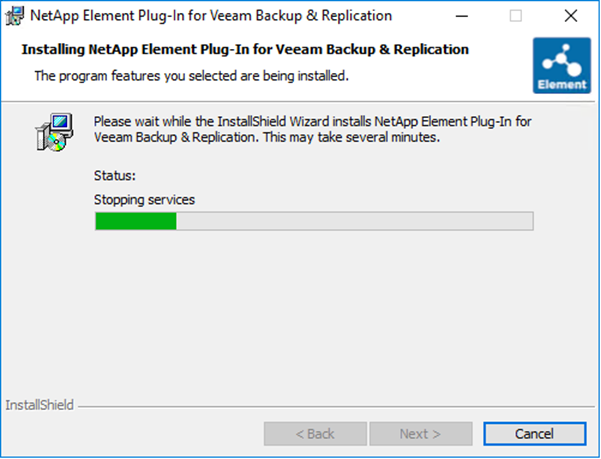
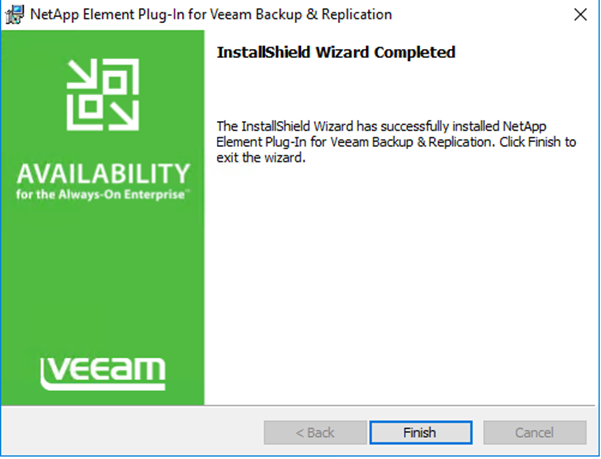
Ok so that’s the plug-in installed on your Veeam Backup & Replication server. Pretty simple straight forward stuff.
Now let’s head back into our Veeam Backup & Replication console and we can add our NetApp HCI / SolidFire system. Follow the first four steps of the post above to get back to this stage, but this time we know we have the software downloaded and installed. First up add in your management IP of your system.
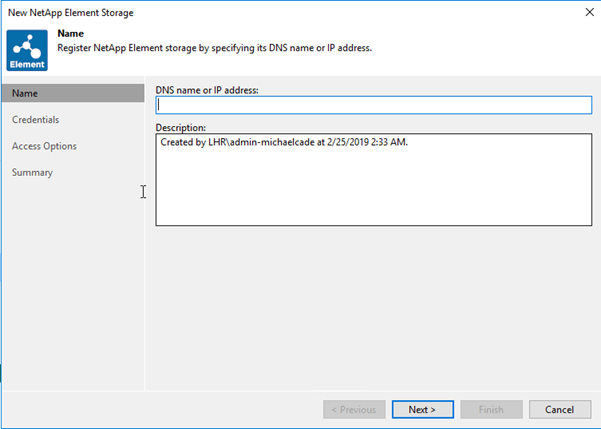
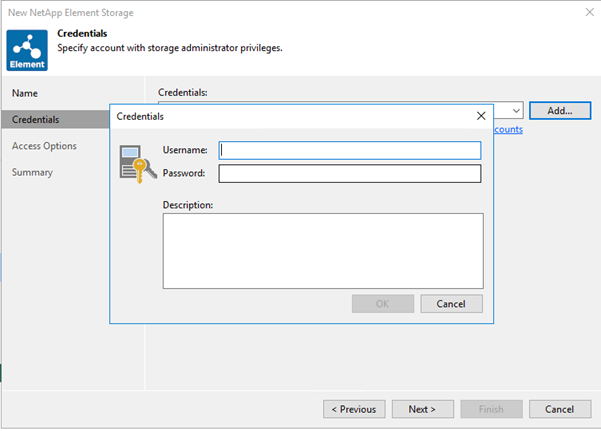
Provide the credentials to access the storage system.
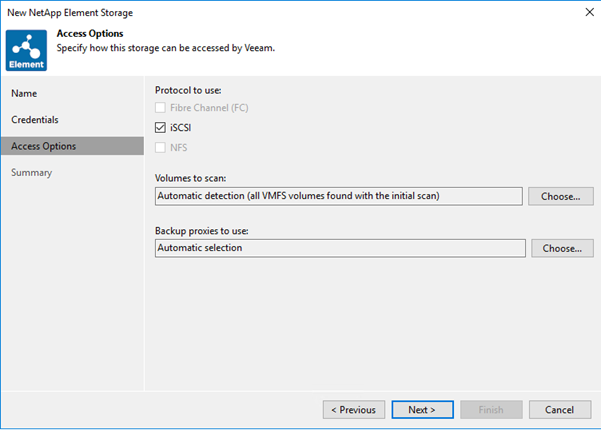
The next options are around protocols available, volumes to be scanned and which of our proxies should we use or that have access to the storage array.
Volumes to scan, if you have volumes other than VMFS datastores for your VMware environment you may wish to remove them from the scanning schedule here.
Backup Proxies to use, this ensures that only certain proxies that have the capability of accessing the storage system are used. By default, all proxies will be used or attempted.
That’s it, confirm the summary of the system you are adding, once hitting finished here. Veeam is going to run a scan against the volumes for VMware VM files.
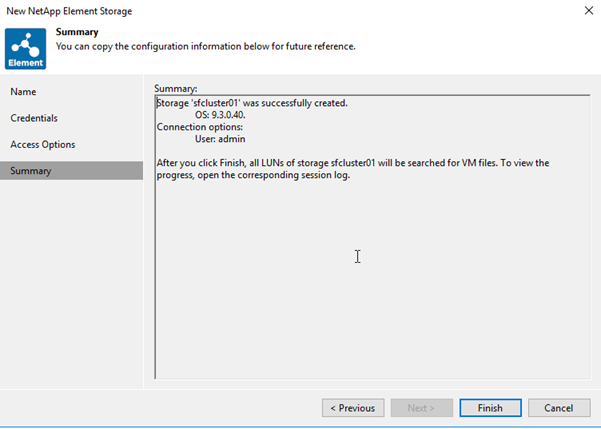
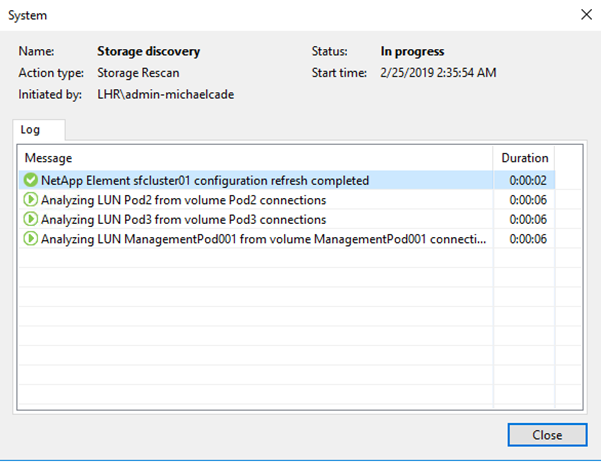
The next screen / pop up is now discovering the storage system. It’s going to scan for all VMFS volumes located on the storage array.
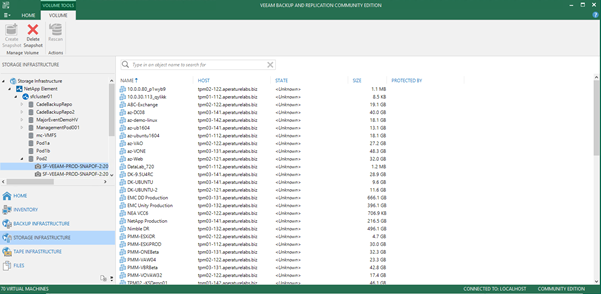
Another Veeam server has been orchestrating snapshots but with this instance of Veeam Backup & Replication we have the ability to look inside of those volumes and snapshots and see the VMs available for recovery options. We can also perform a level of restore against those.
I will follow up in another post what else we can do now we have our NetApp HCI system visible to our Veeam Backup & Replication server. Yes, we can backup from it and restore but there are also some more very interesting features that we can take advantage of including Veeam DataLabs.

1 Comment