How to install the Inifinidat plug-in
Veeam backup and replication 9.5 update 3 was released just before Christmas, this updated included a major feature in the Universal Storage API, this would allow Veeam to support a much wider range of storage vendors for integration into the product.
A closed process led by Veeam and storage vendor the private SDK is provided to the storage vendor to develop against, at completion the storage vendor will then provide the Veeam QC team with the new plug-in where it can be tested in the system for any bugs or configuration issues. At this point it can then be released to the public.
This post will run through the simple process of installing the universal Storage API plug-in for Infinidat storage arrays.
Firstly, login to your Veeam account here.

If you then scroll down this page you will see an area named “Download additional storage plug-ins” in here today you will see the Infinidat plug-in for Veeam Backup & Replication, expect to see a few more land in here as we move through the year.
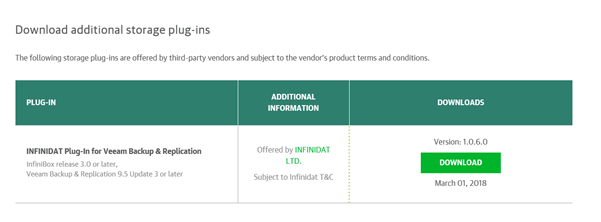
Hit the download button for the plug-in you require within your environment. Once downloaded navigate to the download location.

Next up you should extract that zip file, for ease I chose the same location.
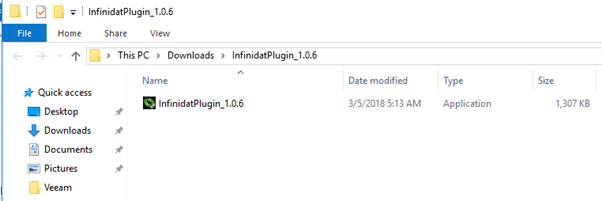
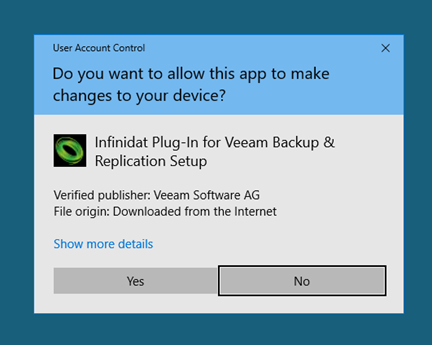
Next step is to install the plug in, if you receive the following User Access Control message then select Yes to proceed.
If you have not closed all Veeam Backup & Replication console then you will receive the following message.
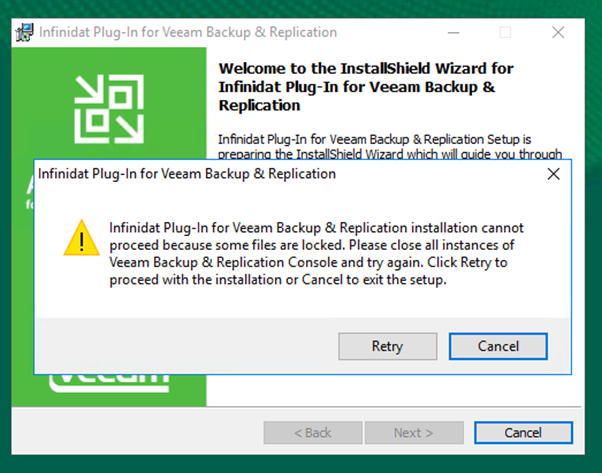
Once you have been through and closed all related windows we can then proceed with this update.
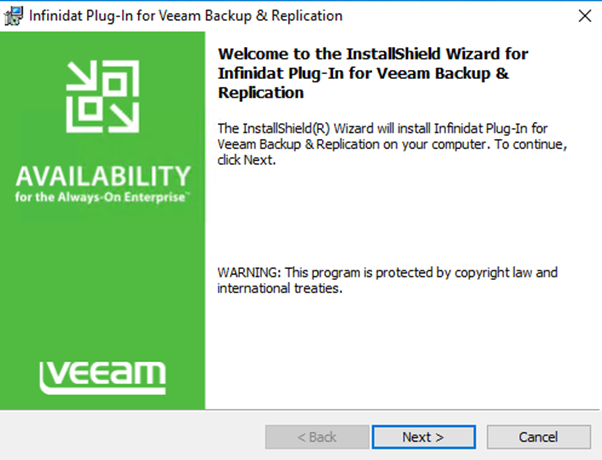
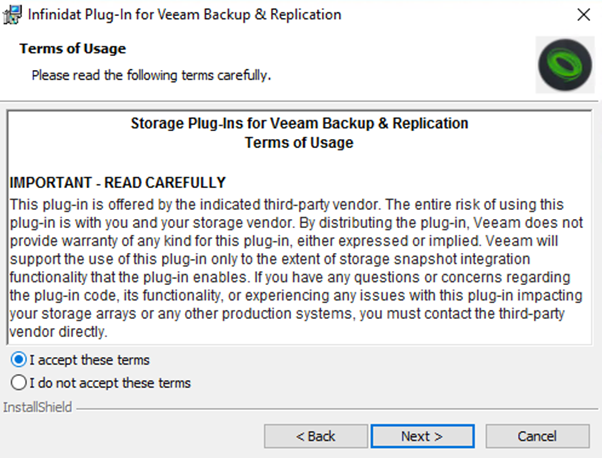
Click Next. Do you agree to the terms?
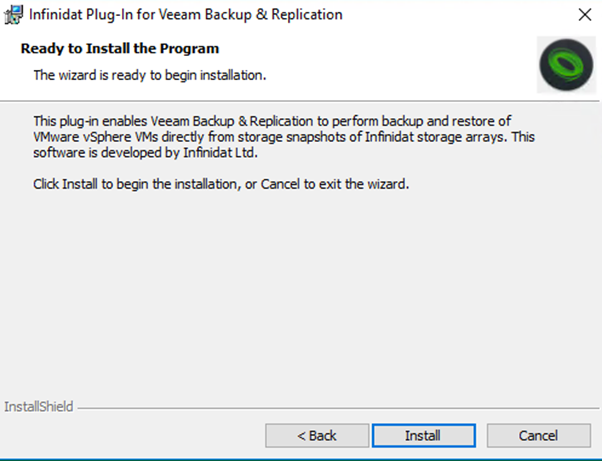
As you expected this plug-in enables Veeam Backup & Replication to perform backup and restore of VMware vSphere VMs directly from storage snapshots of Infinidat storage arrays. I would add that it also allows us to do some pretty cool things around virtual lab environments and the ability to explore into historic snapshots that were not even created by Veeam. Click Install to begin.
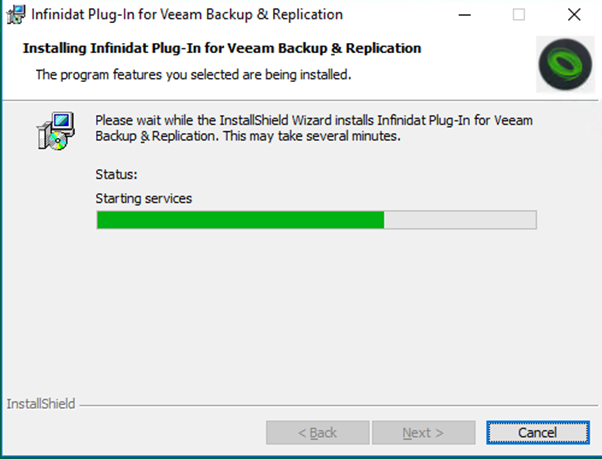
This process is going to stop the Veeam services.
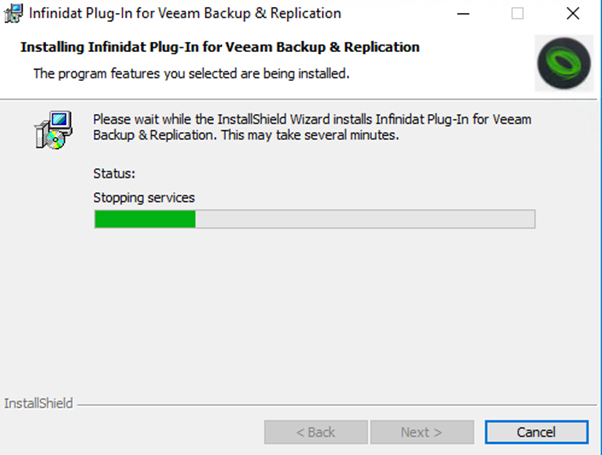
And then once it has installed the components it’s going to start those services up again, depending on the environment this should be a fast process.
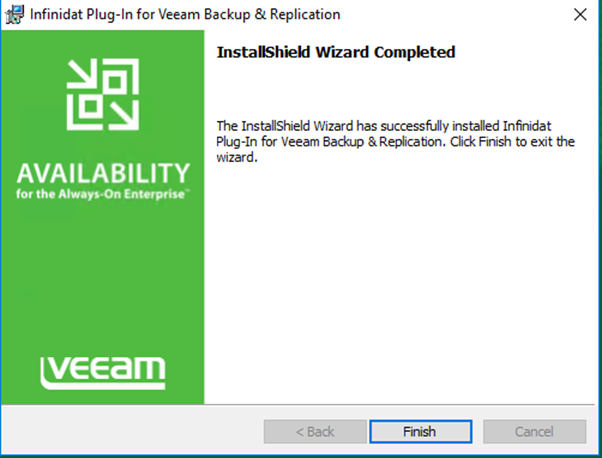
Now that we have the plug-in installed and the services are now back and running we can open a new console to our Veeam Backup & Replication and start adding our storage array.
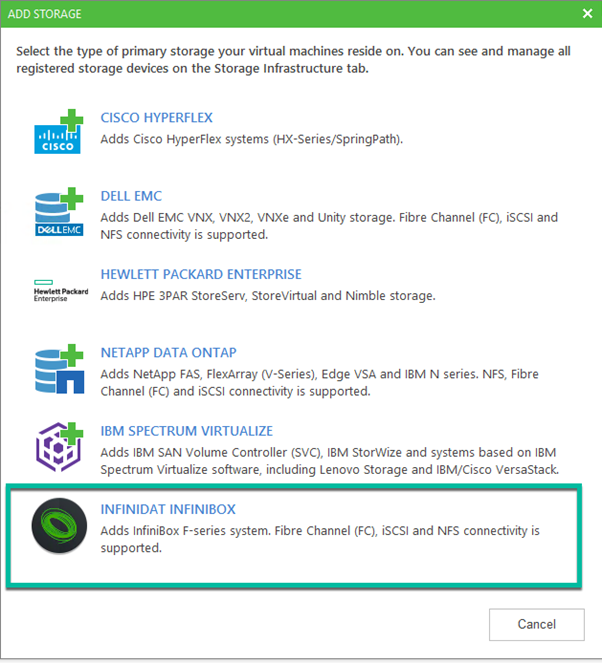
Once logged into the console navigate down to the storage infrastructure tab in the bottom left corner. Select Add Storage.

You will then see the nice new Infinidat logo and option to add the array to the Veeam Backup & Replication management console.
If you are running the standalone console on your laptops and desktops then the same installation of the plug is required on those devices to see the storage options.
This will be the same for all new storage plug-ins stay tuned for more that are coming soon.
