
The last post was to focus a little more on applications but not so much between the stateful and stateless types of applications but in the shape of application deployment. This was deploying KubeApps and using this as an application dashboard for Kubernetes. This post is going to focus on a deployment that is firstly “mission critical” and that contains a front end and a back end.
Recently Dean and I covered this in a demo session we did at the London VMUG.
I would also like to add here that the example nodejs application and mongodb back end was first created here. Dean also has his GitHub which is where we are going to focus with the YAML files.
“Mission Critical App – Pac-Man”
Let’s start by explaining a little about our mission critical app, our application a HTML5 Pac-Man game with NodeJS as the web front end and then the back end a MongoDB database to store our high scores. You can find out more about the build up of this on the first link above.
Getting started
Over the next few sections, we will look at the building blocks to create our mission critical application. We are going to start by creating a namespace for the app.
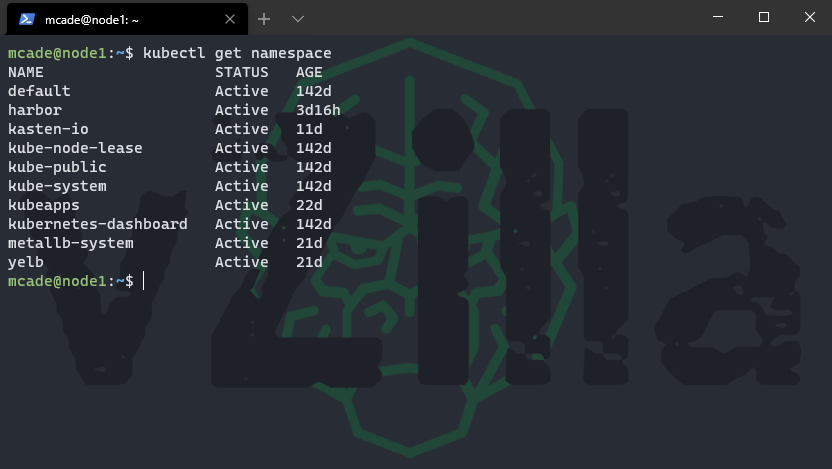
You can see here we do not have a pacman namespace
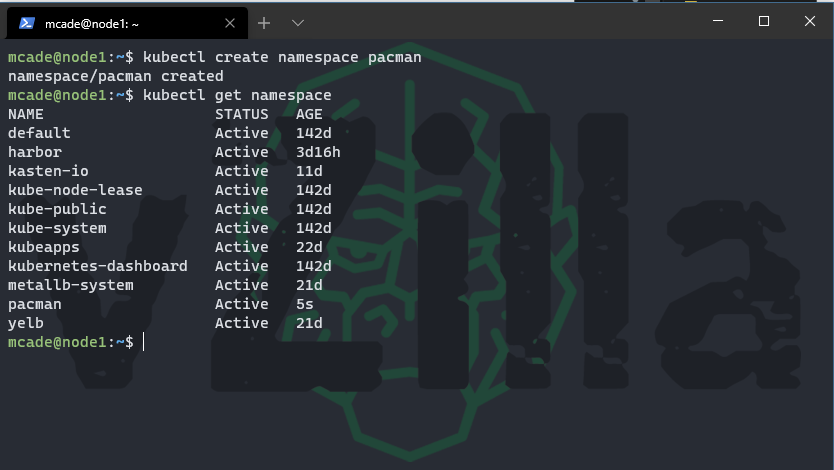
Let’s create our pacman namespace
kubectl create namespace pacman
The next stage is going to be lets download the YAML files to build out our application using the following command.
git clone https://github.com/saintdle/pacman-tanzu.git
then you could simply run each of those YAML files to get your app up and running. (one warning here to make is that you would need a load balancer in place) if you followed the MetalLB post though you will be already in a good spot.
You should now have a folder called pacman-tanzu with the following contents to get going.
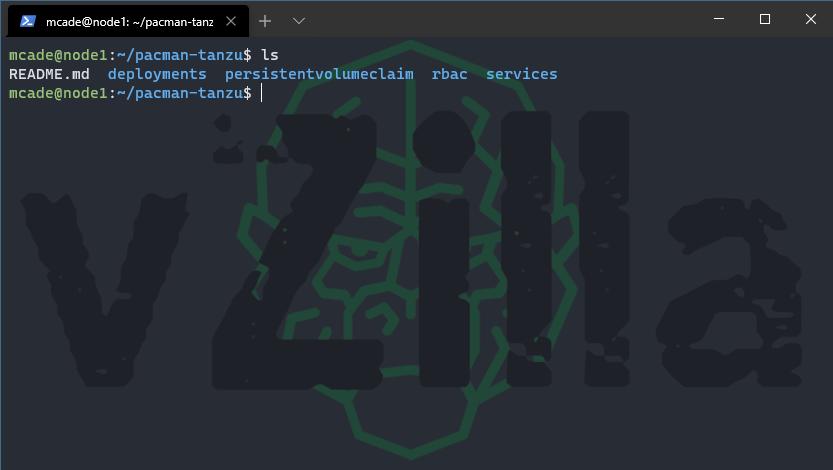
We will now take a look at those YAML files and explain a little about each one and what they do.
Deployments
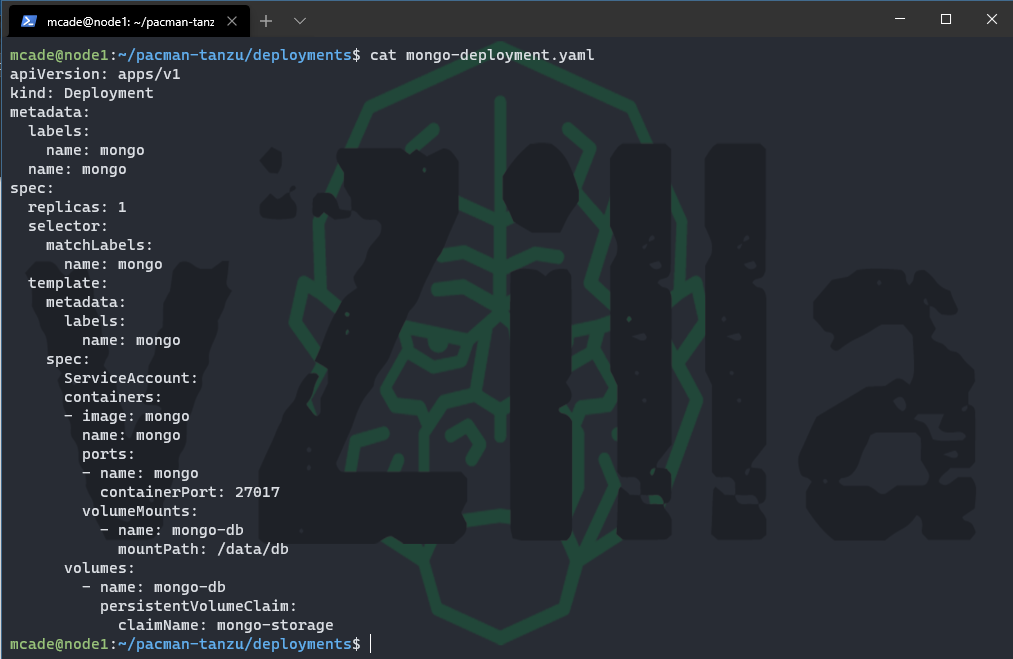
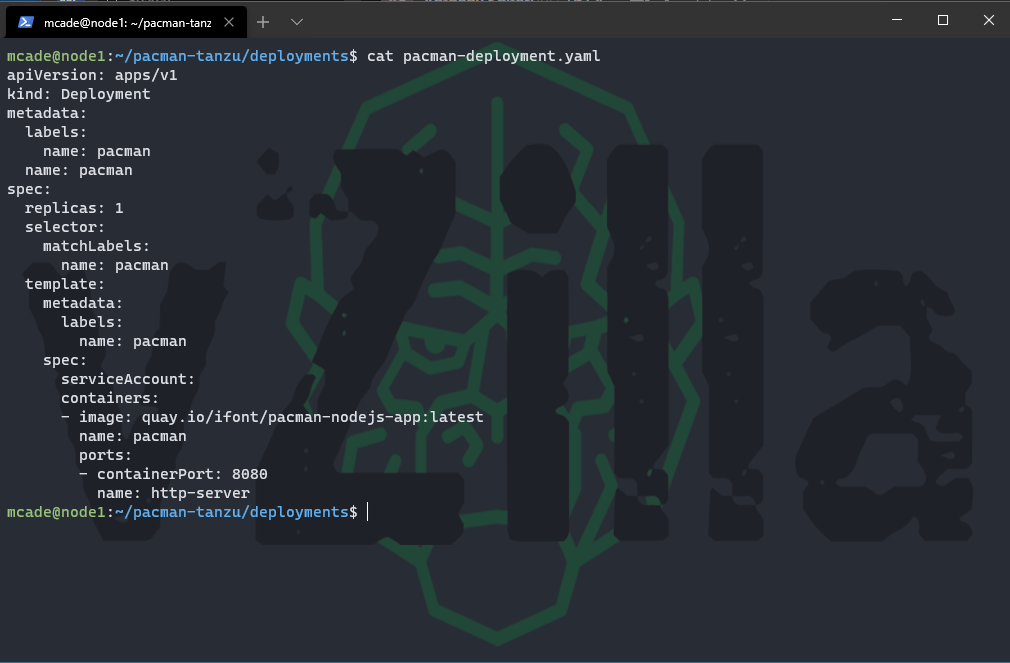
A deployment provides declarative updates for Pods and ReplicaSets. This is where we will define the Pods that we wish to deploy and how many of each pod we need. In your deployments folder you will see to files one referring to mongodb and one referring to pacman. Notice the replicaSets for both of the deployments and also that with the MongoDB deployment you will notice a persistent volume claim which we will cover later.
mongo-deployment.yaml
pacman-deployment.yaml
Persistent Volume Claim
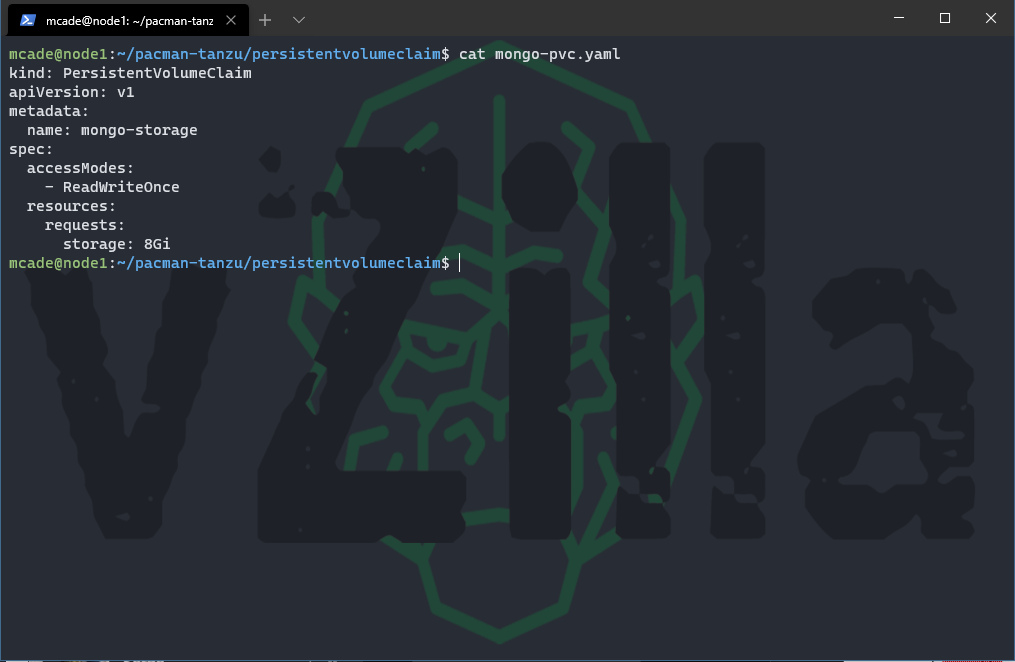
A persistent volume claim (PVC) is a request for storage, by design container storage is ephemeral and can disappear upon container deletion and creation. To provide a location where data will not be lost for our example the MongoDB we will leverage a Persistent volume outside of the container. You can find out much more about the world of storage and persistent volumes here on the official documentation.
When you download the yaml files from github it will assume that you have a default storageclass configured and ready to address persistent volume claims. The YAML file will look like the below.
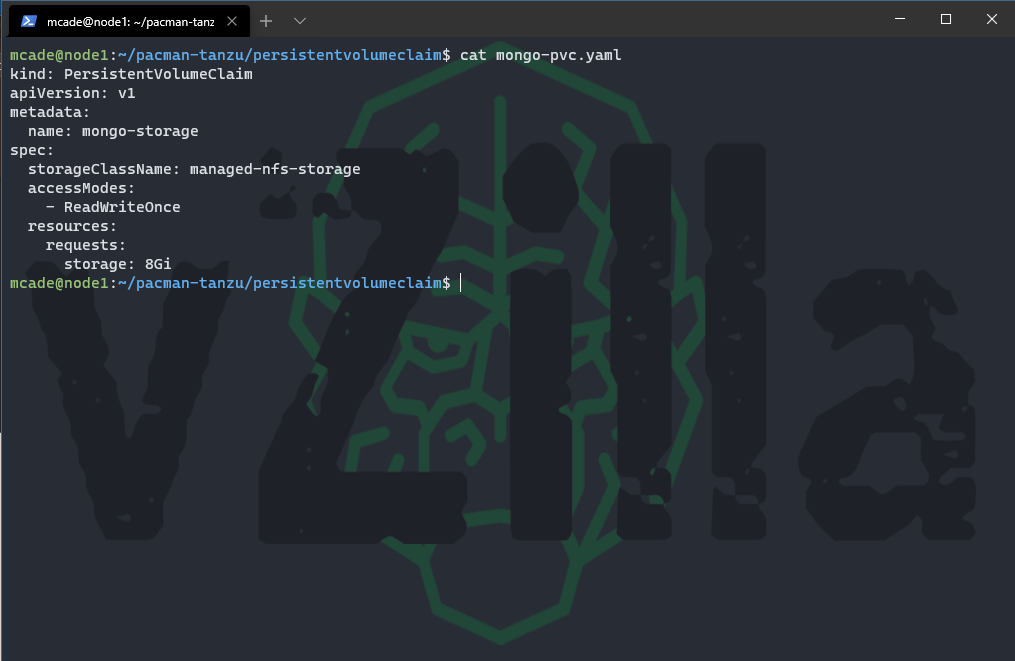
If you do not or you have multiple storage classes, you wish to use then you can define that here using the storageClassName spec.
RBAC
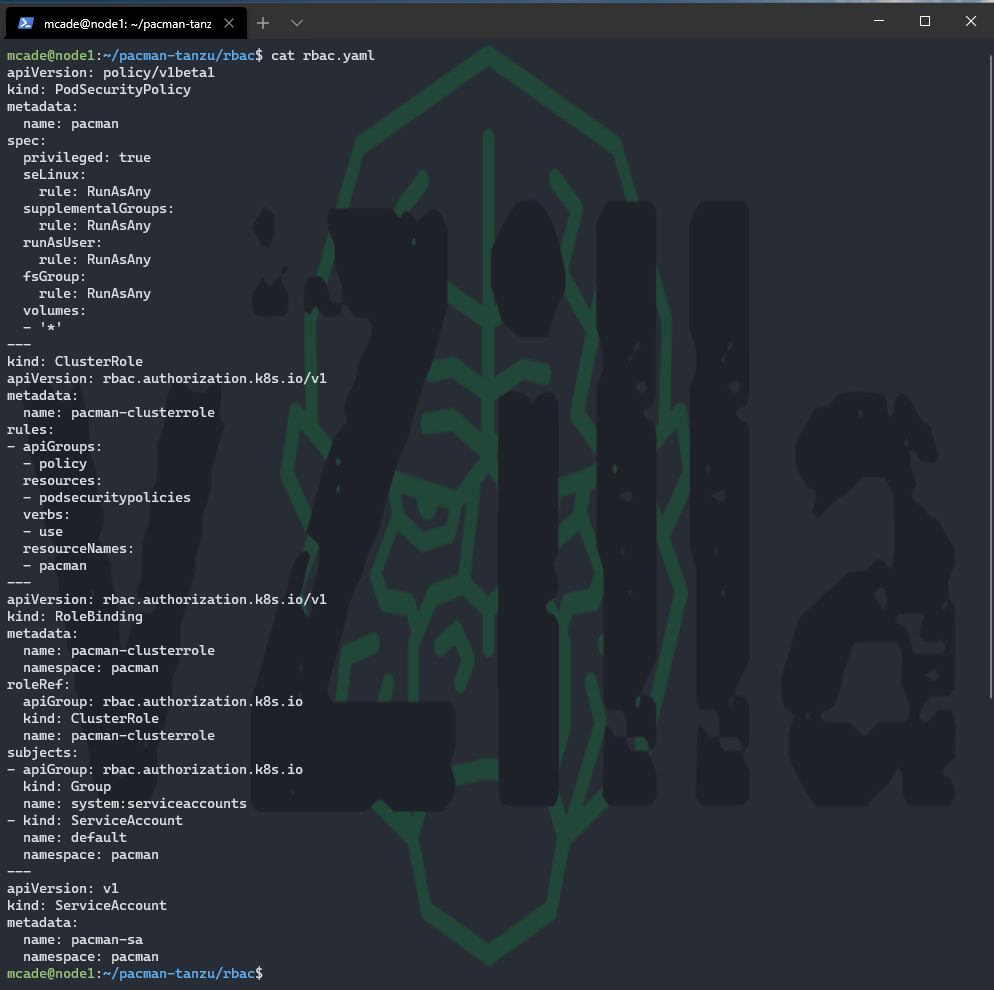
Role-based access control (RBAC) is a method of regulating access to computer or network resources based on the roles of individual users within your organization. You will see below in the YAML file that we have a ClusterRole (non namespaced) and role binding (namespaced) this is to enable connectivity between our front and back ends within the namespace. Once again more information or detailed information can be found here.
Services
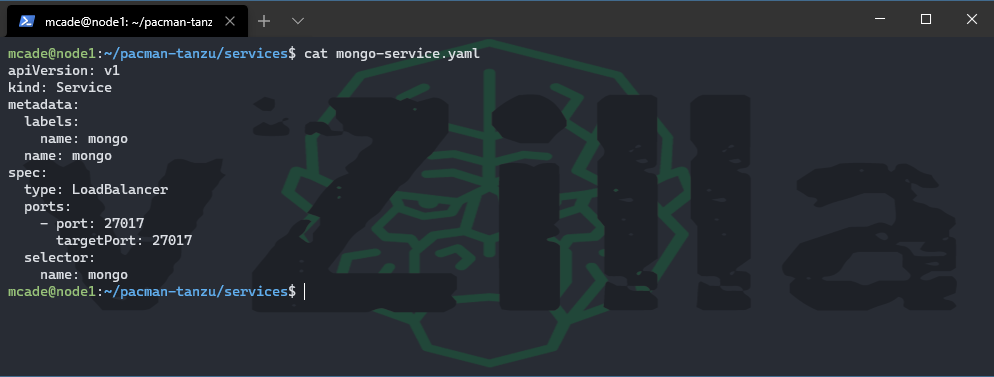
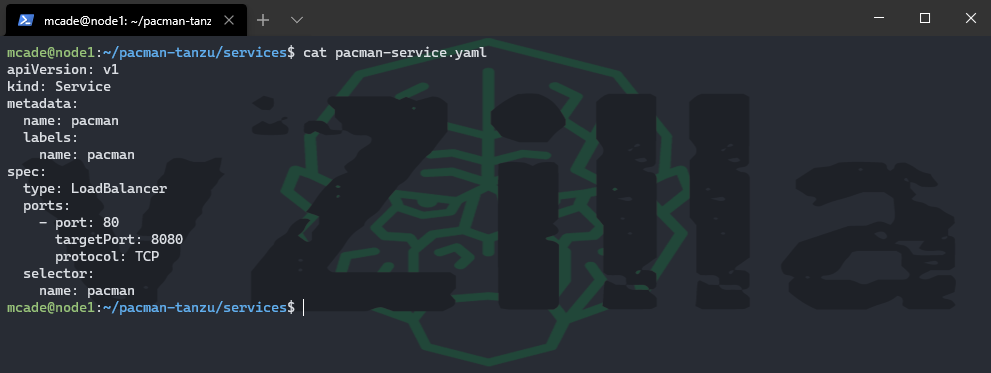
Next, we need to expose our app to the front end i.e. our uses, and we also need to bridge the gap between the pacman (front end) and the MongoDB (back end)
mongo-service.yaml
pacman-service.yaml
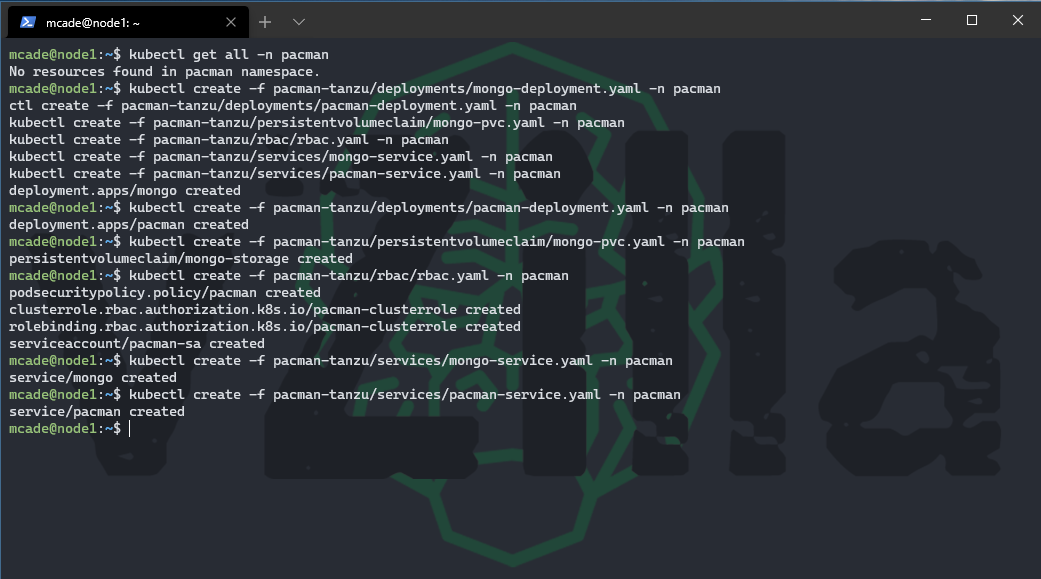
Ok now we have briefly explained the files we are about to run to make up our application lets go ahead and run those files. I don’t think it matters actually which order you run these in but I will be going in the order I have explained. Running the following commands will get you up and running.
kubectl create -f pacman-tanzu/deployments/mongo-deployment.yaml -n pacman
kubectl create -f pacman-tanzu/deployments/pacman-deployment.yaml -n pacman
kubectl create -f pacman-tanzu/persistentvolumeclaim/mongo-pvc.yaml -n pacman
kubectl create -f pacman-tanzu/rbac/rbac.yaml -n pacman
kubectl create -f pacman-tanzu/services/mongo-service.yaml -n pacman
kubectl create -f pacman-tanzu/services/pacman-service.yaml -n pacman
if you did want to delete everything that we just created you can also just find and replace the “create” with “delete” and then run the following commands to remove all the same components.
kubectl delete -f pacman-tanzu/deployments/mongo-deployment.yaml -n pacman
kubectl delete -f pacman-tanzu/deployments/pacman-deployment.yaml -n pacman
kubectl delete -f pacman-tanzu/persistentvolumeclaim/mongo-pvc.yaml -n pacman
kubectl delete -f pacman-tanzu/rbac/rbac.yaml -n pacman
kubectl delete -f pacman-tanzu/services/mongo-service.yaml -n pacman
kubectl delete -f pacman-tanzu/services/pacman-service.yaml -n pacman
and then finally to confirm that everything is running as it should we can run the following command and see all of those components
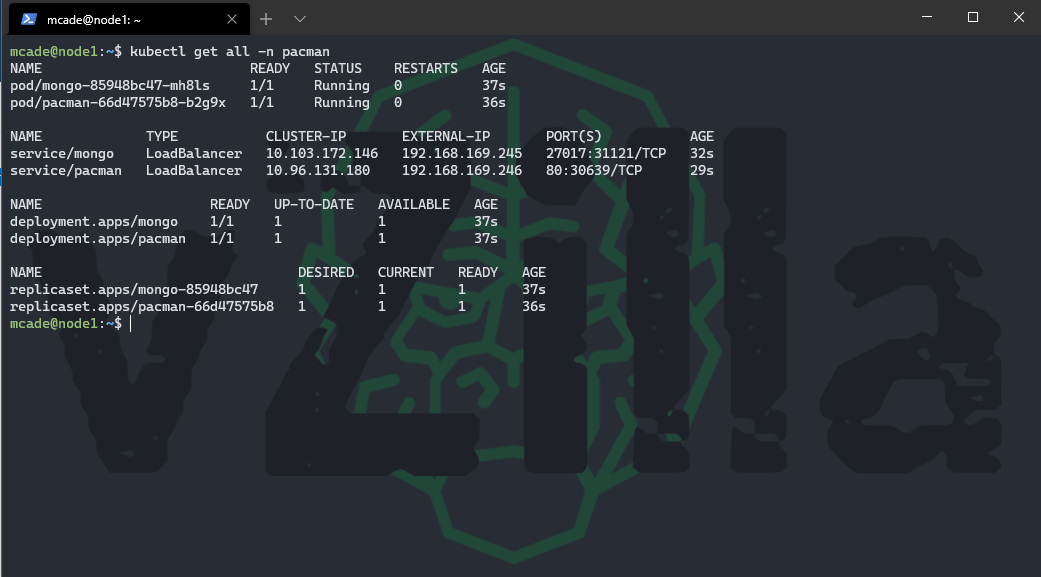
From the above you will also see that we have an external IP for our MongoDB instance and our pacman front end. Let’s take that pacman IP address and put it in our web browser to play some pacman.
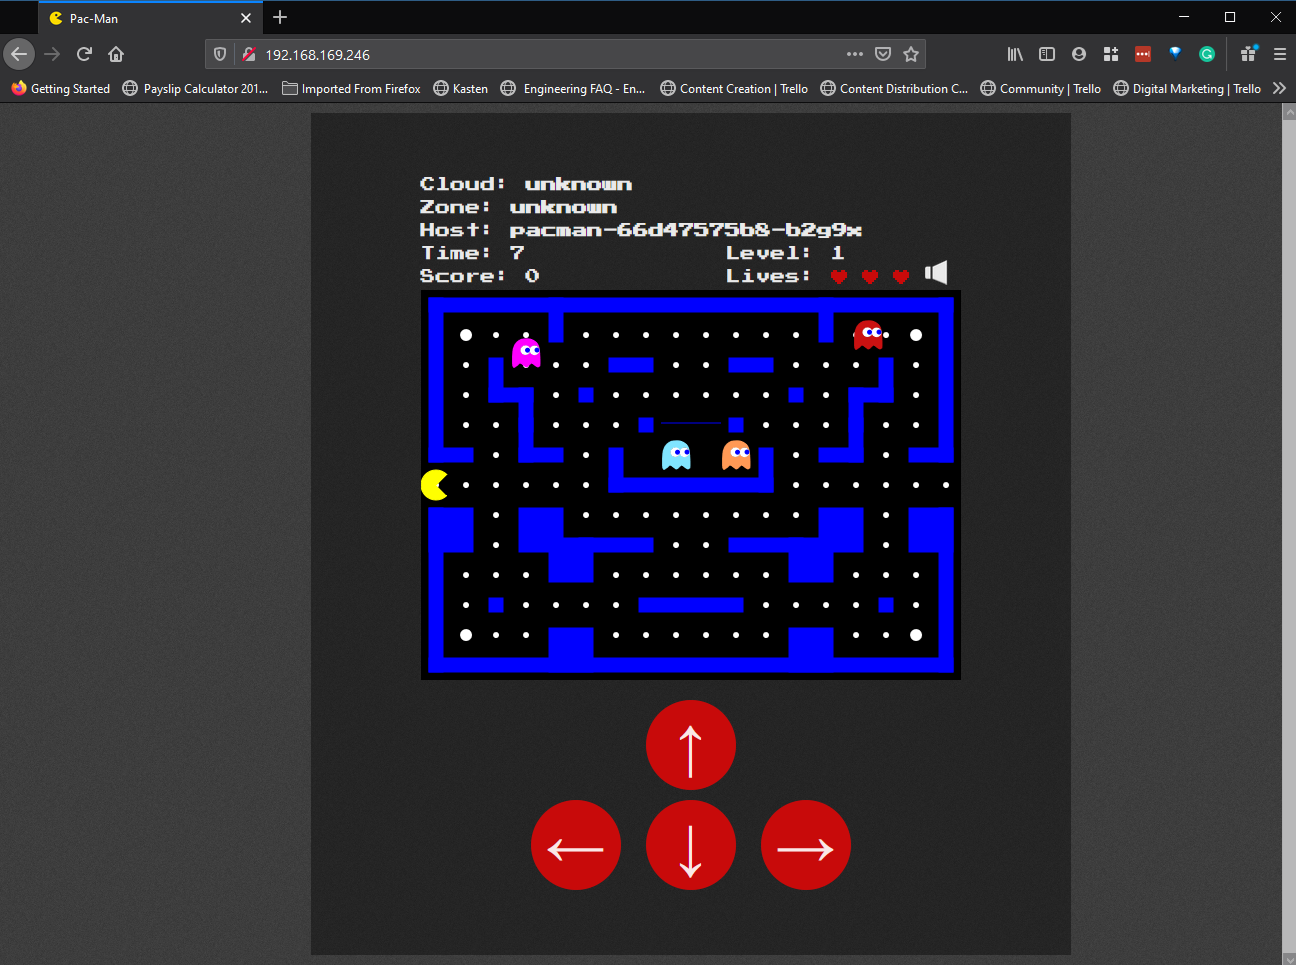
Hopefully this was helpful to somebody, this also leads into a great demo that myself and Dean have been doing where Kasten K10 will come and protect that stateful data, the mission critical high scores that you don’t want to be losing. Obviously, this is out there and available, there are many other viable demos that can be used to play in your home labs and get to grips of the different components. In the next post we will finish off this series by looking at Kasten and the deployment and configuration of K10 and how simple it is to get going even more so if you have been following along here.
Tweet me with your high scores

Thanks Michael
Just deployed on AKS
If I wanted to store steful data elsewhere have you any suggestions ?