Veeam Backup & Replication introduces another new agent. This time it is the agent for MacOS. I had my 2013 MacBook Pro kicking about and thought why wouldn’t you add this to the home Veeam Backup & Replication server. The first thing to mention is that this is not a standalone agent this requires Veeam Backup & Replication or from a service provider perspective the Veeam Service Provider Console. There is also the ability to leverage MDM servers to deploy the package.
Preparing the Agent for MacOS
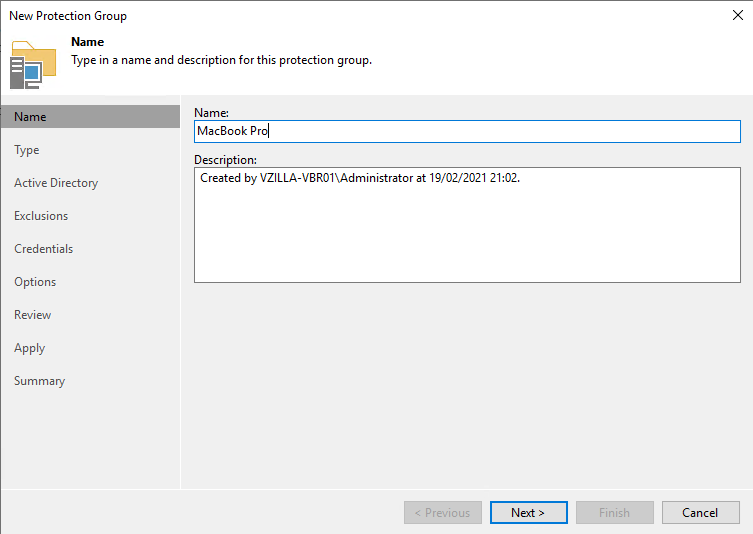
First up we need to get the package files to install locally on our MacBook Pro. Give your protection group a name.

Then choose your type, for the purpose of adding in our MacOS systems we should select “Computers with Pre-Installed Agents”

Next, we need to choose our packages, I selected the “Apple Mac package with device profile” option.

You then have to choose a local path to store these files.

Click ok and finish and this will start building out your configuration and package files that can then be used on MacOS.

Once this is complete you can navigate to your export location and you will see the following files.
- XML documents are used for the configuration
- Readme gives you instructions required to install the agent on your MacOS device.
- And then you have the package files for versions of MacOS

Installing the Agent on MacOS
If you cannot access the location, you specified above then you can copy this to a network share or make it available across your network from your VBR server. An alternative way to install this would be with an MDM solution, I only have one MacOS device but expect to see some official Veeam content around this process.
Next, we head to the MacOS system.

Like you can expect from Veeam software, it is next next for the most part to get everything you need up and running and backing up your data.

Accept the Software License Agreement


Choose the location you wish to install the agent.


Now the installation is complete you will find the Veeam folder in the application folder.

Next is making sure that the agent has full disk access to perform those backups.


Remember the folder we made before on the VBR server, in there you will find 2 configuration XML files.

_escaped.xml is used for specific use cases, it is compiled differently to “protection group 1.xml” which most people will be using. Used in some MDM deployments.

Configuring the Backup Job
Ok now back to the management server to configure the backup schedule and job.

Configure a Name for your job

Add in your MacOS protected computer which will be visible now if everything has gone well in the macOS installation.

Obviously if you have more MacOS devices then they will be found here.


Now we should choose the scope to your backup, I am going to backup all data from home directories of all users, but you may have a custom scope of certain files and folders to backup.

Next we should choose where we are backing up to, this can be local but in my scenario I am backing up to my home Veeam repository.

Define your Veeam Backup & Replication Server.

Define your repository location and restore points to keep.

If you are using location tagging then great if not then you will likely get this warning about locality of your device.

Schedule your backup jobs.

Summary of configuration.

Applying the policy to your device.

Backup job starts with the schedule.

Restore Options
From VBR
Restoring data is obviously the most important part, so we have the ability to restore from both Veeam Backup & Replication and the MacOS device itself.

By selecting the job name and selecting restore guest files and choosing “Linux and other” this will enable you to restore files and folders.

Select your restore point.

A nice new feature of v11 is the ability to leverage an existing managed Linux server to act as the file level recovery appliance rather than having to deploy one to a hypervisor, I am going to choose a Linux host that I have in my environment already.

For those audit reasons you can then also define a reason for the restore process.

Next you will get the explorer appear which enables the ability to see the structure and the ability to recover your files and folders.

On MacOS
Obviously being able to do that in a central location is important, especially if the device is not functional any longer at least you have access to that data. But most of the occasions for recovery will likely be accidental deletions and mistakes so being able to do this on the device itself is also important.

From the window above you would choose your backup restore point and then this will enable you to view the contents of that backup.

Here you can see I can navigate to the files or folder I need and I can choose to restore which then gives an option to overwrite or keep the existing file as well as being able to copy to a different location.

