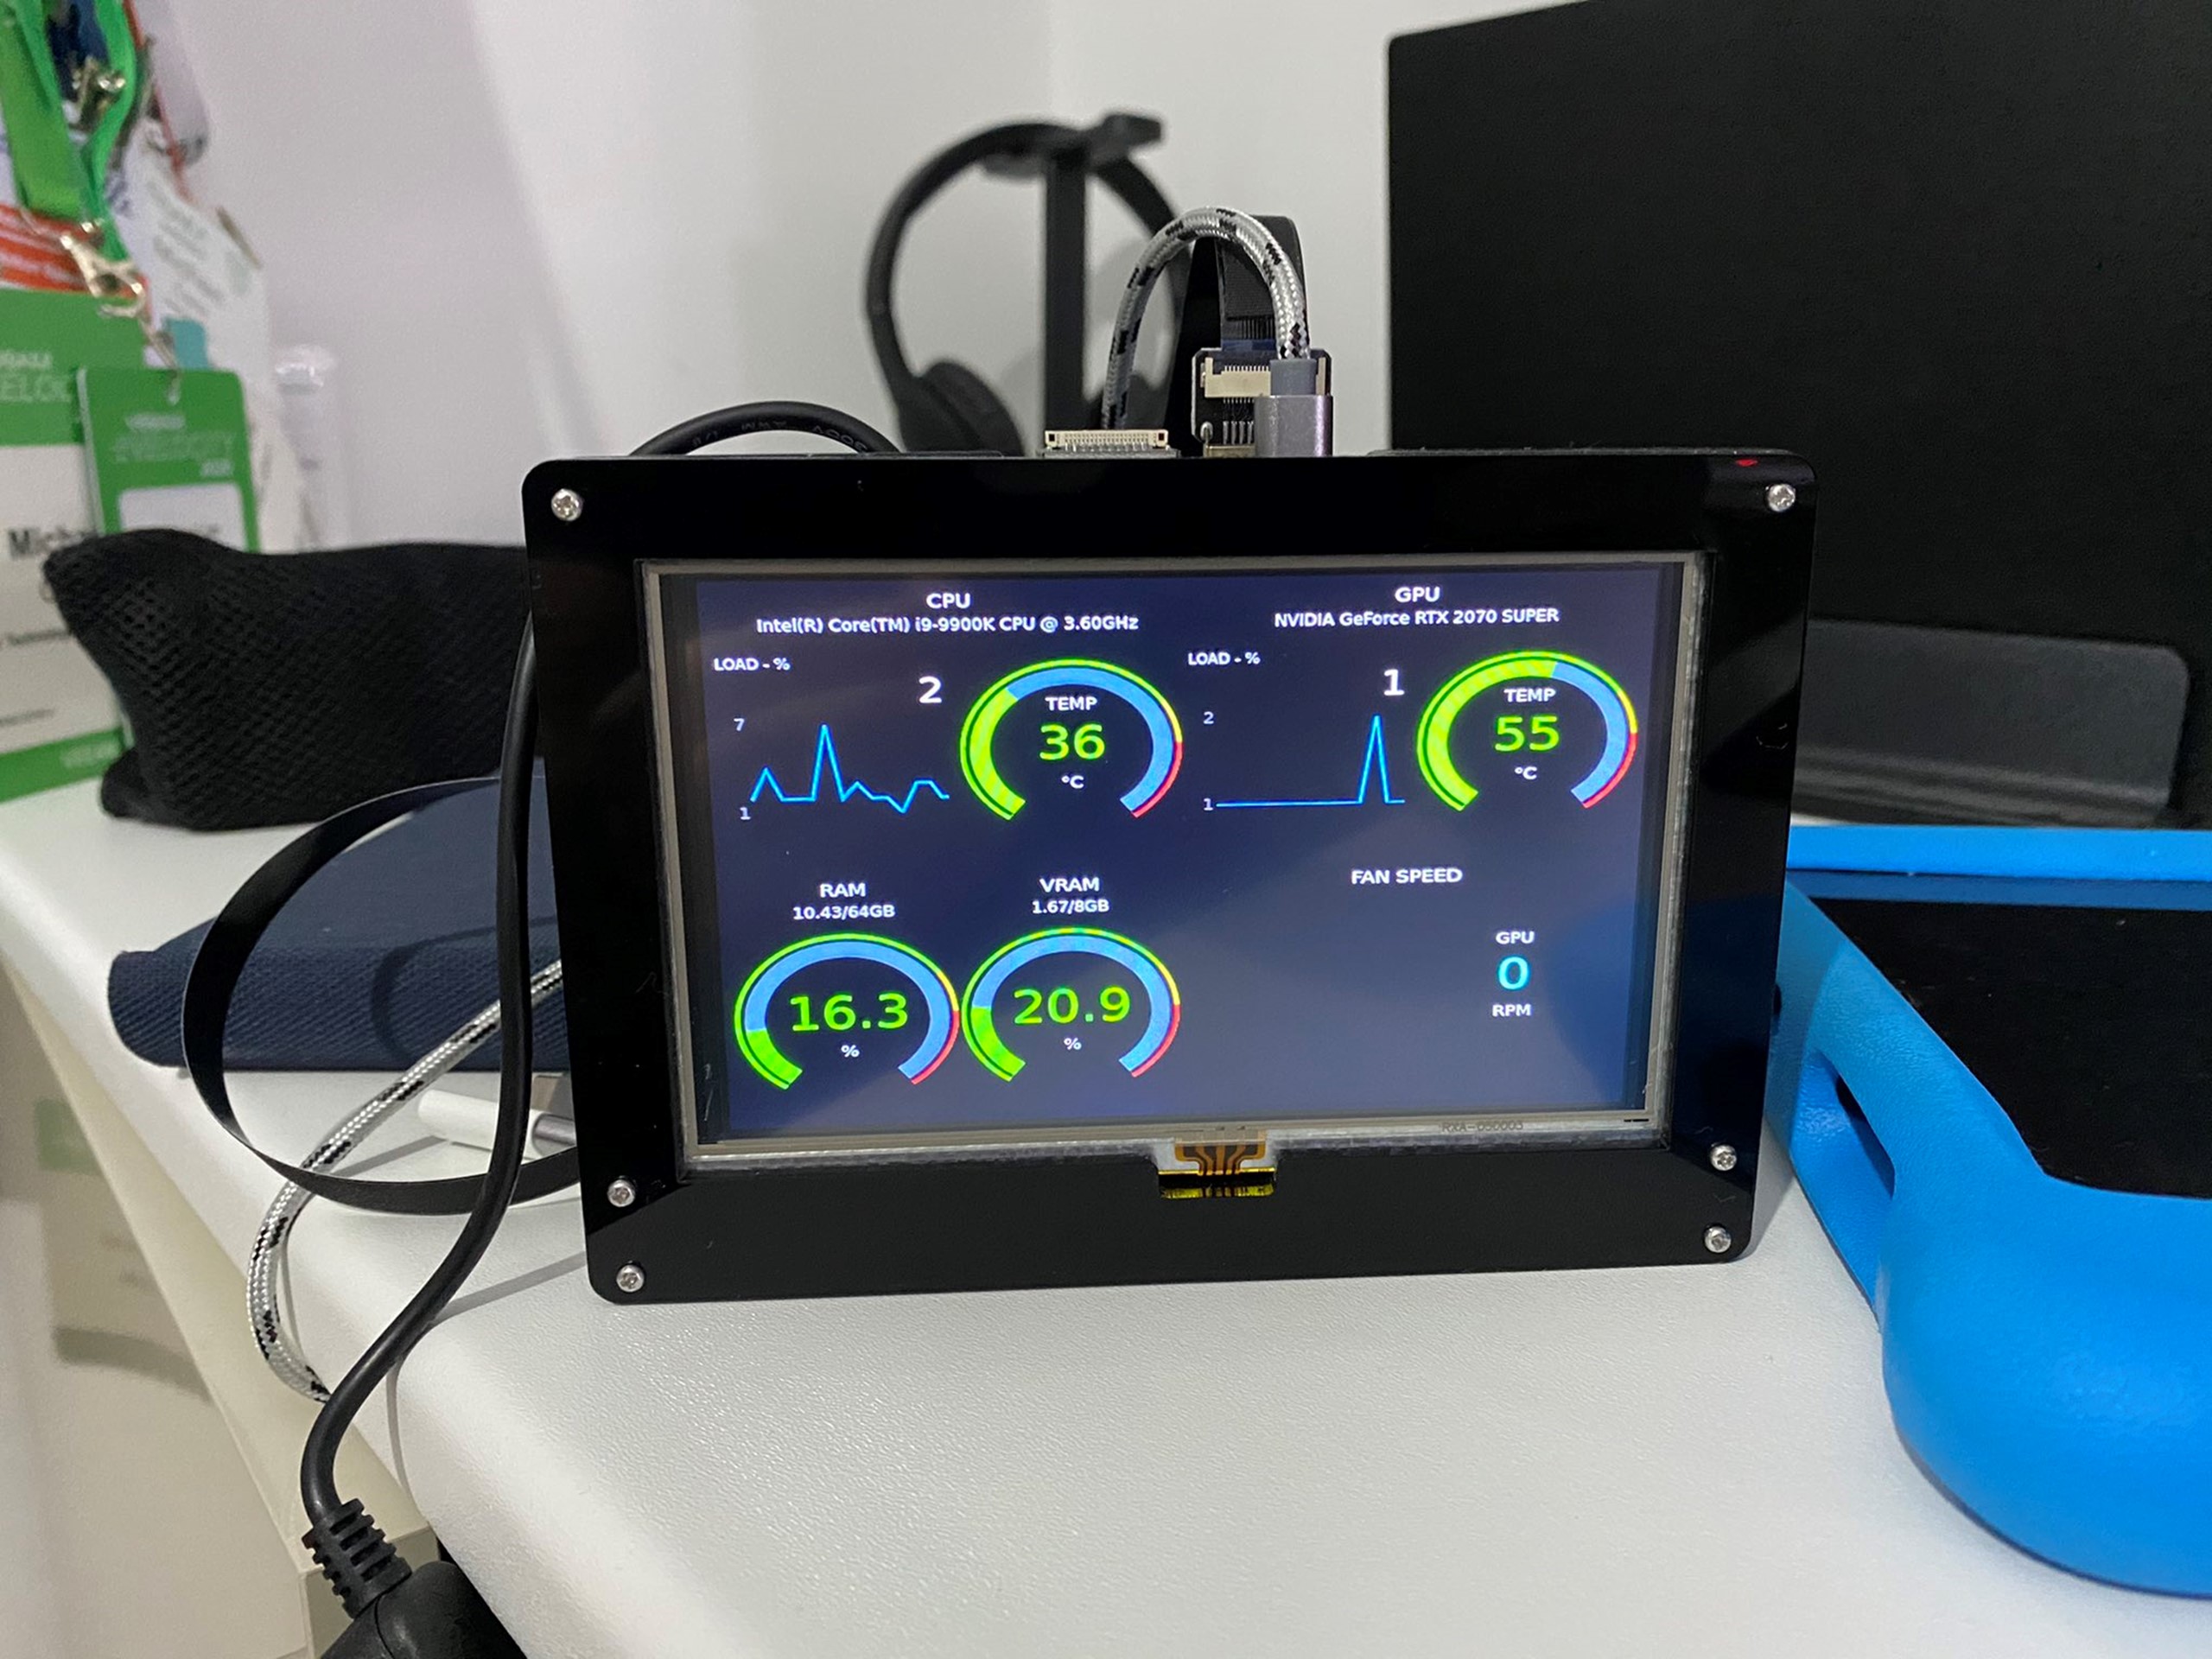
For those that have been following anything I have been putting together in 2020 it is likely that you have seen my new PC build and other office upgrades and projects I have had going on, all to keep the boredom and all the bad things from setting in. This little project was just another addition to that, and I am not quite finished just yet.
This post will touch on the parts that I used to create this little bundle and why I approached things this way, the this way is the fact that I didn’t just want to run a HDMI cable from this screen to my graphics card as this would then cause potential issues when presenting and sharing my screen on calls, so I opted for another route that we will get into here as well.
I guess I should also add the why, and yes the why is to keep my head doing something fun, it is by no means a necessity to understand the performance metrics being used by my PC but the idea is to install this inside of the case, with minimum cable visible I have also become a huge fan this year of the RaspberryPi (I was before but now I really am trying to use them in many different scenarios) and I in fact got this screen in the first place to test against the Pi400 as a cheap alternative if there was not a spare tv in the house to plug into and get to learning or work during these pandemic times and working and teaching at home.
The Kit List
I think the first thing to share is the kit list that is used here before then getting into the software used to make this happen.
The Raspberry Pi Zero WH – https://thepihut.com/products/raspberry-pi-zero-wh-with-pre-soldered-header – Built in WiFi and actually more than enough power to run what we need to.
The 5″ screen – https://www.amazon.co.uk/gp/product/B07QC6G6S9/ref=ppx_yo_dt_b_asin_title_o03_s00?ie=UTF8&psc=1 – The screen itself was very affordable and had some good reviews
The screen case – https://www.amazon.co.uk/gp/product/B07PV8H7QJ/ref=ppx_yo_dt_b_asin_title_o02_s00?ie=UTF8&psc=1 – I think there are lots of generic cases to hold these 5″ screens this had good reviews to went with it.
Angled Up HDMI Cable – https://www.amazon.co.uk/gp/product/B07R5JPTDB/ref=ppx_yo_dt_b_asin_title_o07_s00?ie=UTF8&psc=1 – I went with this angled up cable because it would look cleaner at the top of the screen and now show a straight cable coming out the top.
Angled Up Micro USB Cable – https://www.amazon.co.uk/gp/product/B00EBGGXS2/ref=ppx_yo_dt_b_asin_title_o09_s00?ie=UTF8&psc=1 – This is going to power the screen and much like the HDMI cable I wanted to hide these cables as much as possible (this is not visible in the top image, had to use another one)
Update – I have mentioned that I was going to work on the cable management here and I have decided to make a few modifications with smaller cables and connectors. I will use the angled up HDMI connector mentioned above but the HDMI ribbon and other end will be replaced with the following.
DIY USB or HDMI Cable Parts – 10 cm Ribbon Cable
DIY HDMI Cable Parts – Straight Mini HDMI Plug Adapter
This way we have the angled connector for the screen which is not visible and then this ribbon cable can go into the Mini HDMI connector and into the RaspberryPi Zero for ease. Then we have the MicroUSB cable coming as a suitable power source for both devices.
I also made a slight modification to the stand that comes with the case so that rather the screen sits on an angle it will now stand straight.
Software Shout Out
As I mentioned before the easy way out and in fact a lot of setups have gone this route where they install the above minus the Pi into the case and then they run 1 micro USB to power the screen and then one HDMI cable through the case and out and into the GPU for display, then your windows desktop has a second or additional display depending on the setup and you configure it accordingly and you might then use some additional software to display performance metrics. I didn’t want to have that HDMI cable running outside the case but with the configuration I am going for I might depending on USB headers have to run a USB cable outside of the case but much easier to hide than a HDMI, maybe but also I will not have to contend with the display issues I think I will face if seen as another system display.
Introducing ModBros, these guys have nailed it and they have been perfecting this since early 2019 with this initial blog and YouTube demo of “How to create a hardware monitor inside your PC case”
They have also done some great work on the OS and the configuration making it super easy to load their image onto an SD card and you are up and running after some very simple and easy configurations that I am happy to share if you feel that would be of interest? Just let me know in the comments down below. I will update the post when I have the cabling figured out and we are ready to install into the case.
