This series is to highlight the steps to deploy, install, configuration and then how to start protecting workloads and then the recovery options that we have within Veeam Availability for Nutanix AHV.
Everything You Need to for Veeam Availability for Nutanix AHV
Now that we have our Veeam Proxy Appliance deployed, installed and configured, the next step is to start protecting some of the workloads we have sitting in our Nutanix AHV Cluster.
Navigate to the backup jobs tab on the top ribbon.

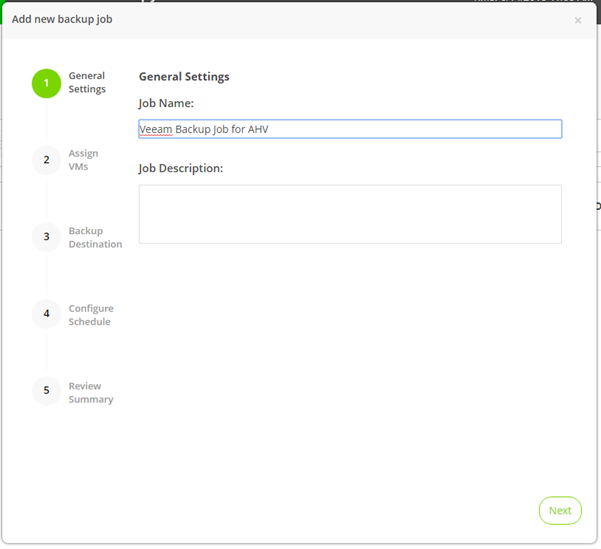
Here we can add a new backup job, a simple wizard driven approach to start protecting those workloads.
Next, we need to add in our virtual machines,
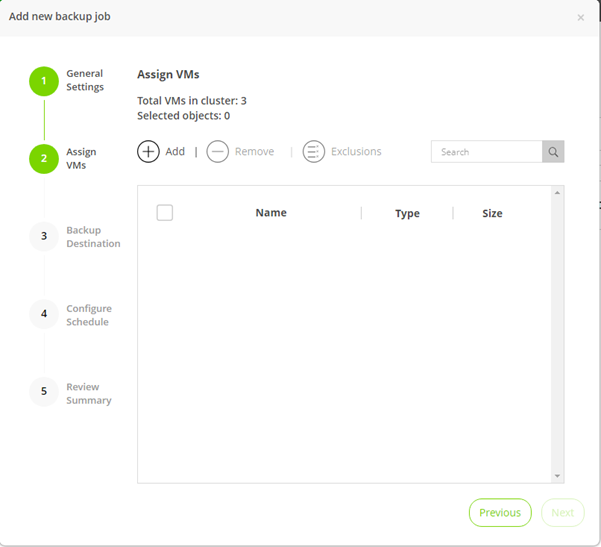
In my scenario I have simple virtual machines, if you are leveraging Nutanix Protection Domains then you can also leverage this grouping here to select your virtual machines, we can also leverage dynamic mode this is to allow the adding and removing of new workloads under that protection domain.
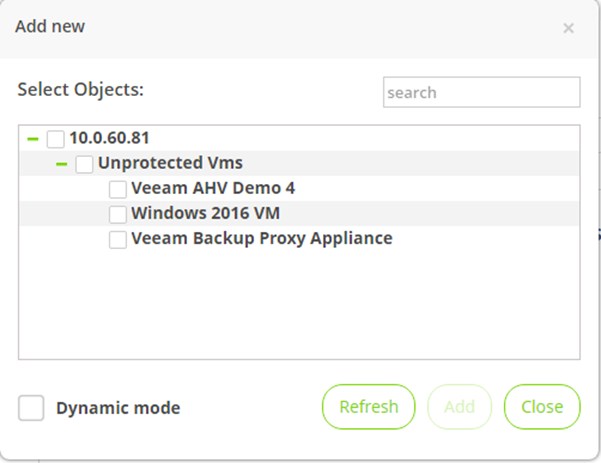
Add the virtual machine or machines that you wish to protect.
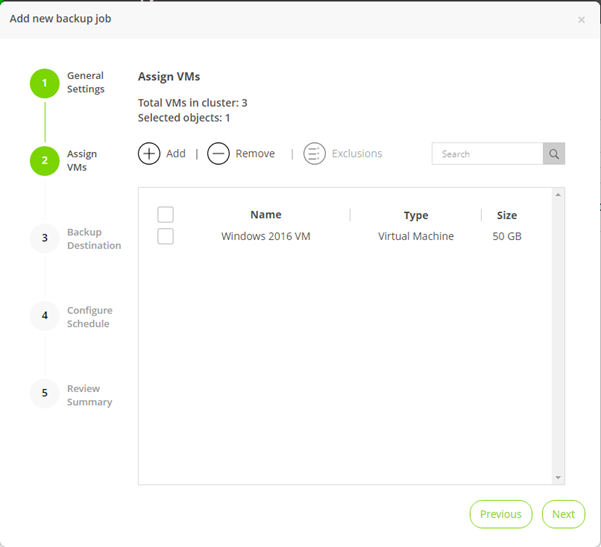
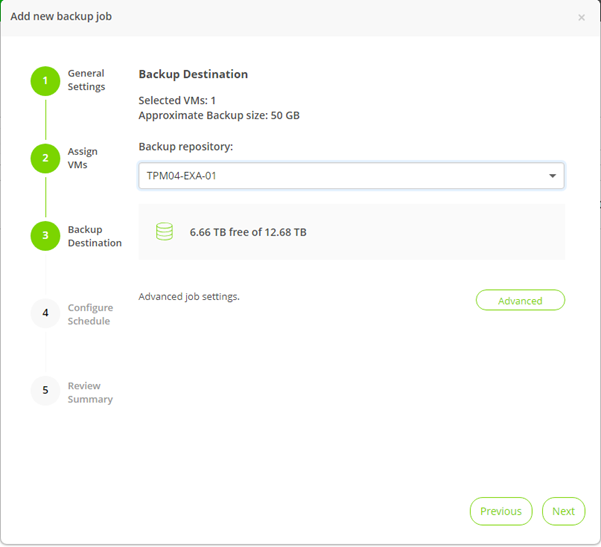
Next, the next option is selecting the destination of the backup job. To be able to see the backup repository the access on the VBR server needs to have the correct permissions to allow for access. This is done from the Veeam Backup & Replication console.
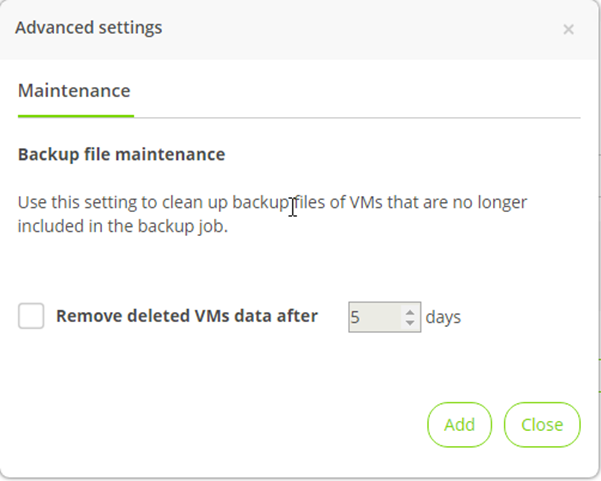
There are some advanced settings that can also be set to remove deleted VMs from the backup that are no longer included in the backup job.
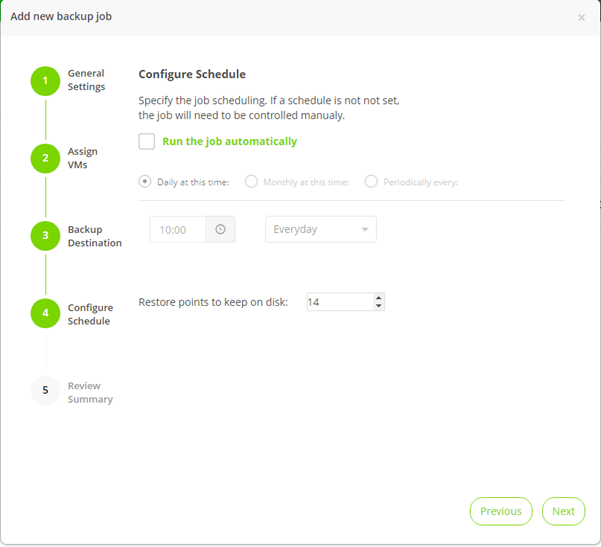
The final step is to configure through the schedule. This will allow, you to choose the interim of backups and how many restore points that you must retain.
The final screen is the summary of the backup job you are about to complete.
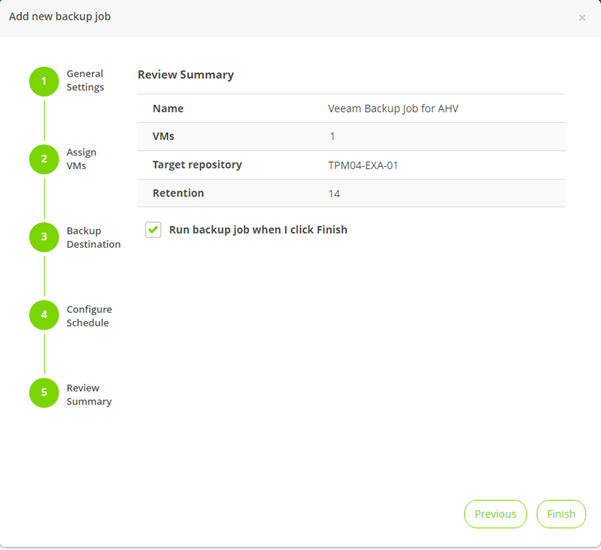
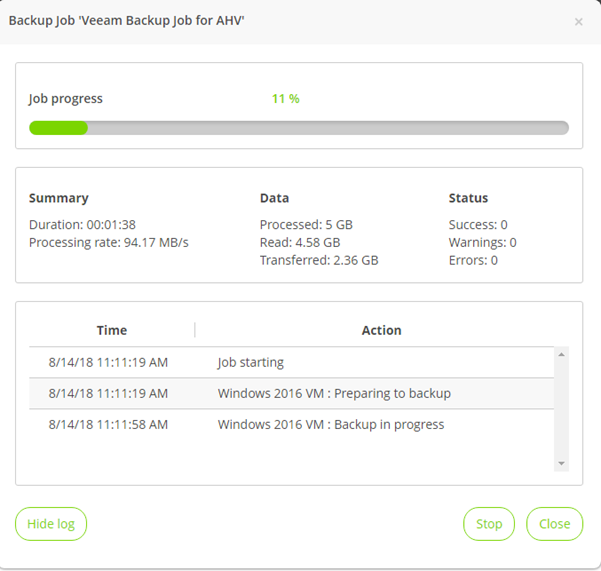
You will also notice the ability to run the backup job when finish is selected, this will then start the backup job process. This will trigger the backup job to perform a full backup of the virtual machines you have selected.
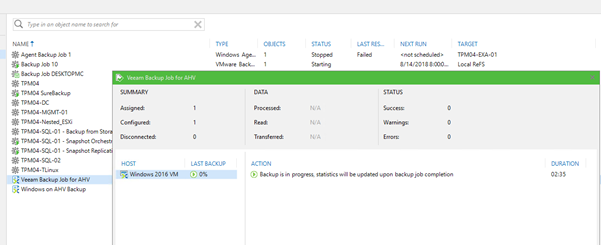
Over in VBR you can see the job also running. In a very similar fashion to what we saw with the original Veeam Endpoint backup, we see enough that something is happening, but nothing can be configured from this job within Veeam Backup & Replication.
Back in the Veeam Availability for Nutanix AHV we now have a completed backup job.
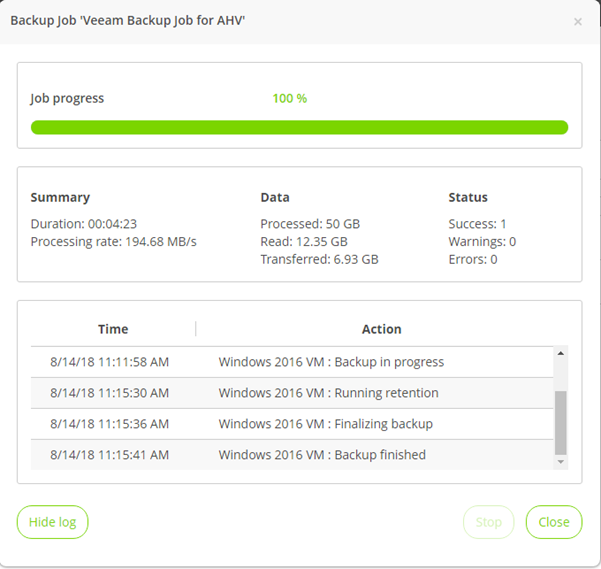
Veeam Backup & Replication also shows the completed job and the steps that have occurred during the job.
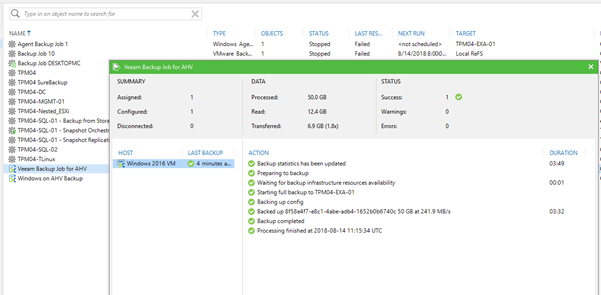
We will also now see the specific job in our Veeam Backup & Replication console under the backups giving us the ability to perform certain recovery tasks against those backup files.

And we also see the completed job now under the backup jobs in the proxy appliance interface. Here we can perform an Active Full in an ad hoc scenario but also, we can start and stop the job and edit that job.

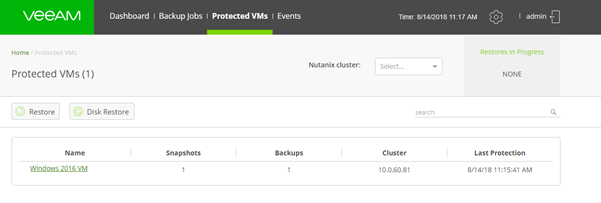
Over on the Protected VMs tab you will also notice that we now have visibility into the virtual machines that are protected with how many snapshots and backups are present.
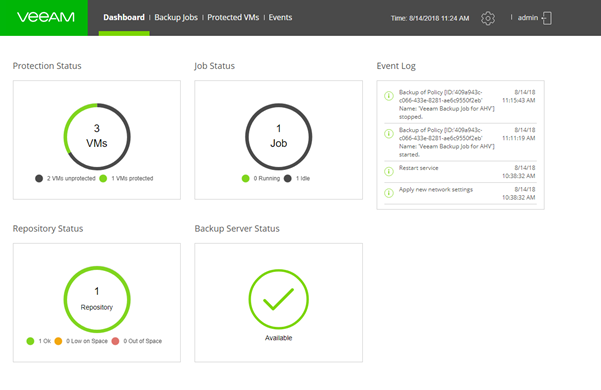
To finish, if you head back to the dashboard you will now see the job status showing that we have one created backup job and it is currently idle.
That’s all for the availability section of this series, this is really giving us the ability to create those backup jobs for the virtual machines that sit within the Nutanix AHV cluster, this is an agentless approach for any application consistency you will require the Nutanix Guest Tools.
One thing to note is if you have a transactional workload we would recommend using the Veeam Agent to provide not only the application consistent but also the log truncation within the application. Not required if you have an application that can manage that truncation task.
Next up we will look at the recovery steps and options we have.
