This series is to highlight the steps to deploy, install, configuration and then how to start protecting workloads and then the recovery options that we have within Veeam Availability for Nutanix AHV.
Everything You Need to for Veeam Availability for Nutanix AHV
Carrying on from the previous post of Deployment, this post will touch on the installation and setup of the Nutanix AHV Proxy Appliance and the steps to then start protecting your workloads.
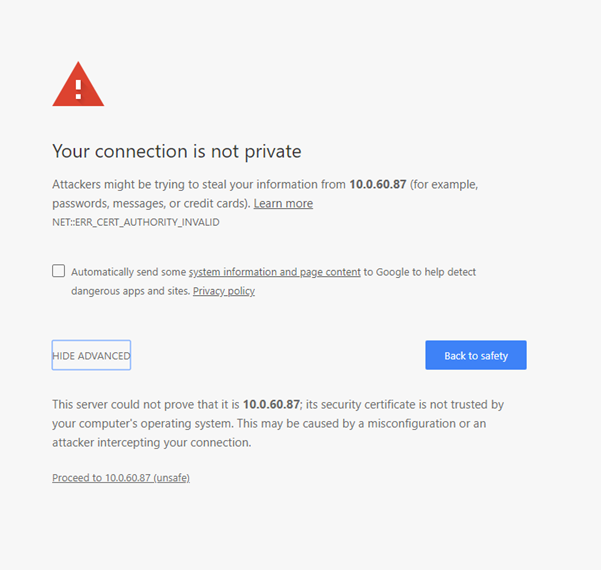
By taking that IP Address that we saw in the AHV console of our proxy appliance and copying that to your web browser you will then be greeted by the following landing page.

Select advanced and proceed to the site.
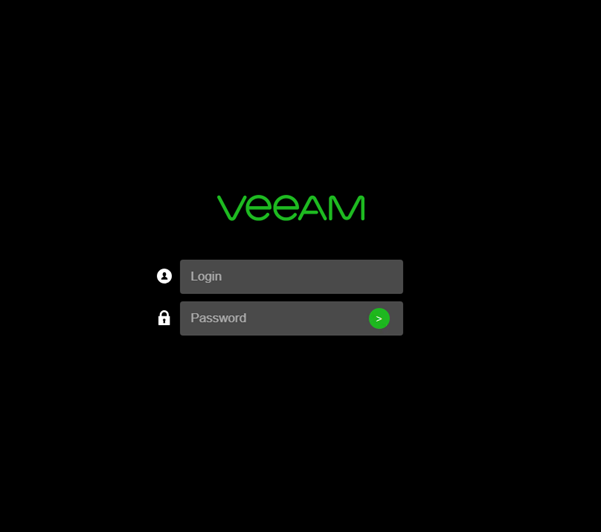
You will then see the welcome and login screen. In the opened welcome screen, enter the default credentials and click the arrow button.
Default username = admin
Default password = admin
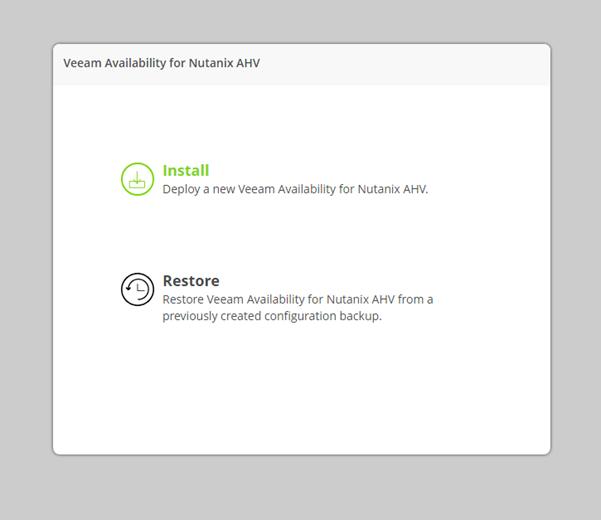
The opening wizard screen will ask if you would like to install for a fresh new proxy appliance or if you would like to restore from a configuration backup. For the purposes of this walk through we are running through a vanilla installation of the proxy appliance.
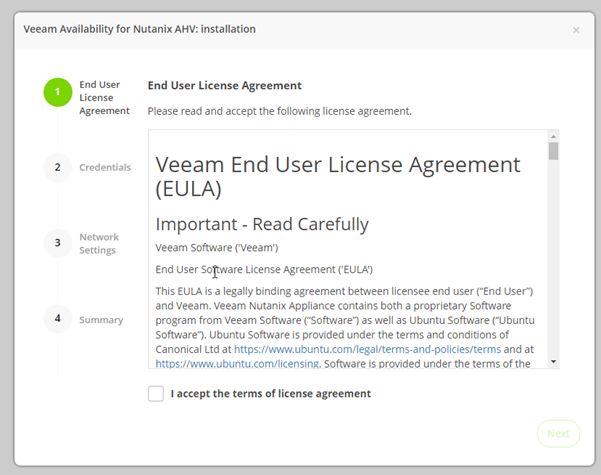
Read through the EULA and accept to move on.
A strong suggestion at this point is to change the default password.
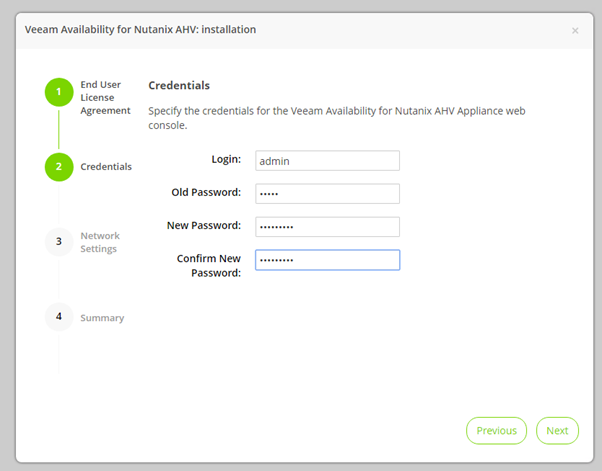
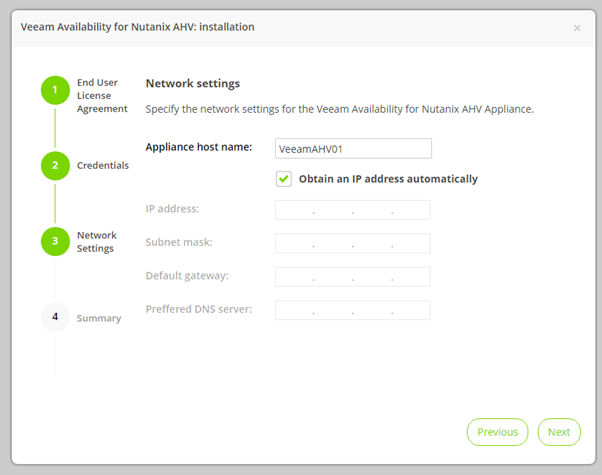
We then need to define the host name for the proxy appliance. You can also choose to use either DHCP or define static IP configuration on this screen.
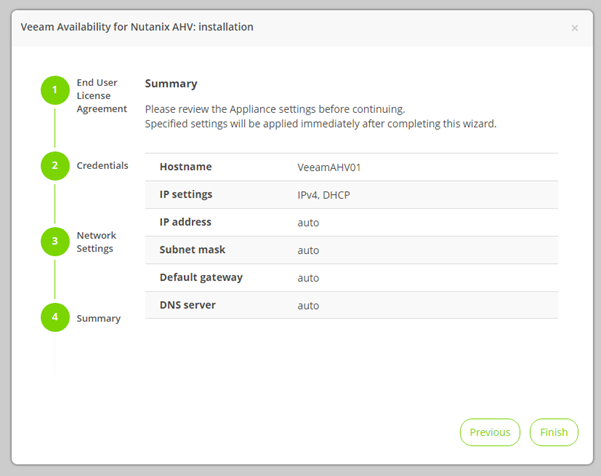
Finally there is a summary screen showing you the configuration settings that will be saved.
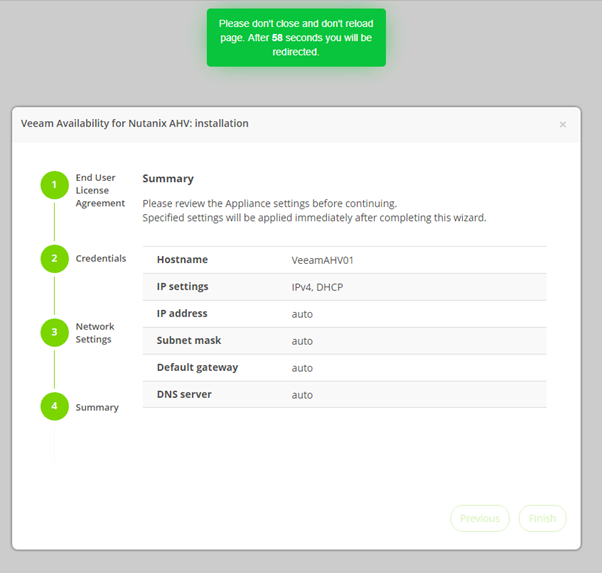
When you click finish at this stage you will be notified that the installation configuration is being applied and you have a 60 second timer to sit through before the login prompt will reappear.
We now have the Veeam Availability for Nutanix AHV Proxy Appliance deployed and installed and ready for configuration, the next post will begin the process of the simple configuration steps to join the appliance to your AHV cluster and the Veeam Backup & Replication server.


