This series is to highlight the steps to deploy, install, configuration and then how to start protecting workloads and then the recovery options that we have within Veeam Availability for Nutanix AHV.
Everything You Need to Deploy Veeam Availability for Nutanix AHV
Download the latest version of Veeam Availability for Nutanix AHV from: www.veeam.com/availability-nutanix-ahv-download.html
These steps assume you have already had a Veeam Backup & Replication server configured. Navigate through the site to get the latest version available.
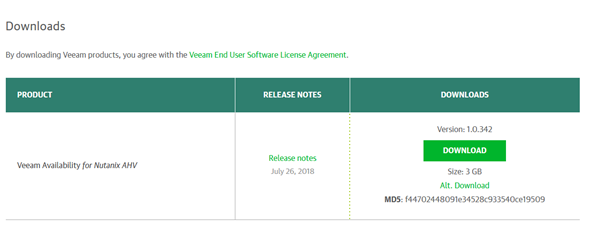
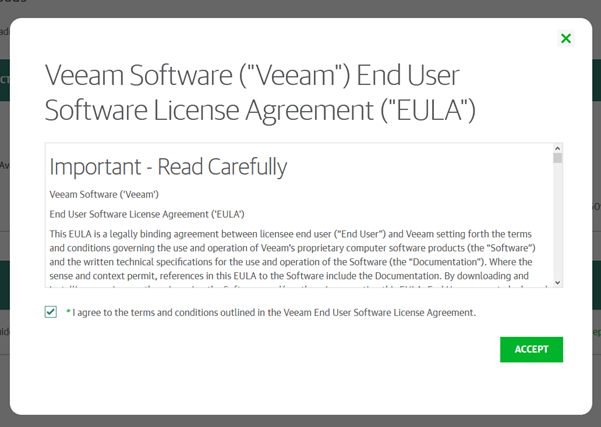
Accept the EULA.
You will then be prompted for login using your Veeam login credentials.
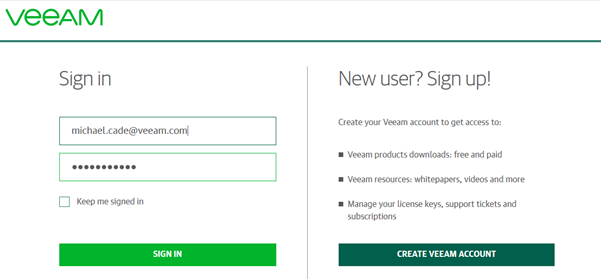
All the above is pretty standard for any downloads from Veeam.com, now we will get into the actual deployment into your Nutanix AHV cluster.
Once downloaded you need to extract the .vmdk file to a location accessible by the Nutanix AHV cluster.

Log in to your Nutanix AHV cluster, for the purposes of this walkthrough I am using the Community Edition but the process is the same in general for any hardware AHV cluster.
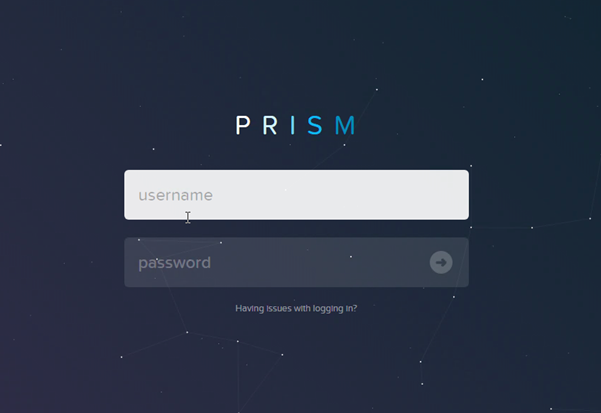
We need to take the VMDK disk and send this to AHV as an image, to do this we need to navigate to the settings button on the top right of the Prism interface and locate “Image Configuration”
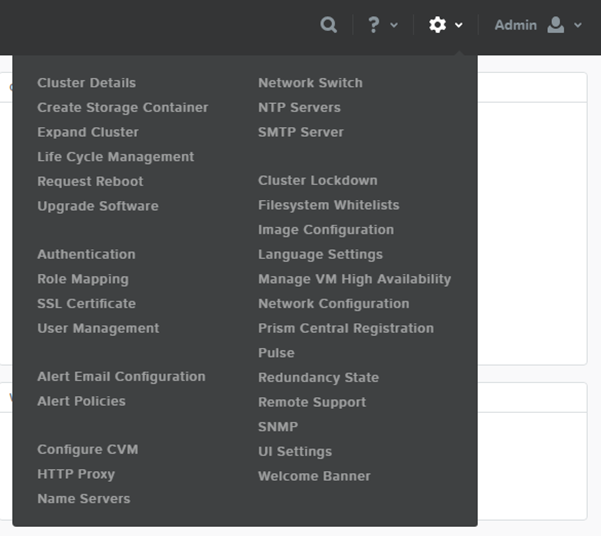
A new window will appear, and you can then select Upload Image.

At this stage we can name the image something that allows you to recognize its purpose along with all other fields such as disk type and where you wish to upload the image to.
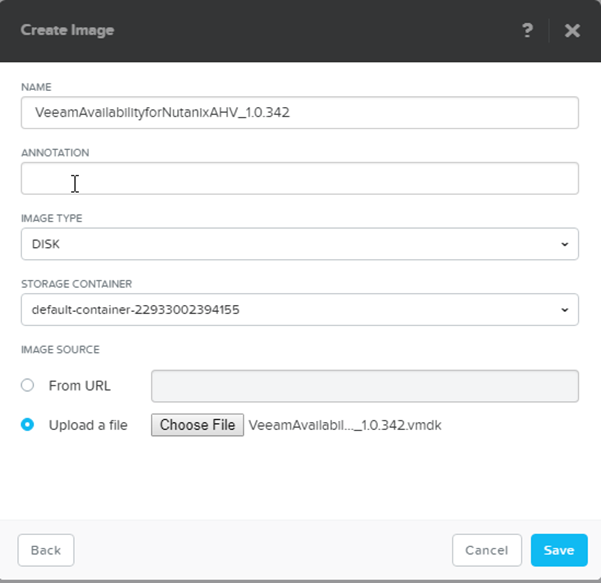
Upload from the file location you downloaded the vmdk to and save.
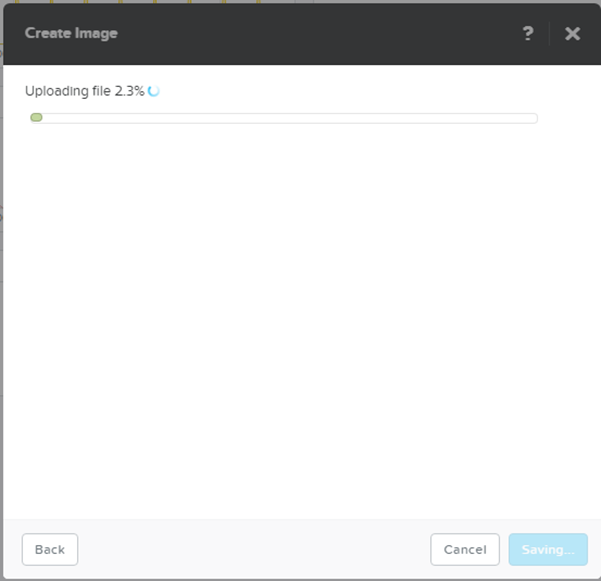

Now that we have the image we can create the Veeam proxy appliance from the image. Select create VM.
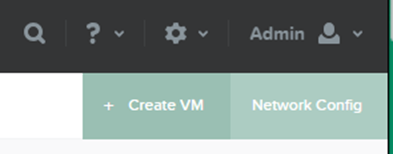
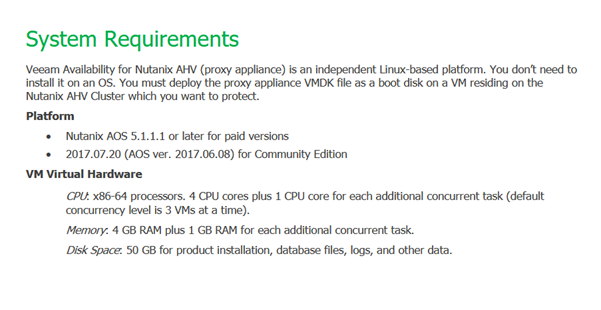
Create a VM with recommended parameters in the Nutanix AHV cluster that you wish to protect. As per the user guide you will find the system requirements for your proxy appliance. Also take note at those platform support versions.
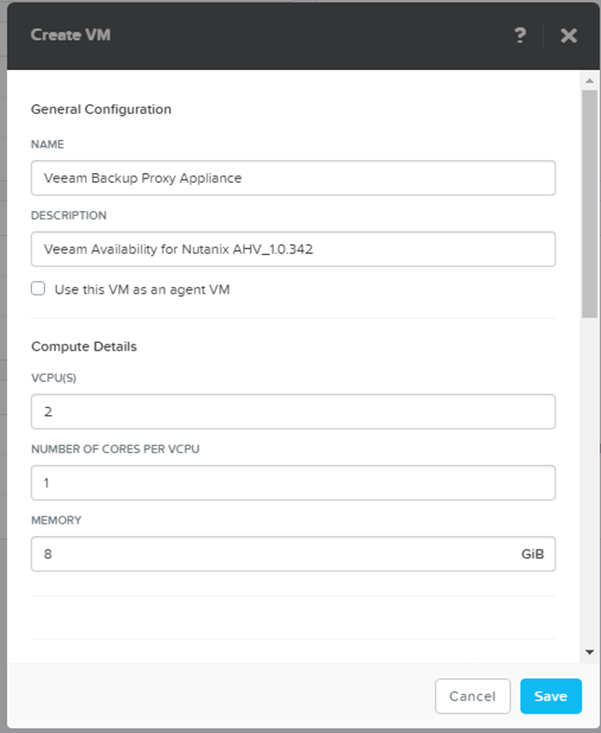
Creating the VM is very easy and straight forward, we need a name and we need to determine what specifications we wish our VM to have.
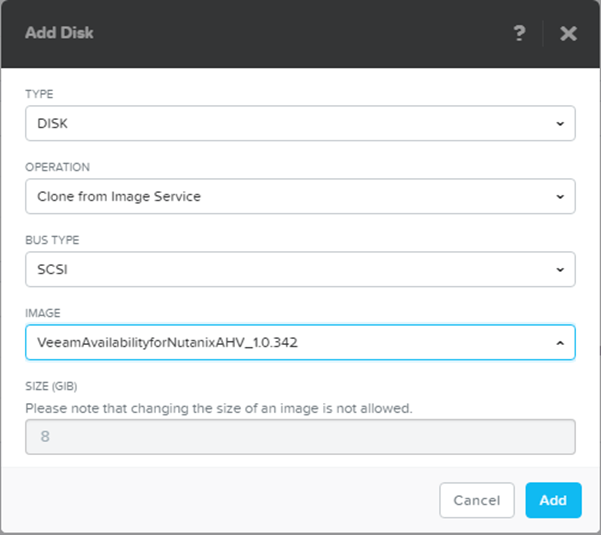
In the VM settings add a new disk from the image previously uploaded, the operation job down allows you to clone from the image service. Then under image you can select your recently uploaded Nutanix AHV VMDK
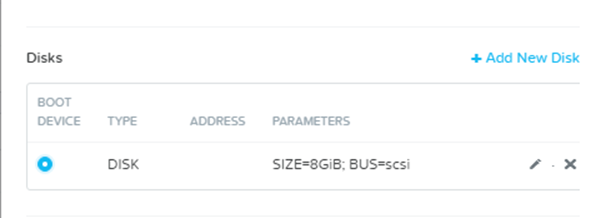
Once added you will also need to ensure that the disk is seen as a boot device, I have removed the CDROM drive from my VM configuration.
You should also add your network interface that has access to your Veeam Backup & Replication server for that communication between the Proxy Appliance and the Veeam Repository.
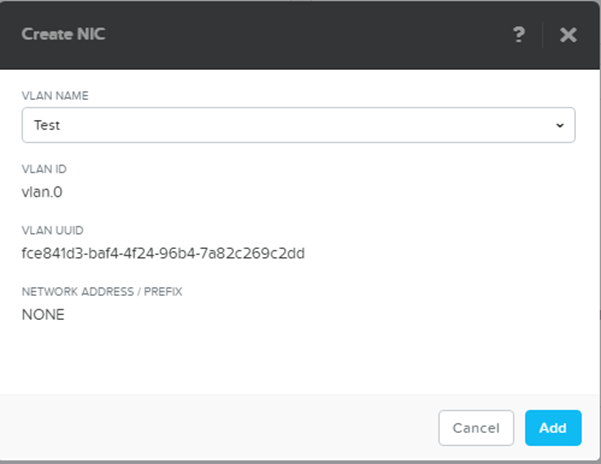
Once you have added the disk and configured the network then you select save.

Complete the setup by selecting save and then wait for the VM to be created and power on.

NOTE – Must have DHCP available on this network so that the system will pick up an available IP for management this can later be changed to fixed if required.
Once the VM is powered on within the VM console you will see the web console address, copy that full address and paste into a web browser.

There you have it. You have successfully deployed and configured Veeam Availability for Nutanix AHV.
The following post will touch on the next steps and navigating the web interface that is exposed from this proxy appliance, the post will also touch on the installation phase.


