The portability and flexibility of the Veeam Backup file (.vbk) that is created with the Veeam Agents for Windows and Linux as well as the VMware and Hyper-V backups is also the same format that we see with the Veeam Availability for Nutanix AHV. This allows us to extend your availability options when we look at where we can store copies of our data offsite.
The 3-2-1 rule is a methodology that Veeam has been advocating for many years now, 3 copies of your data on 2 different media types and 1 of those being offsite. This protects your business against many different failure scenarios. That 1 copy offsite is the one I want to touch on in this post.
The focus of this post is how you can take your Veeam Availability for Nutanix AHV backups and send them to one of the many Veeam Cloud Connect Service Providers for that offsite copy of your data and availability.
Adding your Veeam Cloud Connect Service Provider
It’s an easy process to start getting your data to an offsite location. Leveraging one of the Veeam Cloud Service Providers (VCSP) first within Veeam Backup & Replication we need to add in our Cloud Connect DNS name or IP Address.
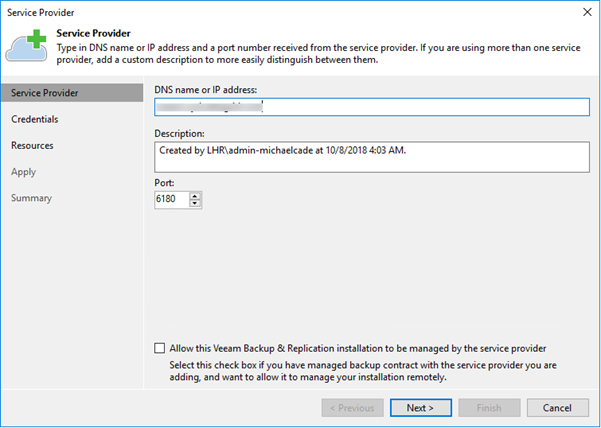
Your service provider will have supplied the DNS Name or IP Address to use in the above screen, they would have also provided you with unique credentials that can be added here.
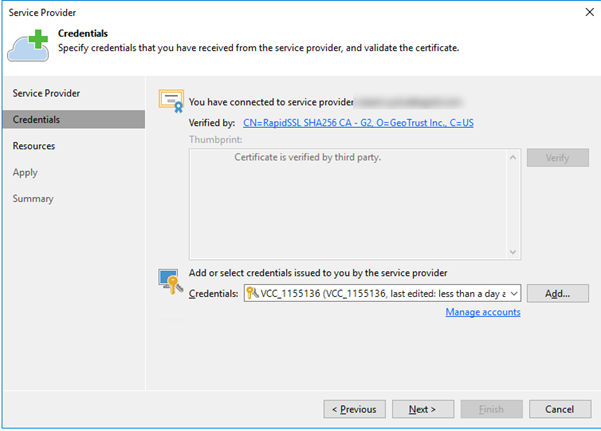
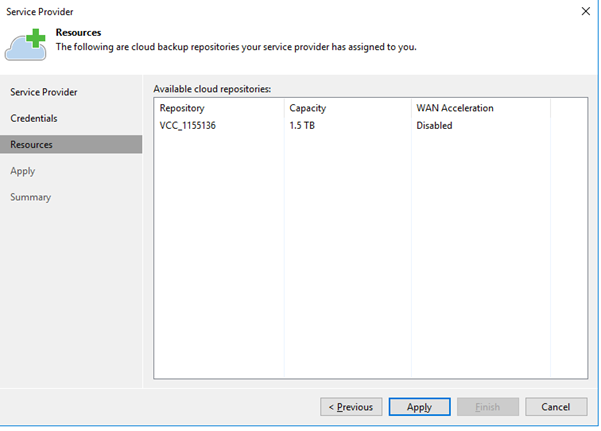
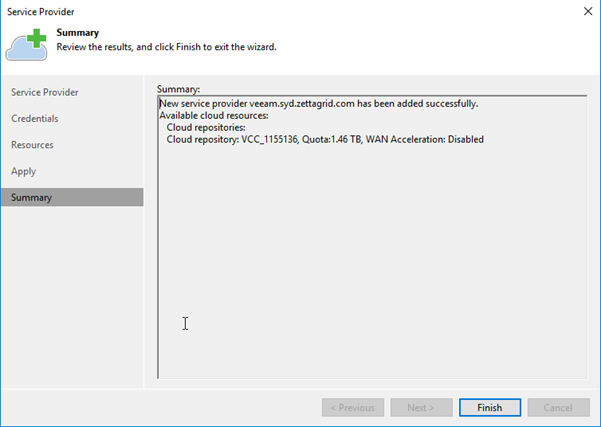
The Service Provider would have also setup available resources to you as a tenant. In the below scenario this is a repository to store those backups. This could also include the ability to leverage the Veeam WAN Accelerator technology if the links meet the requirements to do so.
We then apply those configuration changes and you will see the process running through on screen.
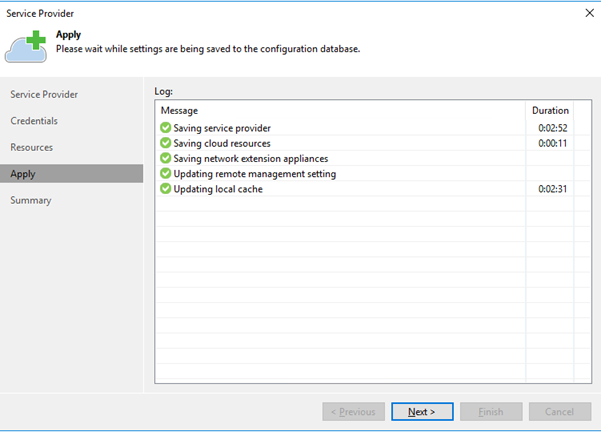
Providing you have given all the correct information you will then see the successful summary on the final screen of the wizard.
Creating a Backup Copy Job
The next stage is defining the Backup Copy job to start sending data to the Cloud Repository hosted by the Service Provider. From the drop down select backup copy and providing you are running Veeam Backup & Replication 9.5 update 3a you will see the Nutanix Policy available if you have Veeam Availability for Nutanix AHV jobs enabled and running.
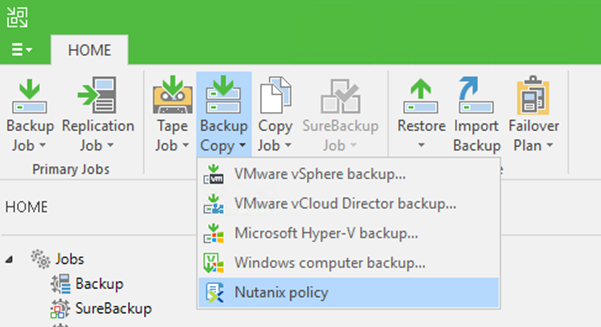
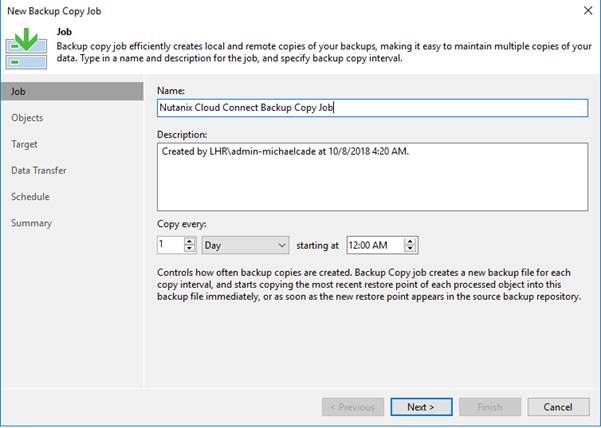
For those that have created the Veeam Backup Copy job it is a very simple wizard driven approach and this job is no different other than the source being a Nutanix Policy, above you can see the other options that can be used for Backup Copy job sources.
At this screen we can now choose our Nutanix Policies that we want to include in this job to our new Cloud Repository.
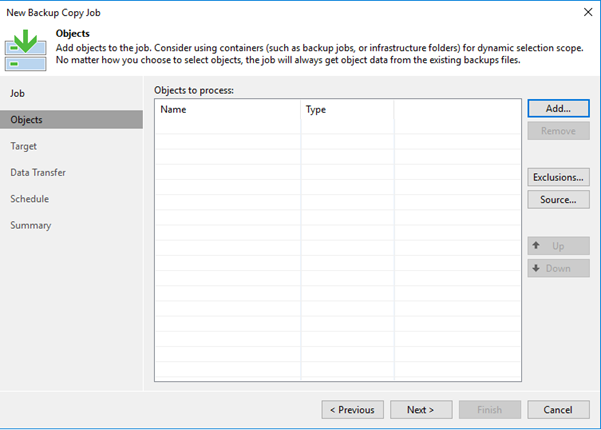
If you happen to have several Nutanix Policies, we can choose multiple policies and include them in the same backup copy schedule.
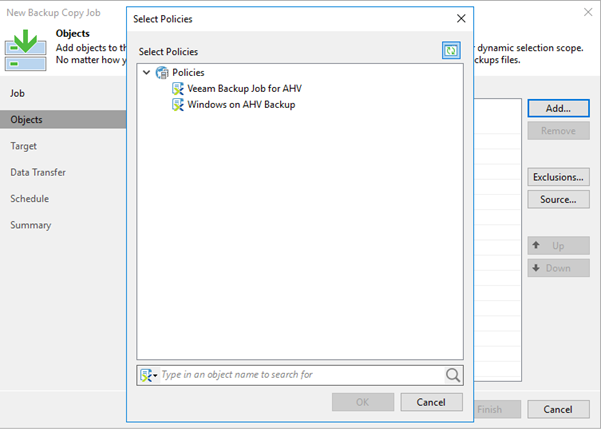
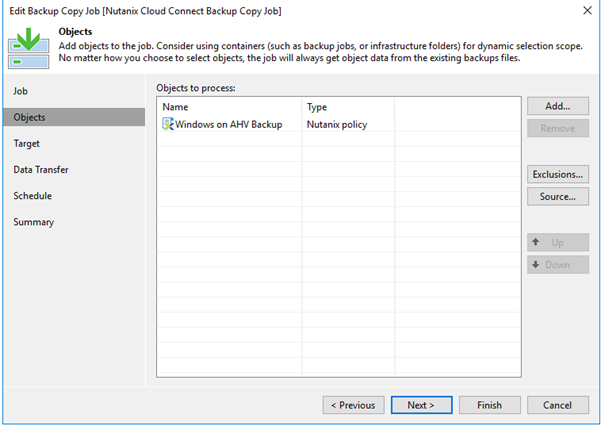
For this walkthrough I am going to use just the one policy and include this as the object in the job.
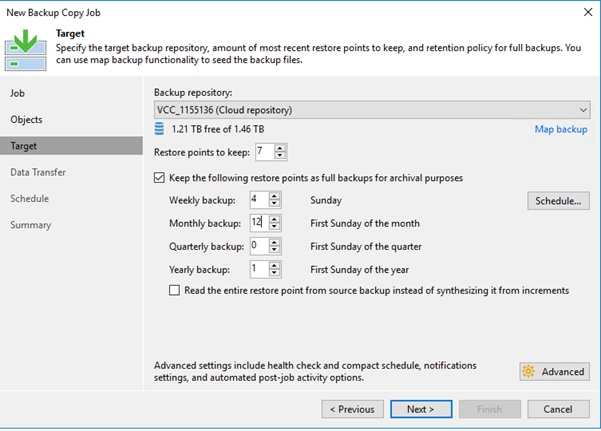
Next is where do we want to store the backups, so we select the newly created Cloud Repository. This could be any supported Veeam Backup Repository.
In keeping in accordance to your companies regulation then you may get this warning if you are not tagging your repositories and their location, my system knows that my Nutanix policies are being stored in London but the Cloud Repository that we have added has no location if you are using this feature in accordance to compliance or just organisation then this prompt will warn you to make that change in configuration. More information on location tagging can be found here in these two posts.
Veeam Backup & Replication – Location Tagging
Veeam ONE – Location Tagging Reporting

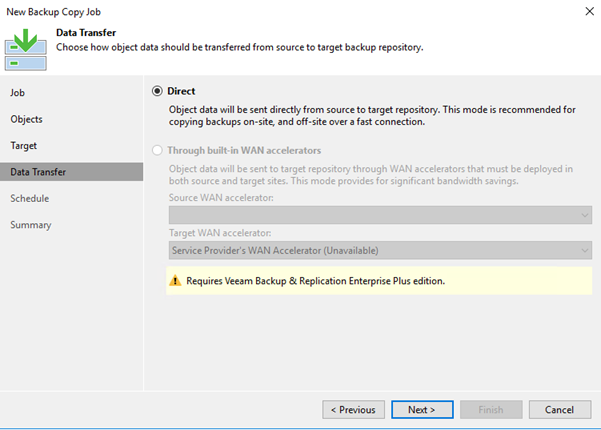
I mentioned earlier on in the post about the Service Provider enabling the resources available to you as a tenant, if WAN Acceleration was a requirement due to poor connection link speeds then this is where you could configure the option to use.
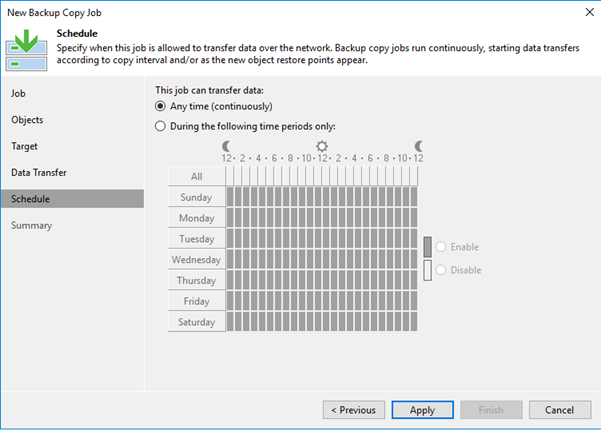
The next is the schedule, when do we want this to run? For this example, I am happy for this to continuously run but you can see the granular time span that you can choose when things should be running and not.
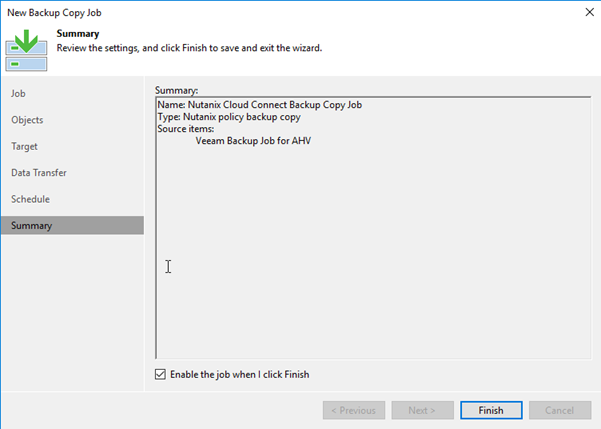
Finally, a summary of the configuration we have made.
Sending Data Offsite
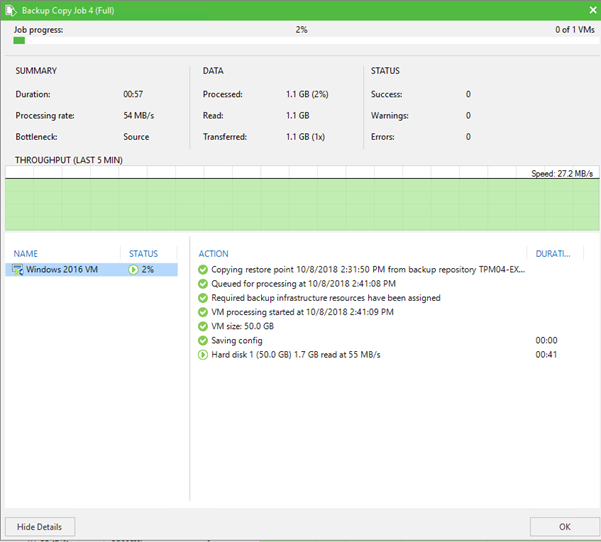
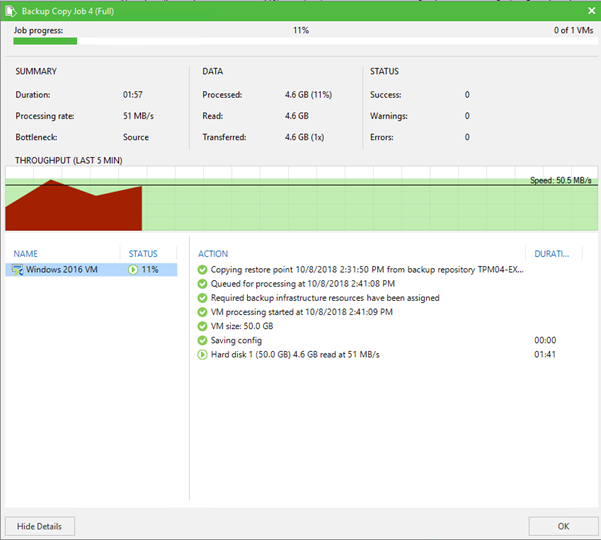
Now we have the new Cloud Repository configured and the Job to get that data offsite, the job should then be started, and you will see the first job progress run through with all details of data processed and transferred.
Once the job is complete you will see this job run in accordance to the schedule you have configured.
Recovery
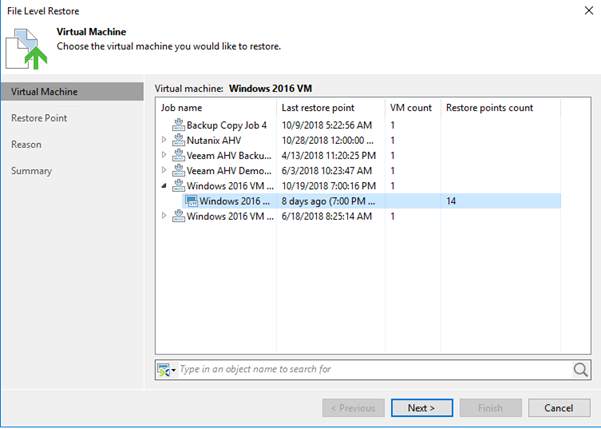
If we ever need to recover from this data, then we can do so by navigating through Veeam Backup & Replication to perform the recovery steps as per <recovery post link> simply select the restore icon and run through the wizard.
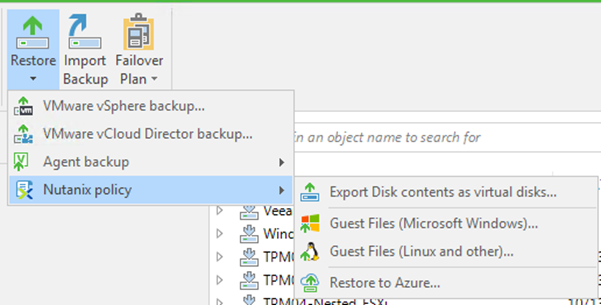
Select the backup copy job you wish to recover from and run through the wizard that is explained in the link posted above.
